Set Review ➟ 42096 Porsche 911 RSR
It is hard to believe it has been almost three years since the “orange monster”, the Porsche 911 GT3 RS (42056) came out. Enough time or LEGO to follow up with a new Porsche model that may look similar at first glance Is it really? And is it worth getting? Let’s have a look at the details:
Set: 42096
Name: Porsche 911 RSR
Parts: 1580
Price (in Spain): 159,99€
Let’s forget about the other Porsche in the Technic theme and concentrate on the set at hand…
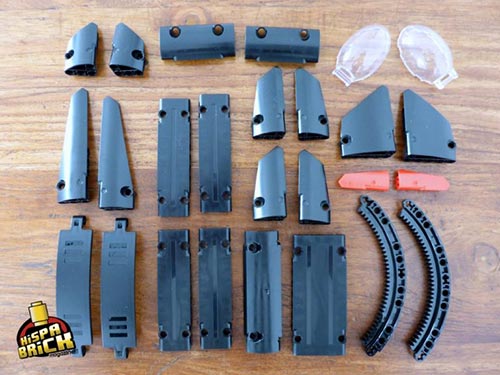
This is the largest technic set for the first half of the year. With 1580 pieces it is almost double the size of the Tracked Loader 42094. The set contains a large selection of curved panels, mainly in black and white:
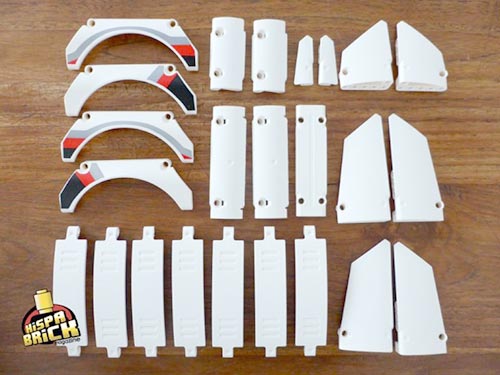
At first glance it may seem like the mudguards are a simple recolour of the earlier mudguard piece that is already available in Orange, Dark Blue, Azure Blue and Purple, but this a new element. The size is two studs shorter than the previous mudguard (13 x 2 x 5 compared to 15 x 2 x 5).
This is also the only completely new element for this set. However there are a number of recolours, including the white curved panels 3 x 13 and 7 x 3.
There are also 2 sticker sheets. Just seeing them makes me giddy:
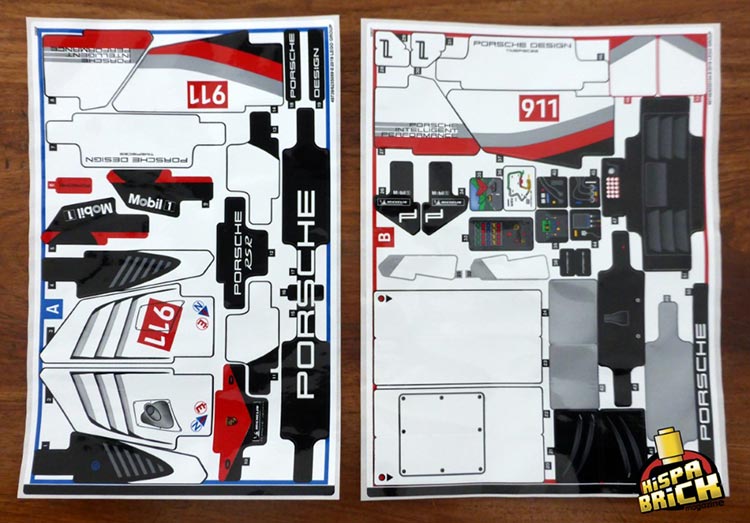
That’s going to be a lot of work!!
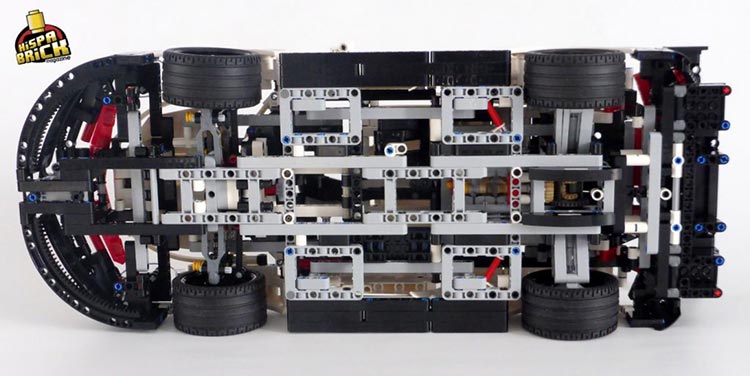
Construction of the set starts with the front axle and the rear axle is added after placing the supports that connect both axles.
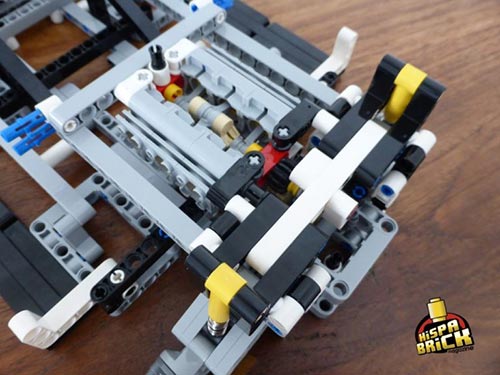
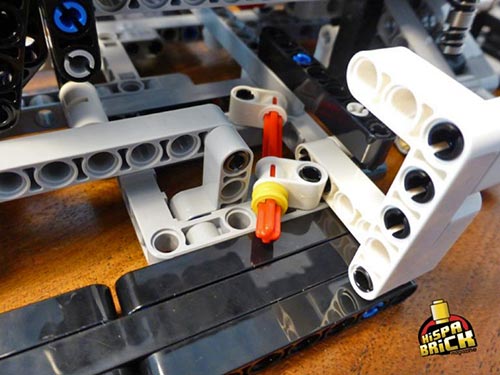
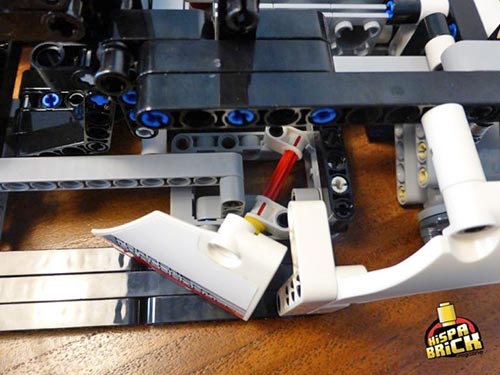
The steering on the front axle has a very limited range, indicated by the red 1 x 1 round tiles:

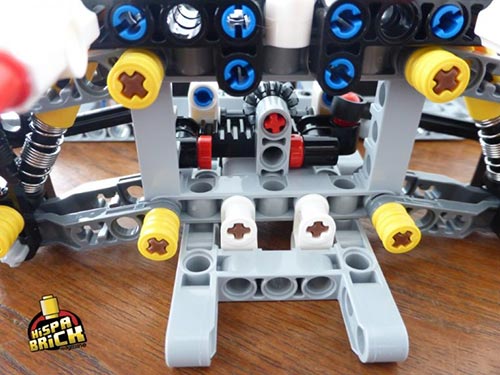
The new colour for the pin with towball (on either side of the steering rack) make it easier to locate this element and that is a characteristic that appears several times in this set. Even so, in most cases these additional colours don’t detract from the final result, except maybe in the case of the long blue pins.
The rear axle uses the same shock absorbers as the front, but the different way in which the suspension is built makes for a stiffer feel at the back compared to the front.
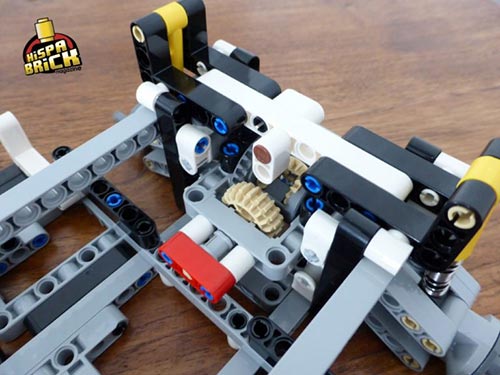
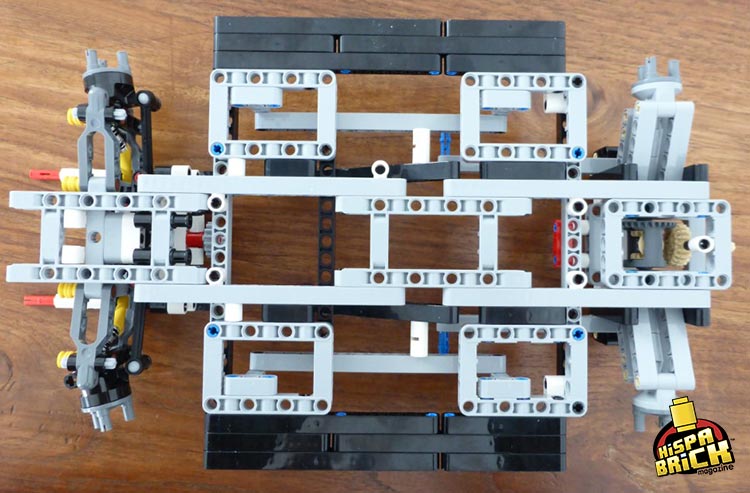
With all these elements in place we start to see the size of the set.
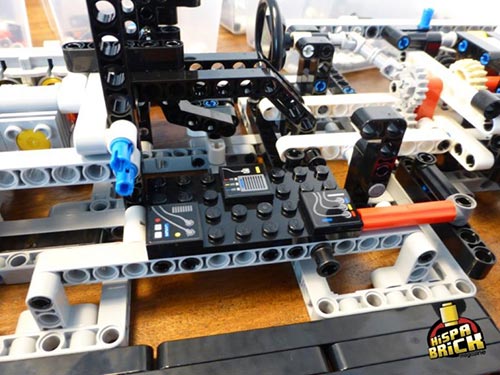
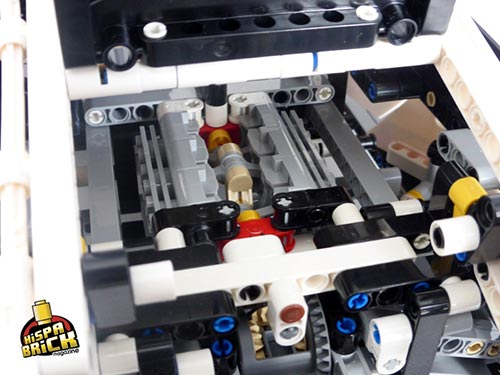
Time to install the 6 cylinder boxer engine:

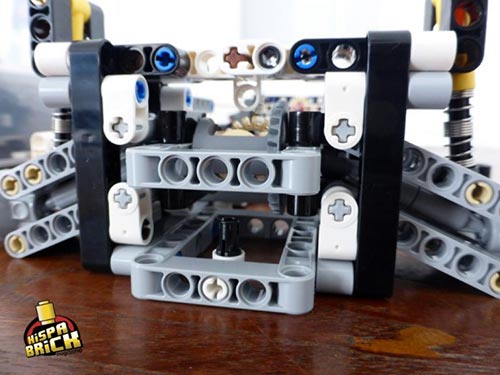
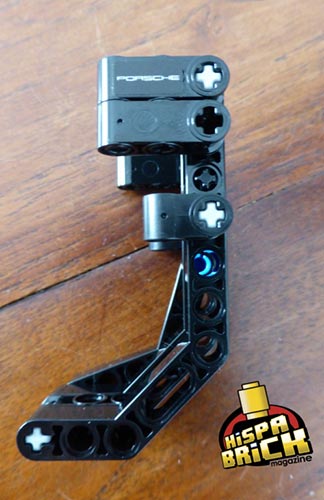
The last mechanical element to be added is the steering column. There is no HOG (Hand of God or “external access point”) for the steering.
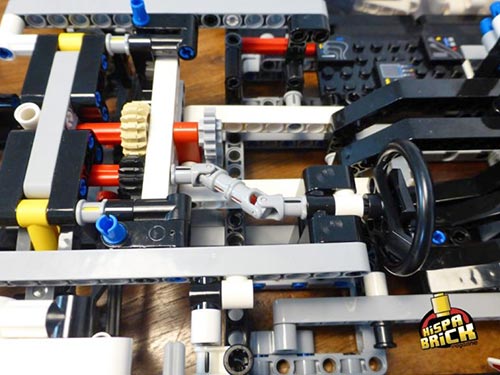
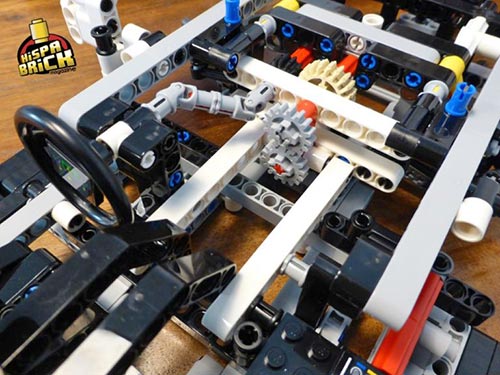
With that we are done building the mechanics. No gear box, no function selector. The rest is bodywork…
That doesn’t mean there aren’t a few “surprises” left in store. There are some fun building techniques and the overall building experience is good.
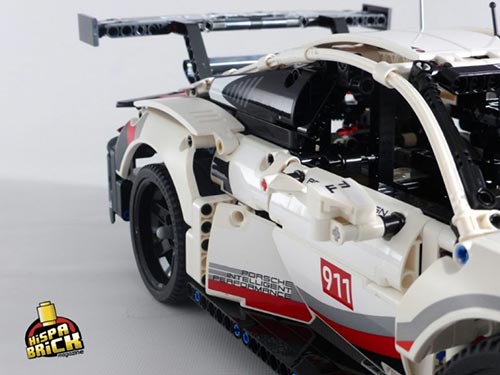
One of theses building techniques is related to placing a curved panel between the door and the rear wheel. This placement of the axle is not something you see in many official sets and the result is quite good:
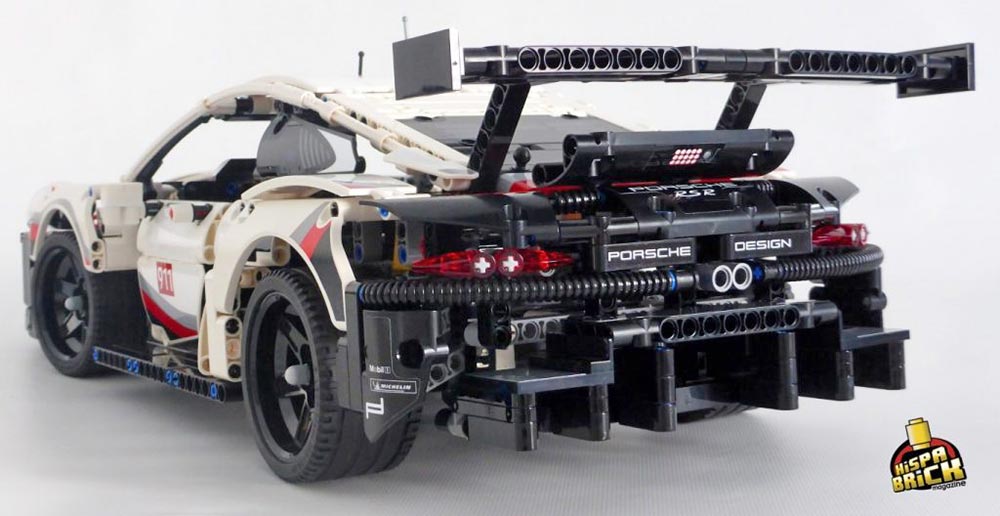
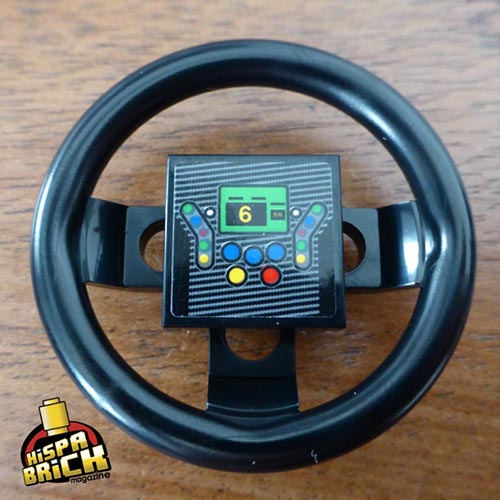
Every last (sticker) detail has been taken care of, down to the name of the license partner in this set, placed on the driver’s seat. There are also more necessary stickers like the one on the 2 x 2 tile in the centre of the steering wheel.
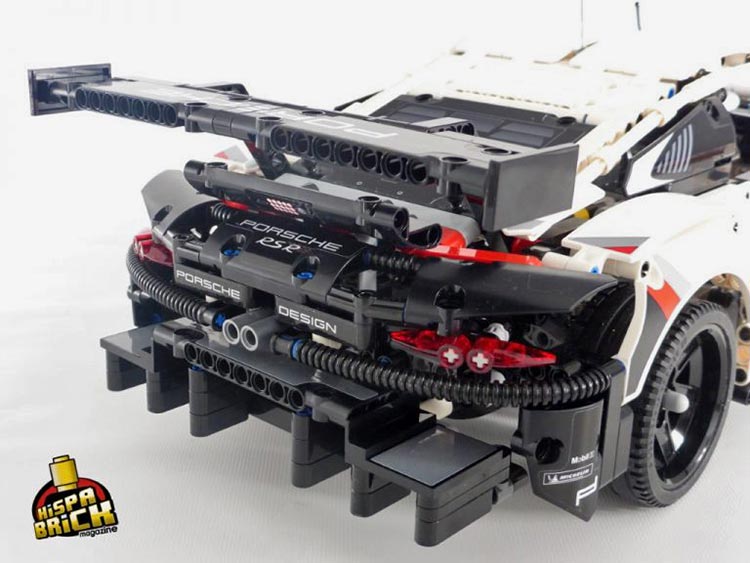
There is also a series of stickers at the rear of the vehicle. Without those it would have been hard to create the same effect.
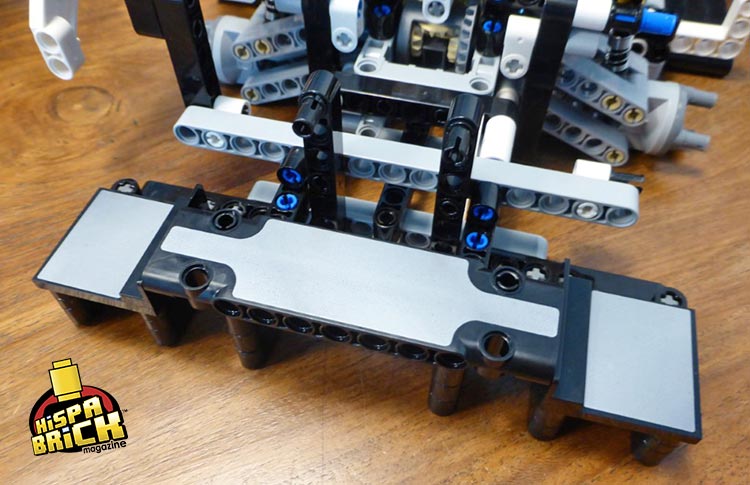
There are other details I don’t quite understand and that the instruction booklet doesn’t explain. I am sure they correpond to some real-life feature, but I’m at a loss.
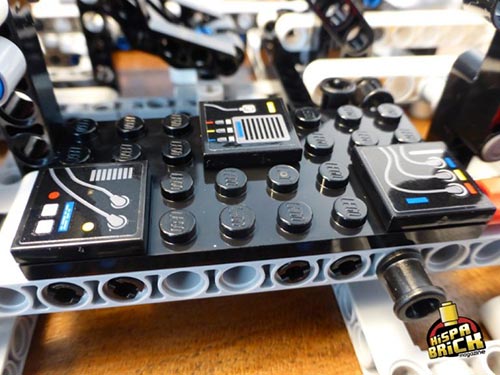
The truth is there are 3 tiles scattered over a 4 x 8 plate that don’t represent anything meaningful to me, not even when I take a step back and see the red axle connectors that serve no other purpose than decoration.
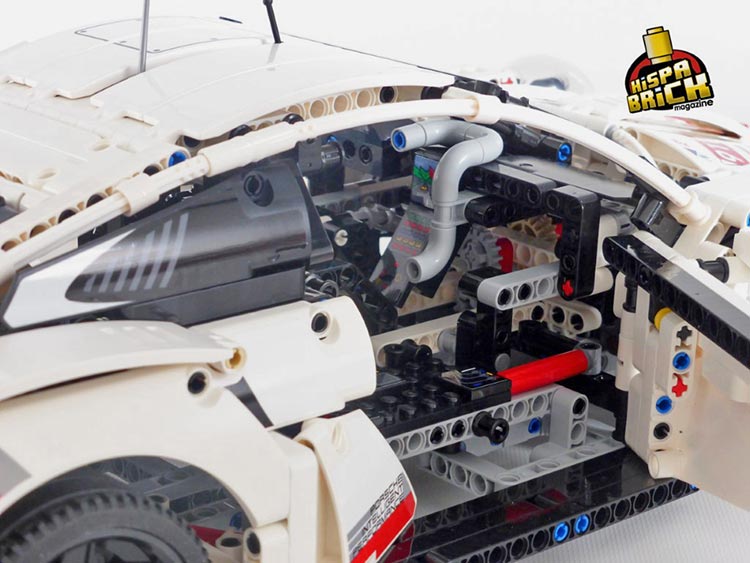
Seen inside the finished model I still have no clue what I am looking at. I can’t quite place the grey tube on the dashboard either, but it is a cool construction. Some more explanation in the booklet would have been nice.
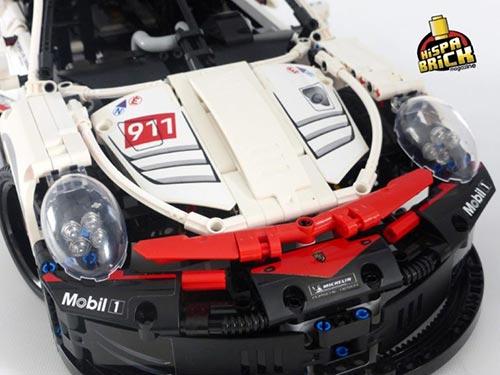
The construction of the door (which are quite robust) and the rest of the “panelling” are entertaining enough despite the number of stickers that are applied. I am not necessarily against stickers. Sometimes they are essential in representing certain things and in this set they are very obviously necessary to make it look like the real thing. It’s a pity that the white panels almost look yellow after applying the shiny nuclear white stickers, making them look somewhat aged. This is especially noticeable on the roof and on the hood.
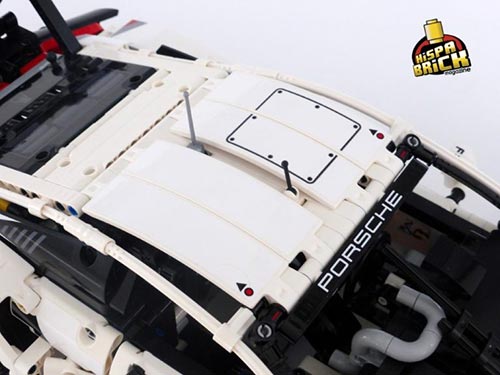
On the other hand there is not a single sticker that covers more than one element. This requires some more precision while applying the stickers, but the result is very good. Some examples are the three-part sticker on the spoiler and the two-part sticker for the rearview mirrors.
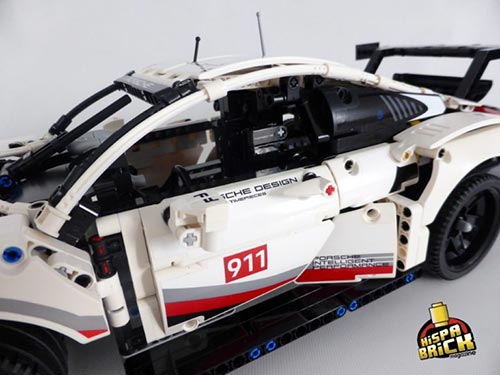
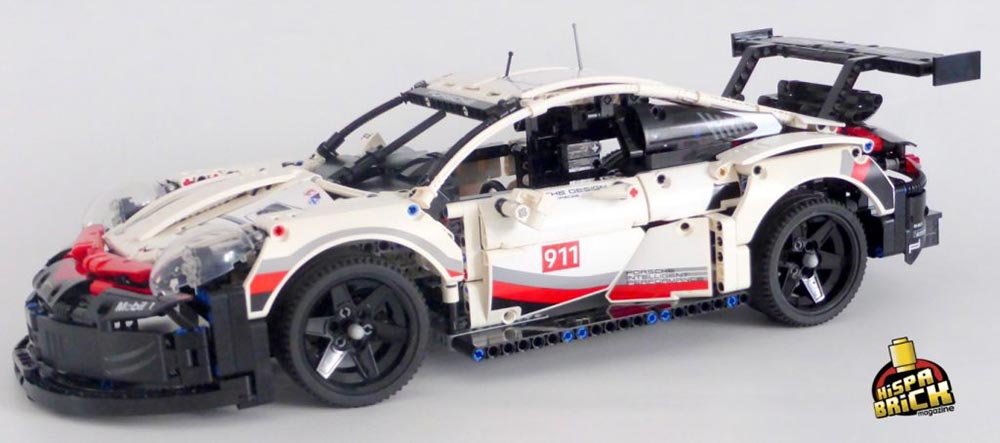
The finished model looks very good.
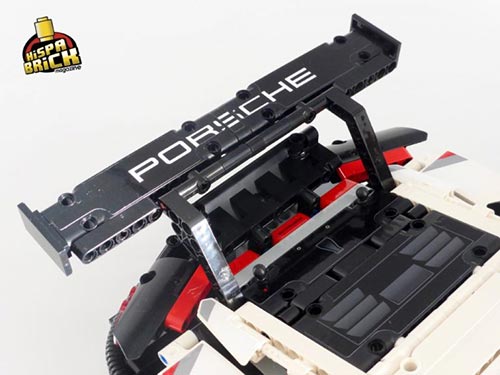
And you can even see the engine if you open the “third door":
Lots of bodywork and little technology. That about sums this set up. Of course that means there is plenty of space for improvements and additions:
Or you can simply put the model on display and enjoy its looks…
We wish to thank LEGO for providing this set for review—however, all our opinions are our own and LEGO neither approves nor endorses our site.
7009


