Set Review ➟ 31244 LEGO® Orient Express

Quoting Ollie Gregory, set designer, from the instruction manual: “The model is also larger than traditional LEGO trains, which means extra space inside to have details and, of course, play!” The first half of that sentence is mostly correct, the second part of that sentence is fair enough, the last part I would advise not to attempt.
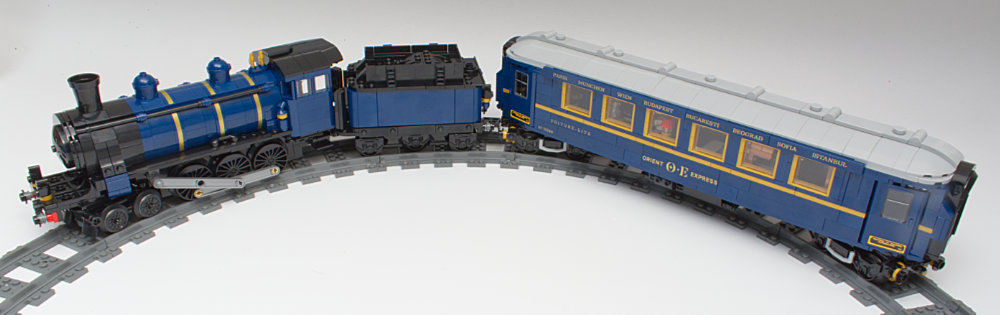
Point one: there is no debate that this is a very long model with the base measuring 144 studs (46in / 117cm) long. I'm not sure what metric or definition constistutes “traditional LEGO trains” but the wheel base width for this train is exactly the same as the 10254 Holiday Train, which fits recent 53400/53401 RC track, measuring 6 studs wide rail-to-rail. The RC track is 8 studs wide and the base for the Oriental Express is 10 studs wide (3.25in / 8.3cm)—the difference being that the Oriental Express track has a border around it. The height of the train sitting on the track is 4.75 in tall. Off the track, the engine at its highest point is shorter than the Holiday Train engine at its highest point.

Looking at overall width, the Holiday Train with all its exterior greebling is wider by at least 5mm. Comparing the cars, though, the interior space of the Oriental Express measures six studs wide where the Holiday Train measures four studs wide. Other points of comparison include the 10277 Crocodile Locomotive sitting on a 10 stud wide base with an interior car width of four studs and the 60337 Express Passenger Train sitting on 8-stud RC track and having and interior car width of four studs.

Point two: the interior height of the Express Passenger Train cars varies from about 4-2/3 to 7 bricks high where the interior of the Oriental Express cars is about 5 bricks high. The usable interior length of both the Passenger Train and the Oriental Express cars is 30 studs. The Passenger Train has an extra two studs worth of build on either end which is not usable where the Oriental Express has seven on either end three of which is usable. So, yes, the usable interior space of the Oriental Express is greater than that of other trains.
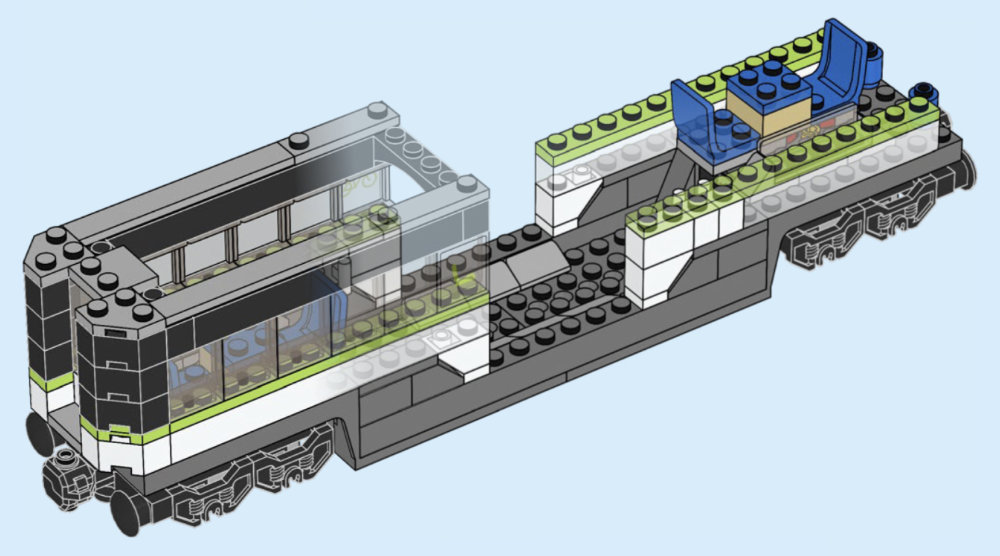
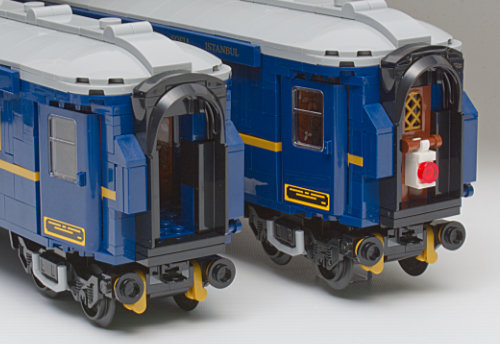
The Passenger Express car with 4-stud-wide interior.
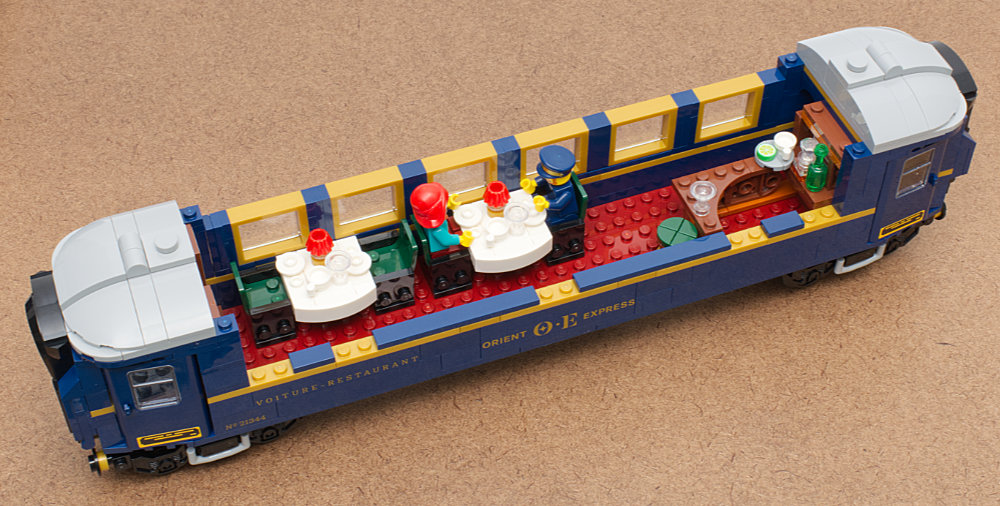
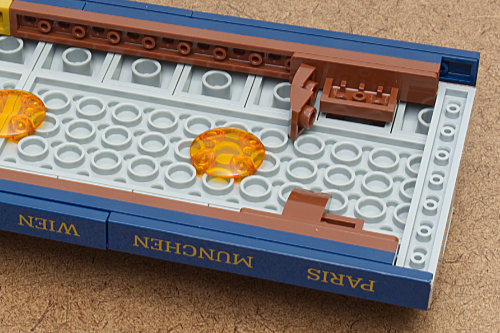
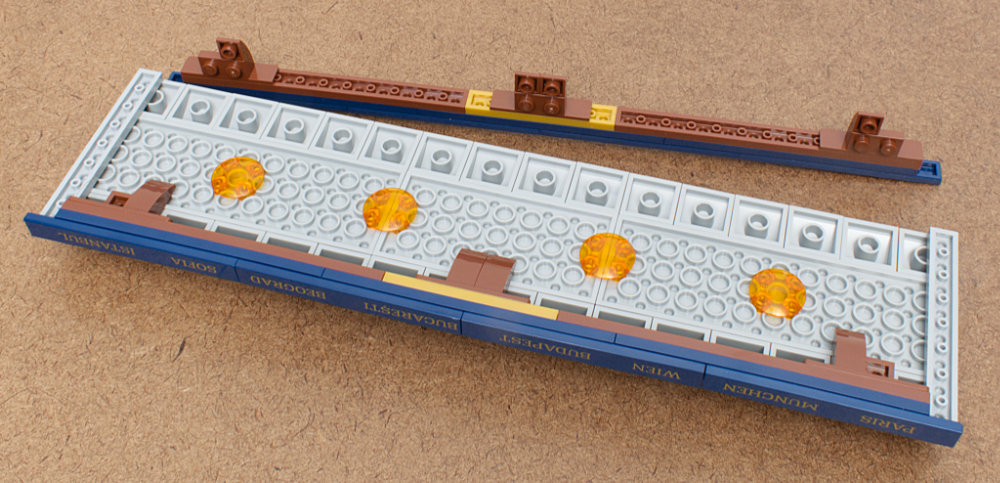
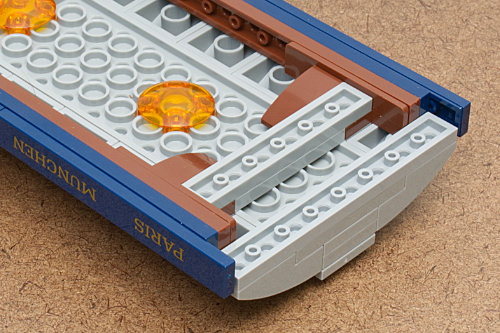
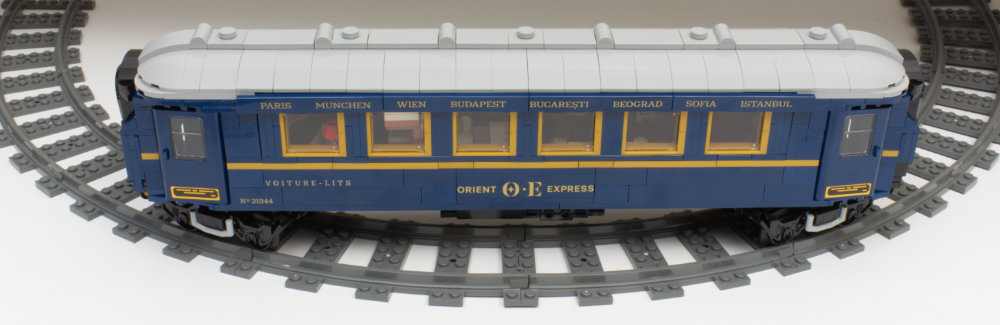
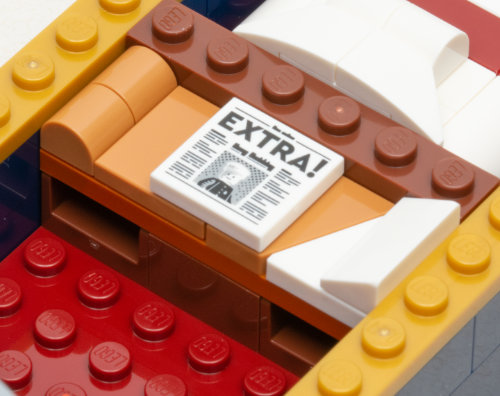
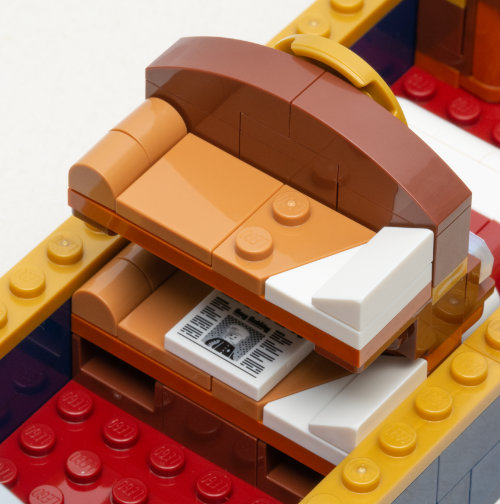
The Oriental Express car with 6-stud-wide interior.
Point three: play. Uh. No. There is no way I can recommend this model for play; I will explain why.
In a most un-LEGO-like assembly, this is perhaps the least robust assembly of any LEGO model out of hundreds I have built. I will cite a few specific examples, but these are by no means all, and some were encountered during the build and some during and after the build when moving the model to take photos or otherwise examine for reference when writing this review.
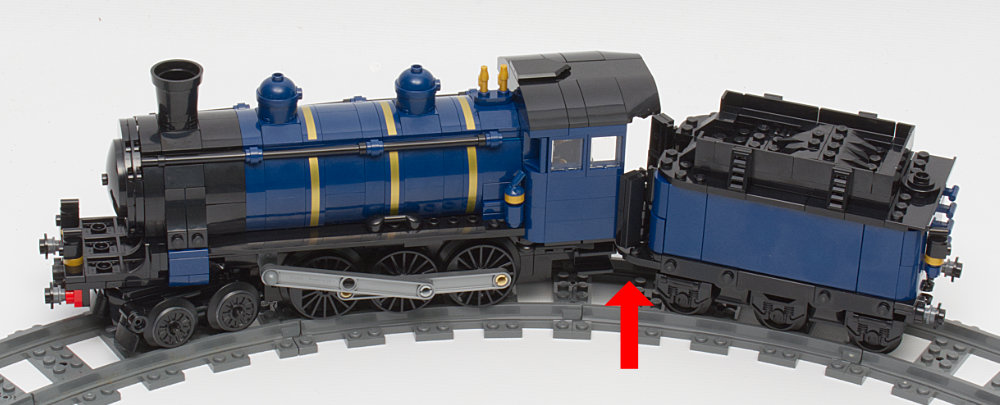
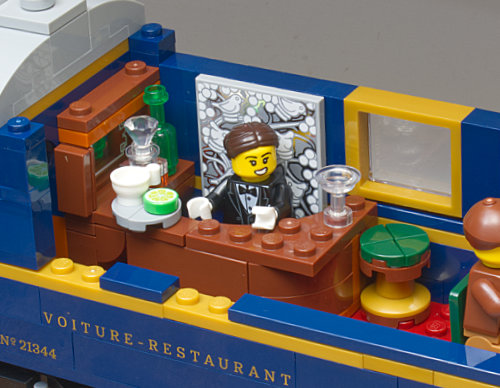
There are a number of somewhat little subassemblies which rely on a single stud as an attachment point. I had a buffer assembly fall off when uncoupling the tender from the sleeper car. There is a large corner plate in the restaurant car, at the bar, which is attached by a single stud and which really does not want to stay in position as intended.
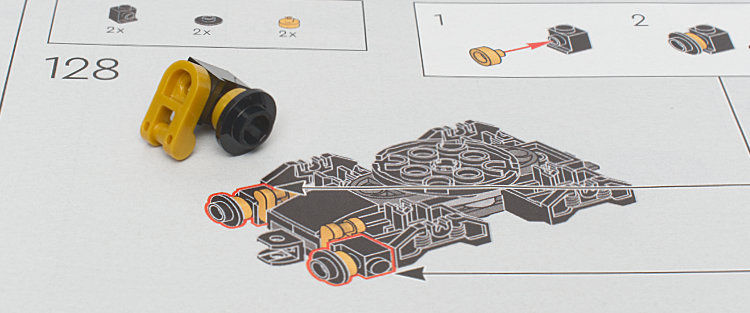
Here’s the buffer, having fallen off, along with the assembly point as shown in the instructions.
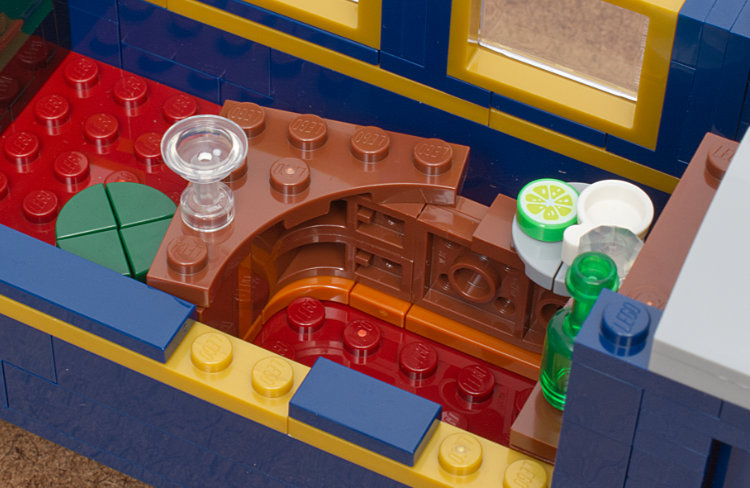
Here’s the bar top, misaligned, so illustrate how much play there is with the part.
The window sections of the sleeper and dining cars are SNOT attached to the cars on one side only. There are five 2-stud attachment points along the length with no end or top attachment points to provide stability. Heaven forbid you attempt to pick up the fully assembled car by grabbing at the window section. The windows tip in and the car top will come off and the rest of the car may fall.
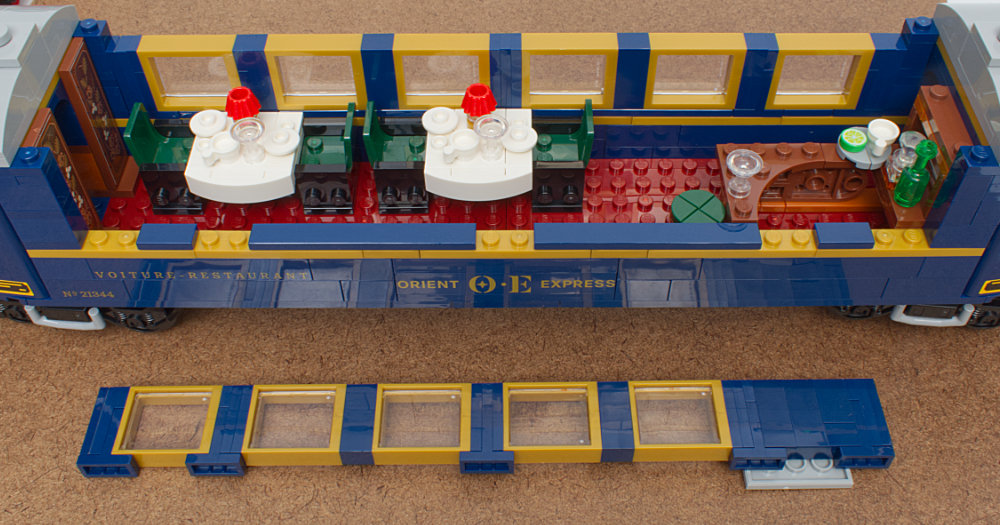
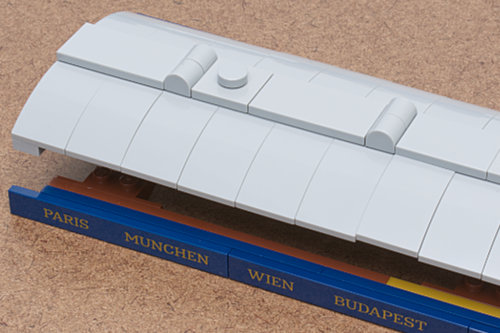
The car tops are similarly flimsy. The each of the curved roof tiles is attached to a long center column by two antistuds on the underside of the roof tile. There is no other attachment point on the outside edge or elsewhere. Instead, the outside edge rests on a side panel, the part with the city names, that is attached at three points by a SNOT connection. As such, any downward pressure on any of the curve tiles at a point not near the top center tends to push the side panel down, which then loosens and parts may pop off.
Ultimately, the more you mess with the roof the more likely it is going to go to pieces. I find the little brown curve pieces falling off constantly, sometimes inside the train.
Those 1x2 curved pieces just do not want to stay attached to either the brackets or the underside of the roof.
The long roof sections are held to the model at four corner points which is not uncommon. But because there is very little cross support from side to side, light side-to-side pressure on the side panel assemblies with city names also causes the panels to detach and parts fall off (at least before you go all MOC warrior and add some parts).
Eventually I got so frustrated with the situation that I added a 1x4 stacked on a 1x6 plate to either end of the roof assembly to hold the sides in place.
I found that placing fingers at the four corners of the roof and lifting straight up without putting any pressure from side-to-center is how to safely remove the roof, but understanding this requires the experience of the failures of attempting other methods.
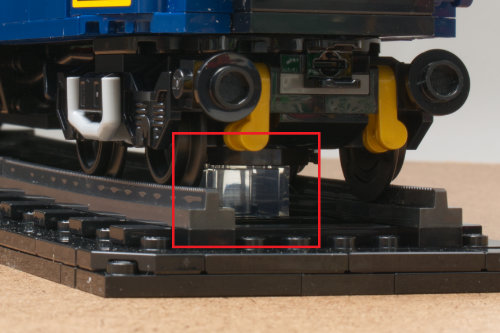
The entire train is held to the track by a single 2x2 brick. It is a little fussy to get that fixed because pressure has to be exerted through the height of the train onto a brick that sits under the wheels…which of course want to move…both forward and backward and spinning about the center.
I do not want to condemn the model as a whole because of these points of iffy construction, but I do want to suggest that when the grandkids want to get it down and play with it they get told no, it’s a model that is just for looking through, like Lone Watie’s piece of hard rock candy.
On to the build
Aside from those bits that kept wanting to fall apart after assembly, I found the build to be quite enjoyable. The build basically consists of five parts: the track base, the dining car, the sleeper car, the tender, and the engine assembled in that order.
I am not much of a fan of the base being essentially monochromatic black; the base, frame and ties are black and the rails are titanium metallic. Aesthetically I would have preferred a gray base with dark ties and lighter color rails akin to the Crocodile Engine’s base. But maybe there is some historical precedent where the actual rail line between Paris and Istanbul is indeed black from soot or something. More likely LEGO just thinks everything in the adult line needs a black base.
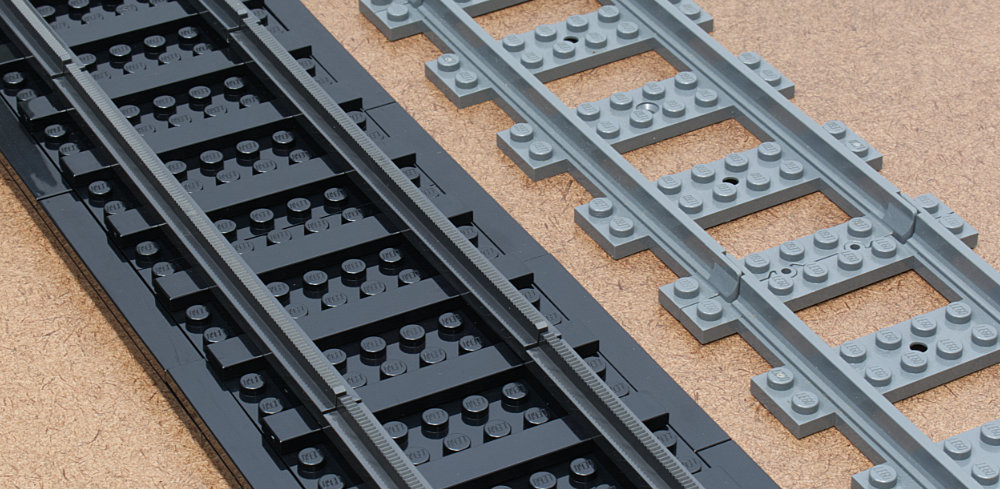
the black track base next to RC track
As mentioned earlier, the track spacing is six studs wide rail-to-rail, which is the same as recent RC track. And the answer to the question everyone is asking is: kinda. Does the Oriental Express fit the RC track? Kinda. There is trouble when it comes to the curves.
The dining and sleeper cars fit without any trouble given the wheel assemblies on both ends of the train allow for 360° of movement.
The tender fits barely. The tender has three sets of wheels, but the distance between the first set and the third set is just at the limit of what will fit given the curve of the RC track. The middle set of wheels on the tender slides side-to-side, which helps the fit, as the middle set can move away from center towards the outside of the track arc.
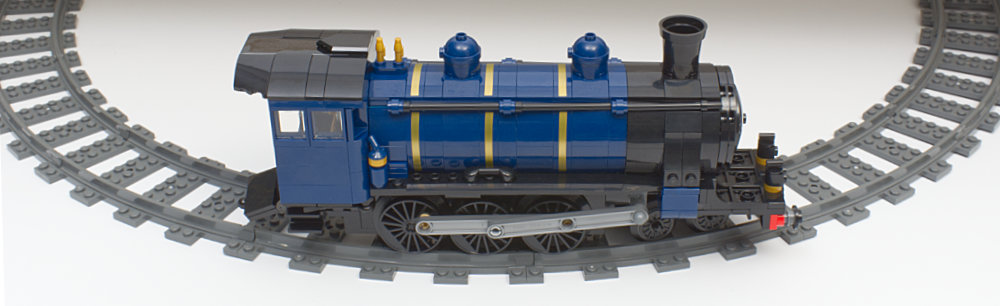
The engine also fits just barely. While the pilot truck (front set of wheels) have completely free 360° movement, the three pairs of drive wheels fit such that the front and back wheels are pressed to the outside of the track while the center wheels are pressed to the inside. If the wheel base was any longer, then one wheel somewhere would likely be off track in this tight of a curve. You can push the engine on the track, but while the wheels turn, they kind of also skip-slide along the curved track as opposed to turning freely as they do on straight track.
The space between the engine and the tender is also tight and the engine can bump into the tender door that is to the inside of the track curve.
In the end, the curved RC track sections would probably need to be built with double the current curve radius to accommodate the Oriental Express.
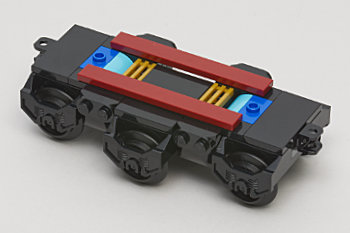
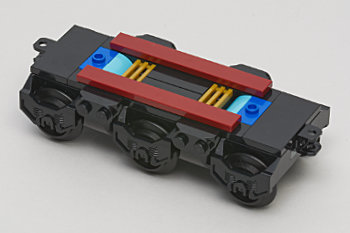
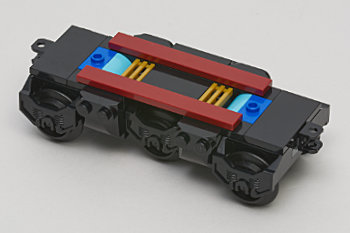
Unlike many other LEGO trains, the wheel assemblies are completely brick built instead of being either fully or partially preassembled units. There does not appear to me to be any means to easily attach an RC unit and swap out elements to put this train onto a larger track layout, and I suspect both the weight of the train and the length of the cars combined with the tight fit of the engine and tender would be greater than what one of the standard RC units would be able to efficiently propel.
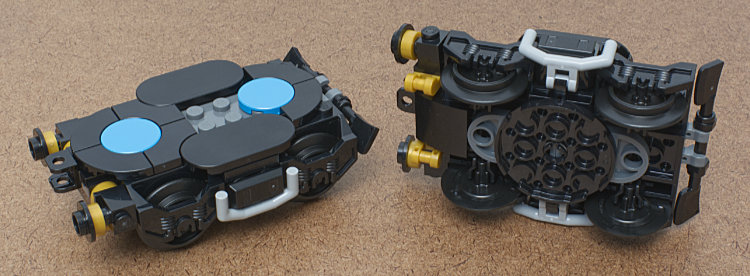
Completely brick-built wheel assemblies.
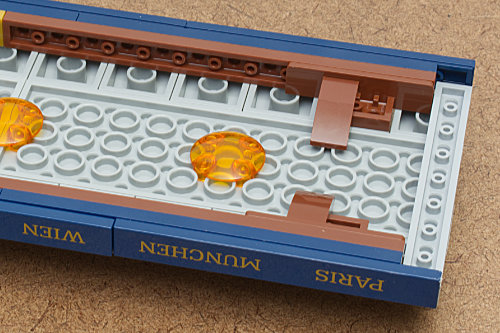
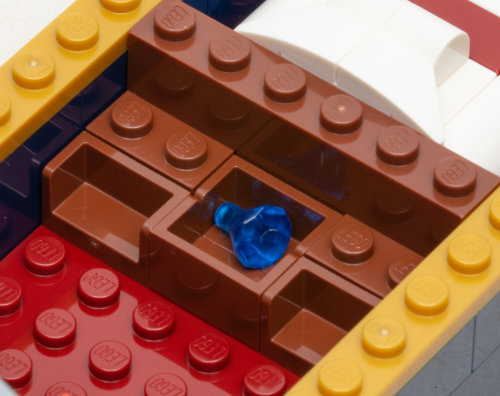
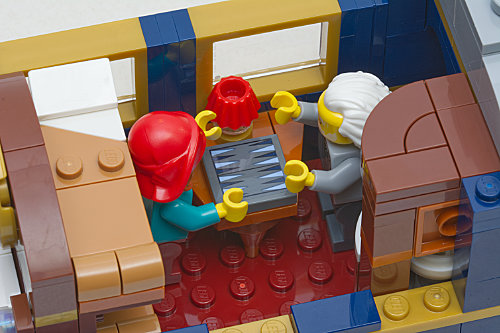
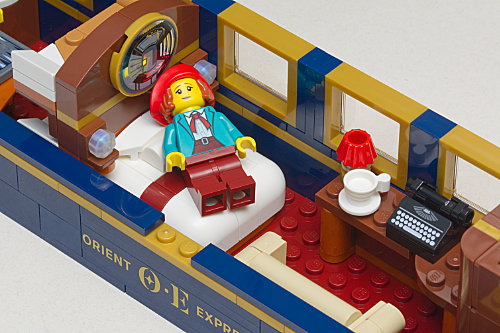
There is an Easter Egg of a blue diamond hidden under one of the bunks in the sleeper car. However, the bunks, like virtually all the interior elements, are not functional with minifigures as the scale of the figures is out of proportion to the available interior spaces. Doors and pathways are too narrow to accomodate figures, bunks are too narrow and aren’t even as accessible as the famed double-decker couch from The LEGO Movie. Placing figures anywhere in the car interiors is fussy at best as the space available is very tight.

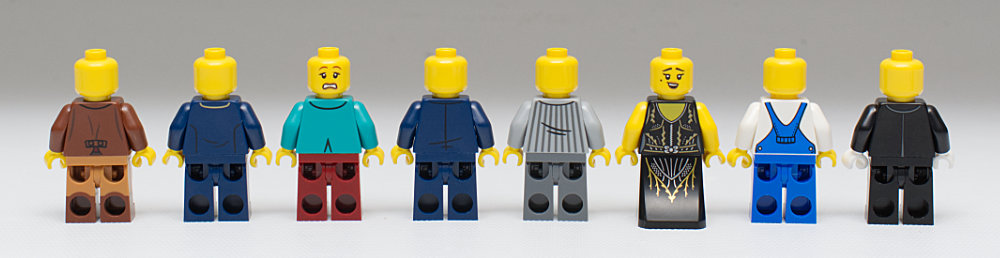
I question the choice to even include minifigures with the set. I see the set being more akin to the architectural line, and Big Ben and the Colosseum don’t particularly suffer from the absence of minifigures.


While scale considerations are definitely in play relative to including interior elements, the elements are interesting and detailed if not completely accurate representations of the original train interior. As interpretative elements, though, they are delightful.

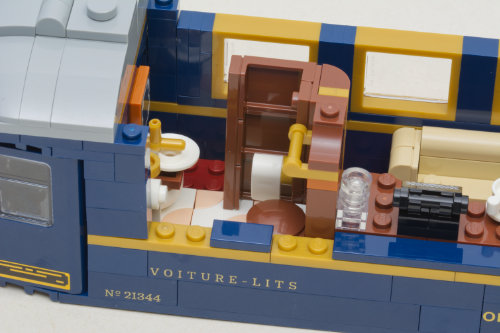
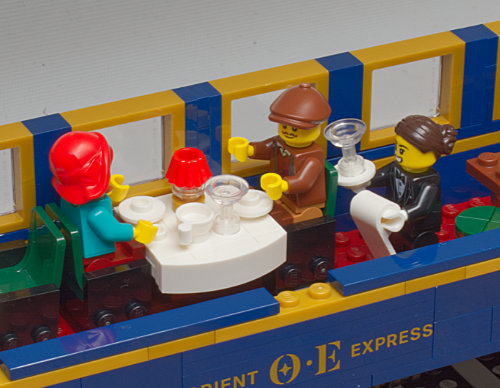
The end of the dining car, which serves as the end of the train, has a fixed closed door. The other end of the dining car and both ends of the sleeping car have open ends without doors. Minifigures do not fit through the end doors.
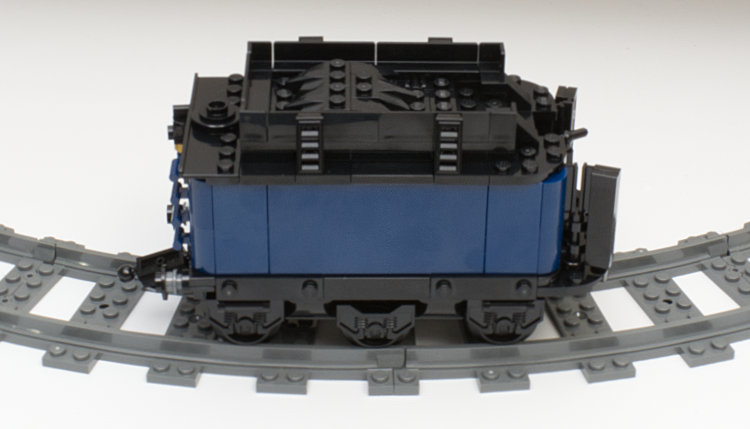
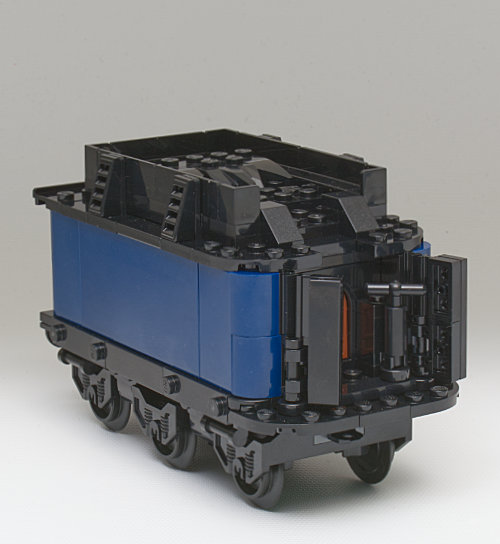
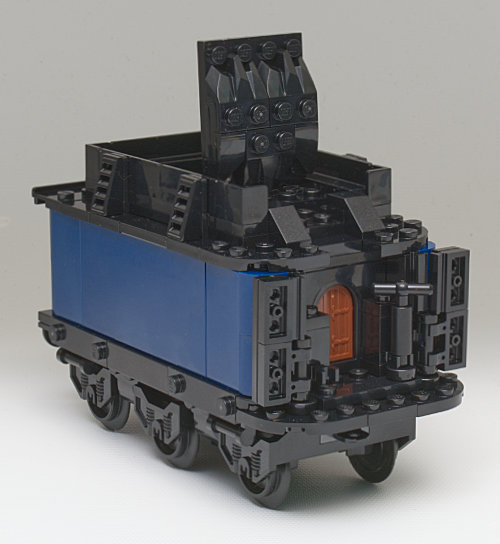
The tender has some nice detail, and really the only complaint is that on the front end it is all black and therefore a bit difficult to see. The wooden door does not open, which is a minor disappointment. The top does open, which is a bit perplexing. Maybe when you commit murder on the Orient Express it is a place to hide. I would think that there would just be a pile of coal and not a container of coal inside a box disguised to look like a pile of coal. Some train person can explain it to me.
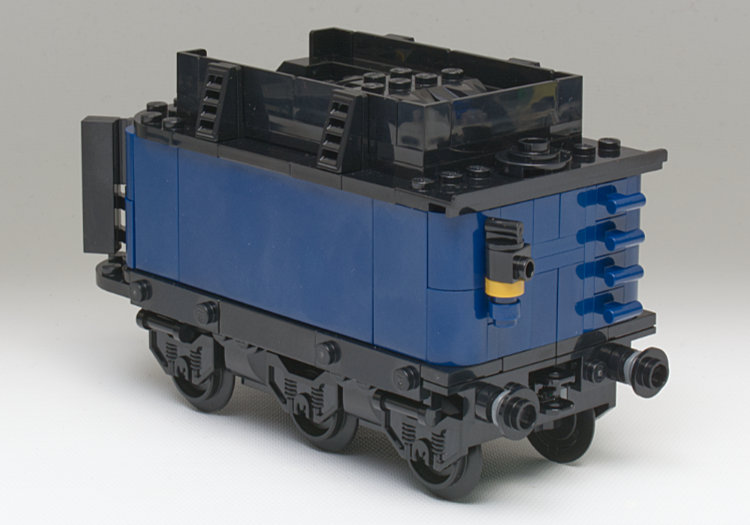
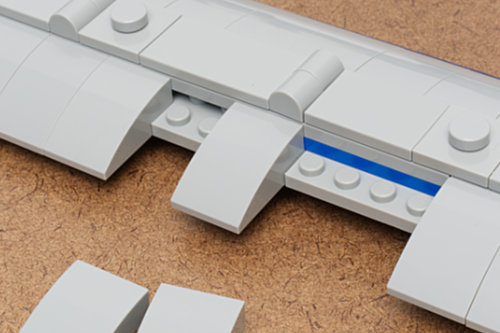
Below you can see the sliding motion of the middle set of wheels. The dark red tiles shown are not part of the assembly. I used those to hold the model together and to provide contrast for the photo.
On the engine the cab has some wonderful detail.
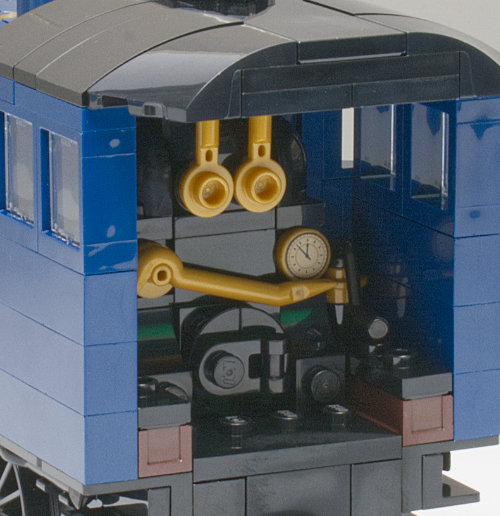
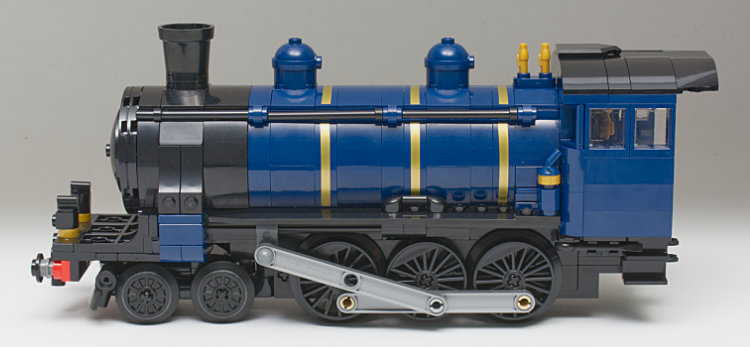
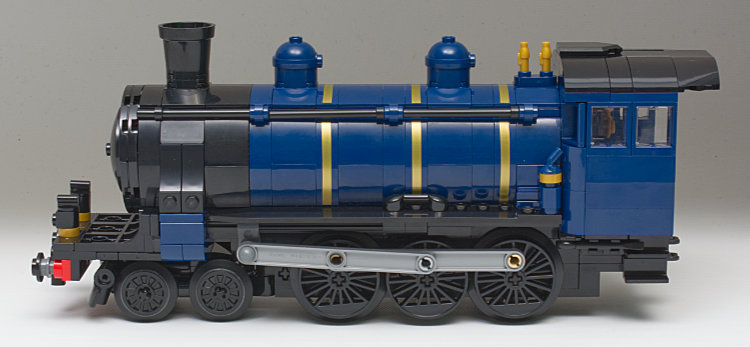
LEGO went the to the unnecessary step to make the drive rods functional and not merely decorative.
The Randolph T. Fielding Absolutely Administrivia Section
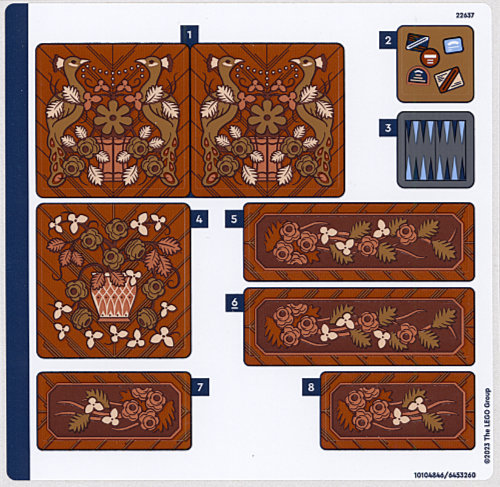
The set comes with two sticker sheets, one printed on white and the other on silver foil. After I got the set partially assembled LEGO notified us that there was an error in the printing of some of the stickers and that we should hold off on attaching stickers (too late) and that they would be sending out a replacement sheet. The error turned out to be that what was printed yellow-orange on the foil sheet of stickers was changed to metallic gold. FWIW the orange photographs better. In the meantime I guess there are now a handful of sets loose in the world with a LEGO rarity. Word up to the hardcore collectors.
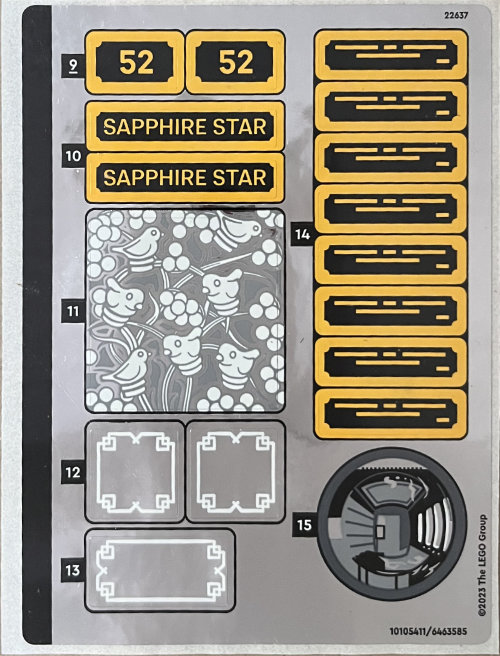
The original “orange” stickers with a sheet number 101105411/6463585.
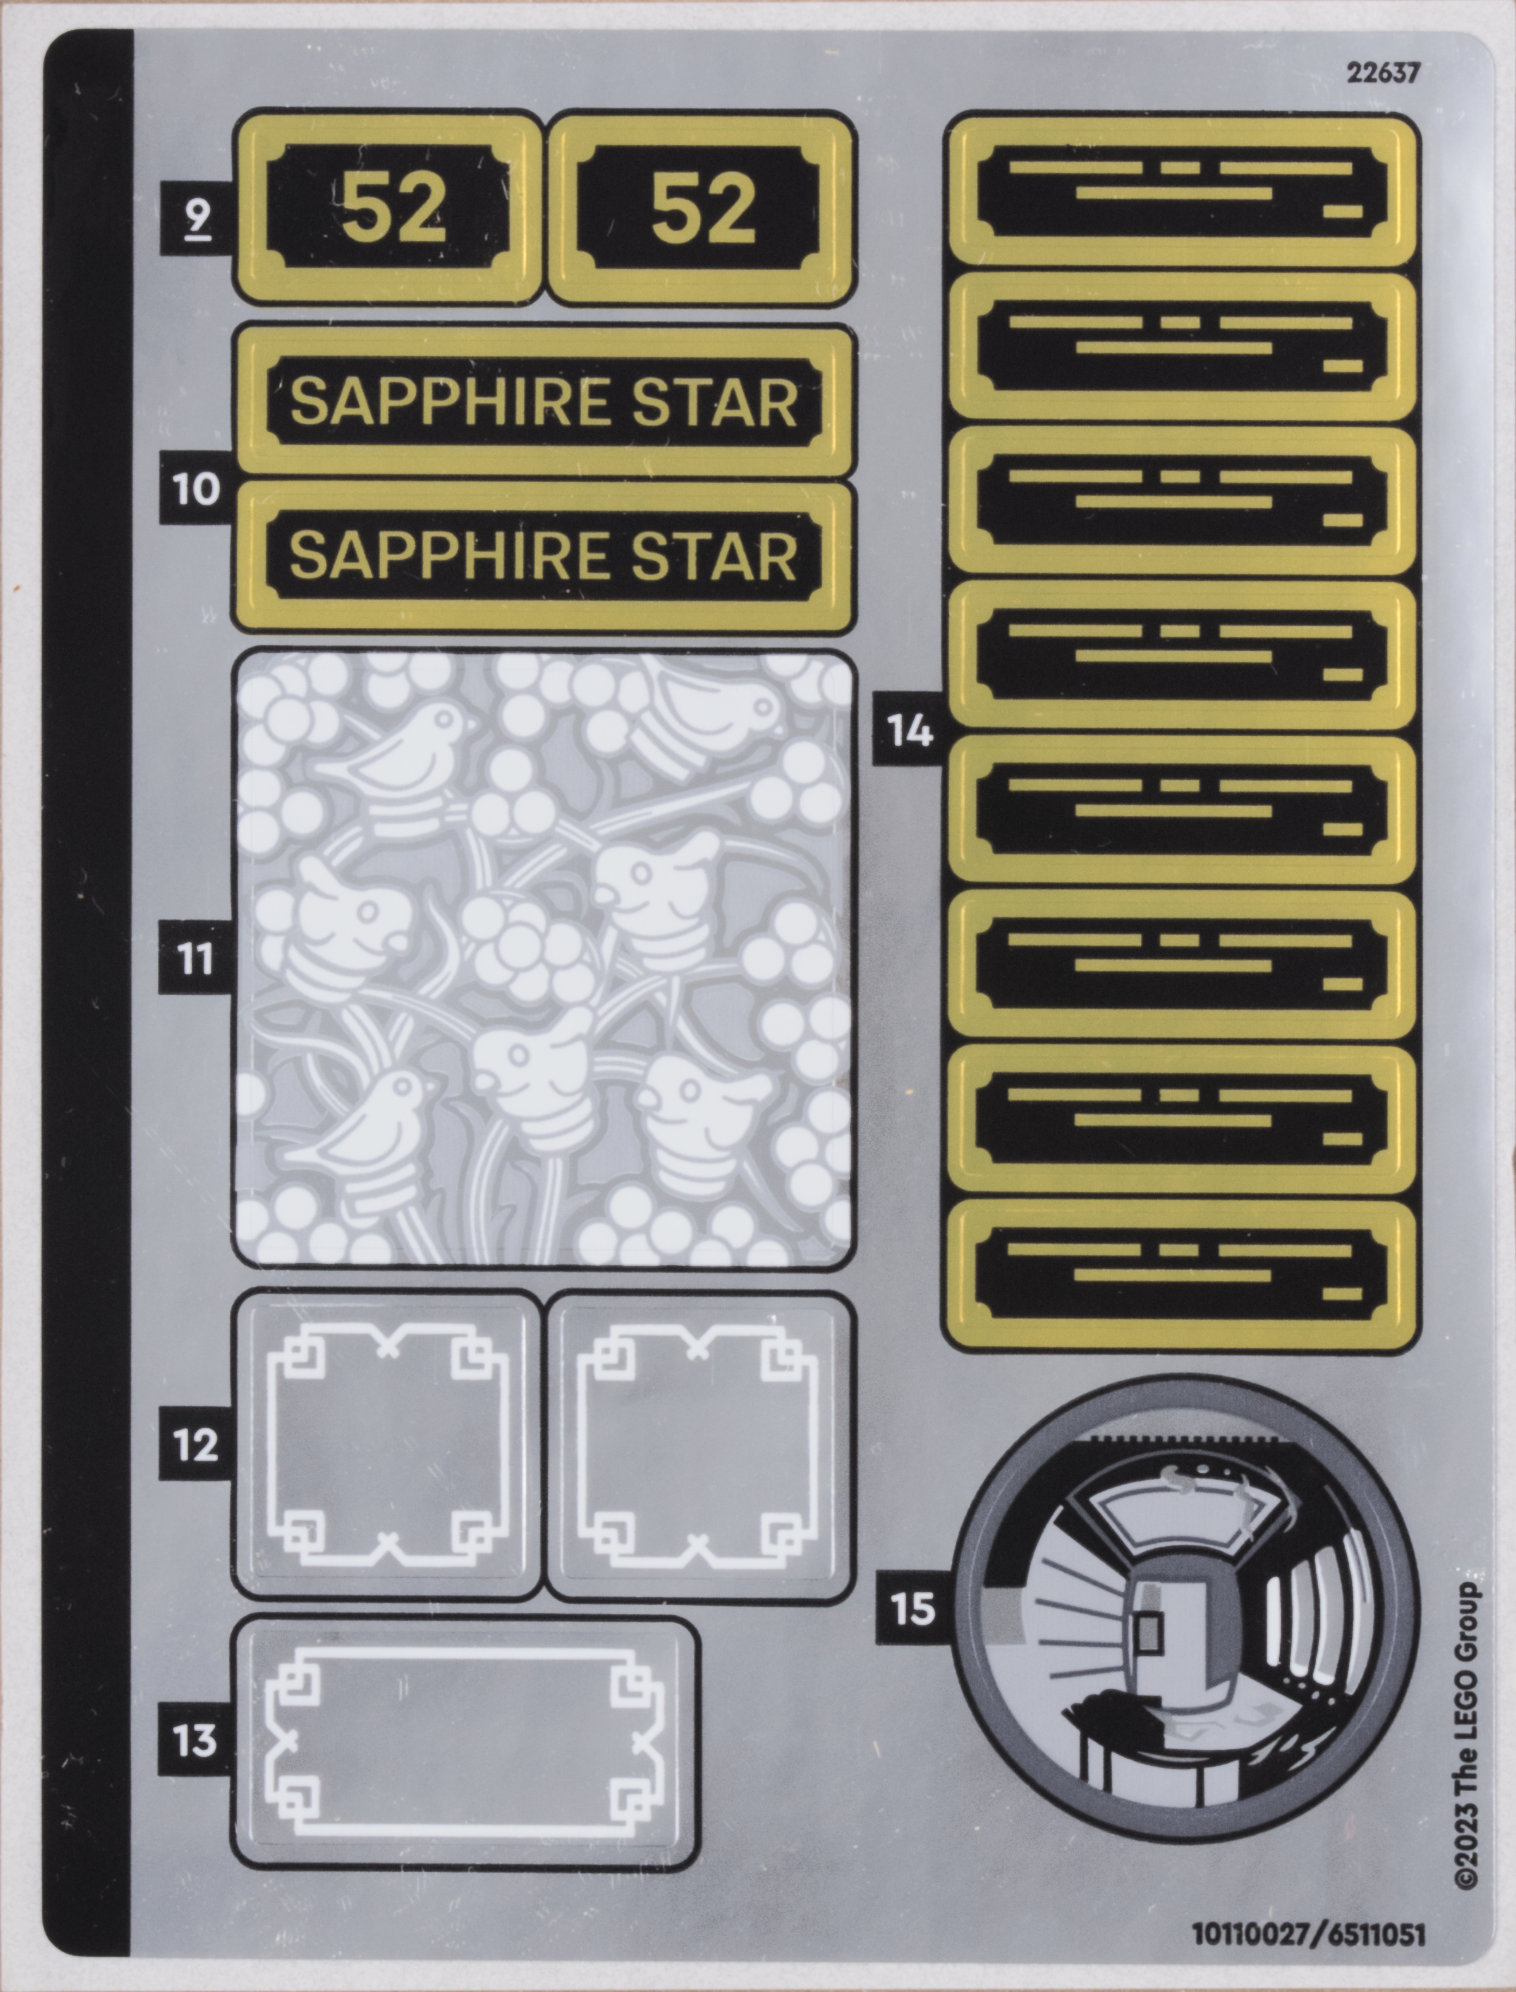
The replacement “gold” stickers with a sheet number 10110027/6511051.
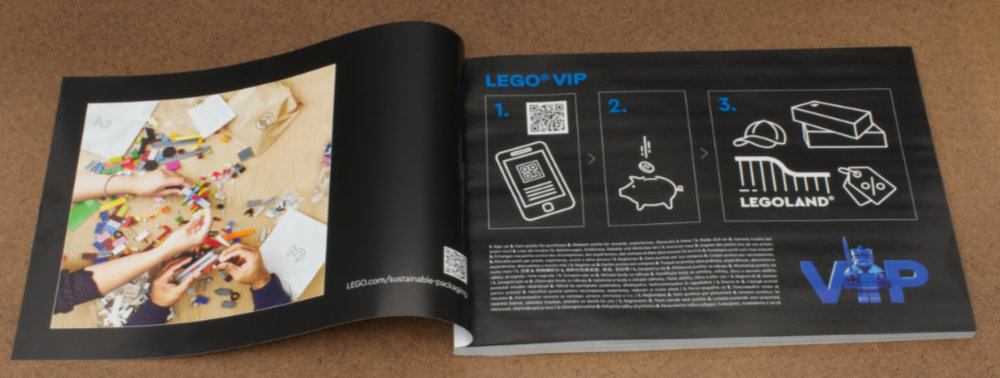
One other note relative to the instruction manual. The first couple pages of the book tout LEGO VIP…and it has been months since that program was renamed to LEGO Insiders…so must be the manuals were printed some time ago.
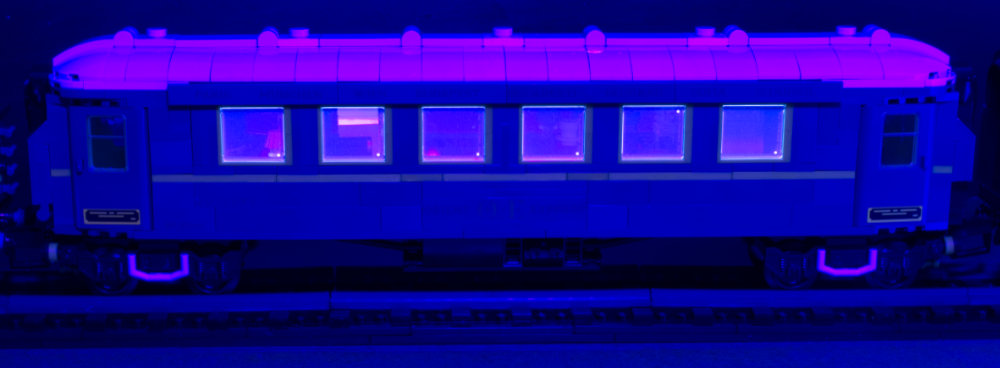
All the transparent pieces in the set fluoresce except for the windows in the doors.


New parts: 3170 1x2 plate with balls on the short sides, 67649 dome with side stud, 4585 bracket, pen and 2590 head wrap.

3170

67649

4585
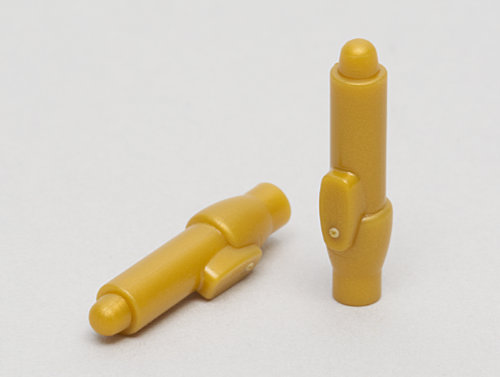
pen

2590
2590
New colors: 18742 bucket in black, 27955 hat in red, cupcake in red.

18742

67649

79743
Summary
There are just two problems with this set: 1) it constantly wants to fall apart, 2) it’s so long you will have trouble finding a place to display it. So, you know other than it can’t be played with and it’s a display piece looking for a place where it can be displayed, the thing is pretty awesome.
Disclaimer: LEGO kindly provided the set for this review.
33605


