Set Review ➟ LEGO® Speed Champions 76906 1970 Ferrari 512 M

The Speed Champions Lamborghini Countach has set a high bar for this vintage Le Mans-style racer to follow. On first impression, the box art does the model no favors with its extreme perspective and suggestion of glowing headlights. Yet it also already looks far superior to 2016’s 6-wide Porsche 917K, which was a similar type of racecar. The big questions for me here are will the selected canopy piece work here given the 8-wide scale? And how will this Ferrari build compare to the impressive Countach set? Read on to find out.
Box and Contents
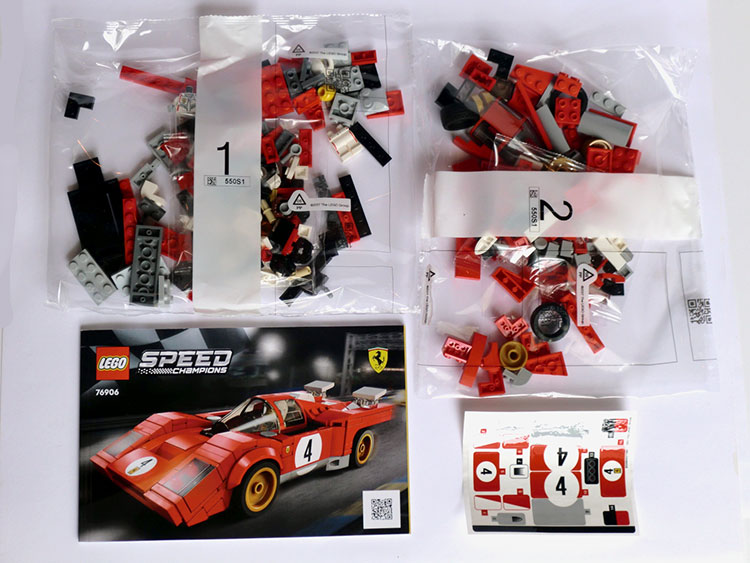
The box contains two numbered bags, an instruction booklet, and the sticker sheet (opaque this time rather than clear-backed). Parts of interest include red 1x5 plates (x5), a pair of red 1x2 vertical clip plates (78256), two red 1x2 inverted arches (78666), and of course the red-printed canopy piece.
Build Process
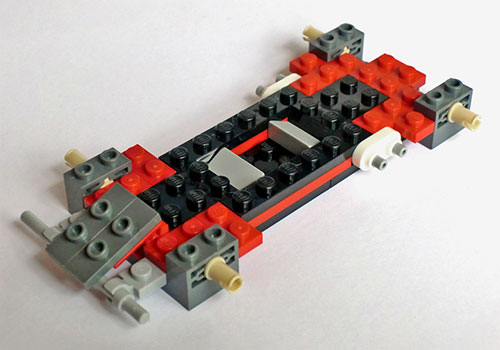
We again follow what will be the standard sequence of building the driver, chassis, and rear section from Bag #1, followed by the rest of the car from Bag #2. The driver features a white racing suit with a fantastic print design, and red stripes extending down onto the hips and legs. A spare hairpiece is also included as an alternative to the helmet. The chassis interestingly starts as a hollow rectangular frame, before the older style of chassis (part 30029) is dropped into the center. A stickered triple-dial 1x2 cheese slope is added behind the high-positioned steering wheel (though if you have one, a printed part will do here nicely), and the positioning of the seat-back means the driver will be seated in a fairly vertical position.
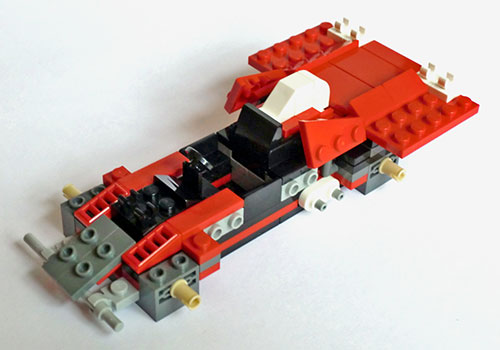
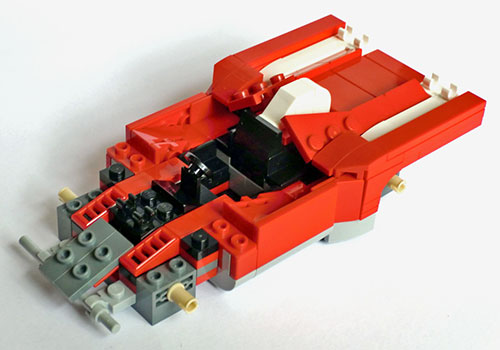
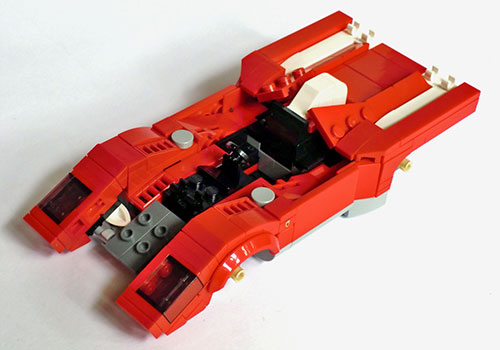
At step 31 we build a section that mounts the hinged 2x3 wing plates behind the cockpit. This section feels a little like building an engine, and it is positioned directly underneath the air-scoop. With a few colour substitutions, from white/yellow/red to black/silver/grey, you can easily make this area look more like engine detail. The bar-mounted tail lights are very nice, above the candlestick exhausts, and the top-rear panel is mounted on jumper plates for a half-stud width extension on either side.
Bag #2 introduces some clever building solutions for the inverted rear fender sections, which are attached on either side via bar/clip connections. A completely unnecessary sticker is used to blacken half of the back of red 1x2 hinges in each side intake area, though I do appreciate the attention to detail. The angled front headlight sections are very well built, though the printed trans-black 1x2 tile headlight sides don’t work well. The print stops short of the edges, and doesn’t really match the surrounding red parts, so the minimal advantage of extending the headlights to the outer edge of the car doesn’t really justify how bad this looks from the side. The hinged windscreen, securely-angled front bonnet, spoilers and wheels are then added to complete the build.

Features and Functions
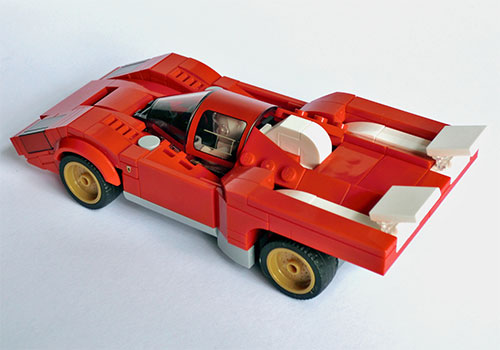
The car rolls smoothly on its wheels and the hinged canopy gives excellent access to the driver’s compartment. The build is mostly very sturdy, though the front headlight sections can be knocked forwards slightly out of position. While I don’t think it was intended as a feature, the white air scoop behind the cockpit connects via a single stud so it can be lifted off, though you’d need to recolour the underlying parts as suggested earlier for them to look convincing as engine detail.
Overall Impressions
The completed model features really beautiful shaping and proportions, and was also very satisfying to build. The cockpit section is certainly narrower than on the real car, which alters the look somewhat, but it still works for me and I don’t think there is a better existing solution. The print on the canopy is very nice, and sufficiently opaque to match the rest of the car. I particularly like the inclusion of the sliding side ventilation window on each side. The model looks fantastic even without stickers, and another fun bonus inclusion is the printed 1x1 plates with Ferrari badges on each side. Instead of including just the two (plus spare) that I was expecting, the set includes this print on all seven red 1x1 plates in the set. So if you have the parts, you can substitute regular 1x1 plates elsewhere in the build to have a bunch of extra Ferrari badges for your own MOCs.
The set isn’t perfect though, and there are two alterations that I would strongly recommend. The first, as mentioned earlier, is to replace the printed headlight side 1x2 tiles with plain regular red 1x2 tiles. The second is to build up the internal side walls on either side of the driver’s compartment, so that you can’t see under the cockpit sides when it is closed. This is an easy fix, and requires only a couple of red 2x3 tiles and #33909 modified plates. (For comparison, a shot of the model modified with both of these corrections is shown below.) Overall though, this set is a stunning success, and definitely gives the Countach a good run for its money. Both are really great sets.
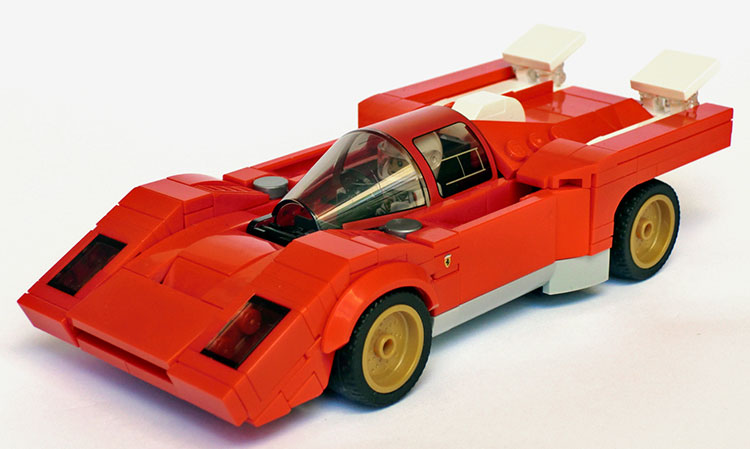
Modified set. Some additional parts used.
We wish to thank LEGO for providing this set for review. The opinions in this review are not supported or endorsed by LEGO.
33509


