Set Review ➟ 10272 Old Trafford: Part 2
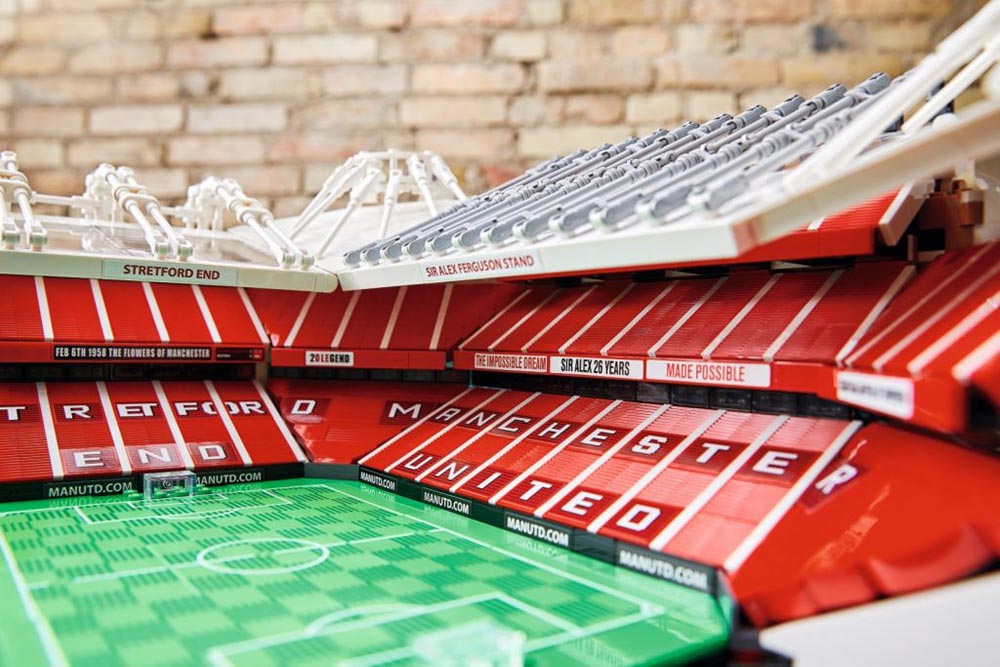
In Part 1 of our review we built the pitch and the 2 smaller stands: the East Stand and Stretford End. The next construction in the book is the large Sir Alex Ferguson Stand which needs bag numbers 8 to 16 (9 stages in total). Of course it also includes the 2 corners that connect with the smaller stands.
Just like in the previous constructions, we start out with a large base built with Technic Bricks and plates as well as a few bricks.
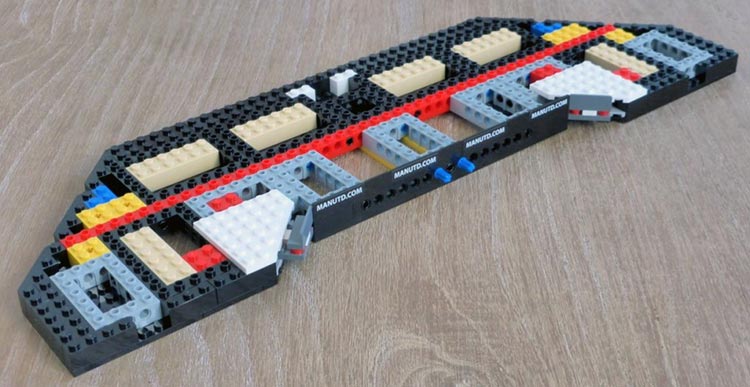
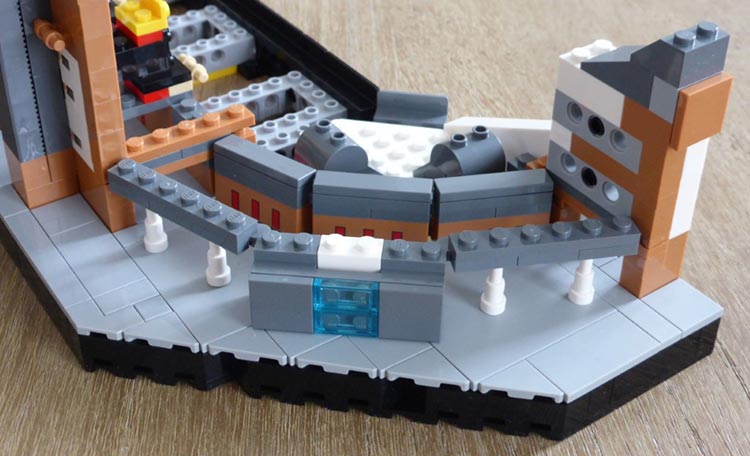
After this it is time to cover the outer rim with quite a bit of tiling. Initially I was surprised by how much area is covered with grey tiles, but after adding a fe construction details is soon became clear why the tiles needed to go so far in.
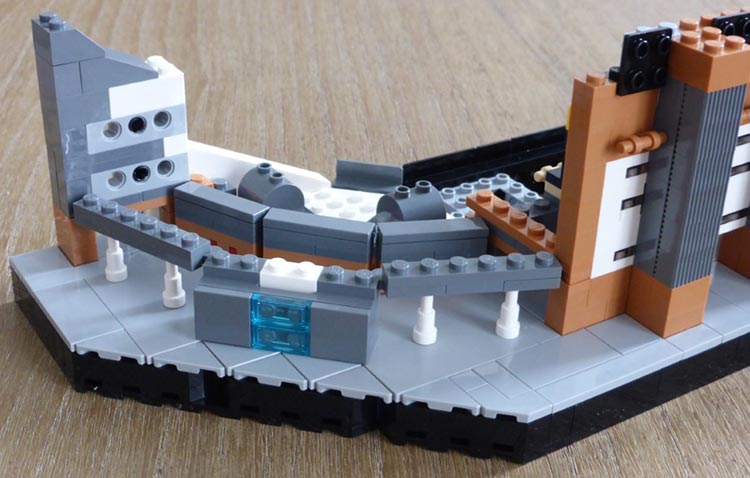
Although many of these areas are almost entirely hidden, they can still be seen looking through the arches. Suddenly one of the pictures in the press pack we received made sense:
Although this is a picture of the final stand which still needs to be built, it looks like there too there is a see-through area with tiled floors. Capturing this area in a picture is beyond my skills (and it looks like I’m not the only one since LEGO have not included such a picture either :D ). Here’s an attempt though…
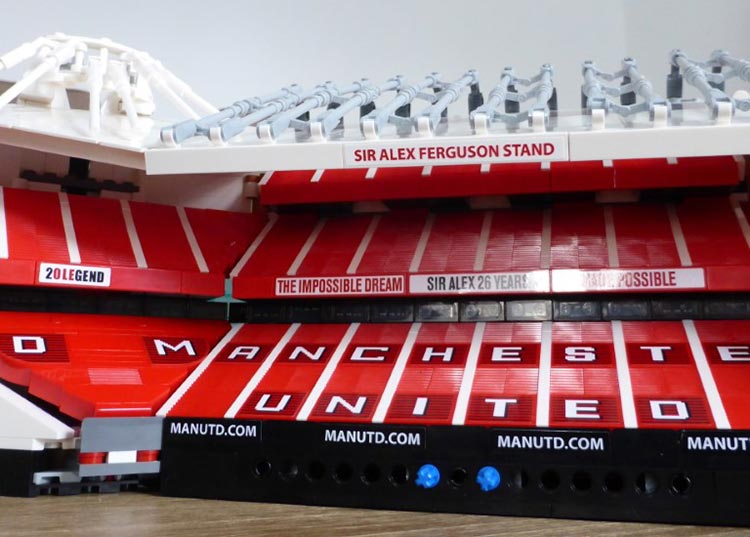
It also shows a printed piece that already seen in the Stretford Stand without paying too much attention to it. The element in question is a nougat coloured 1x4 brick with 3 red stripes representing doors. The set contains 12 of these and 8 appear in this module.
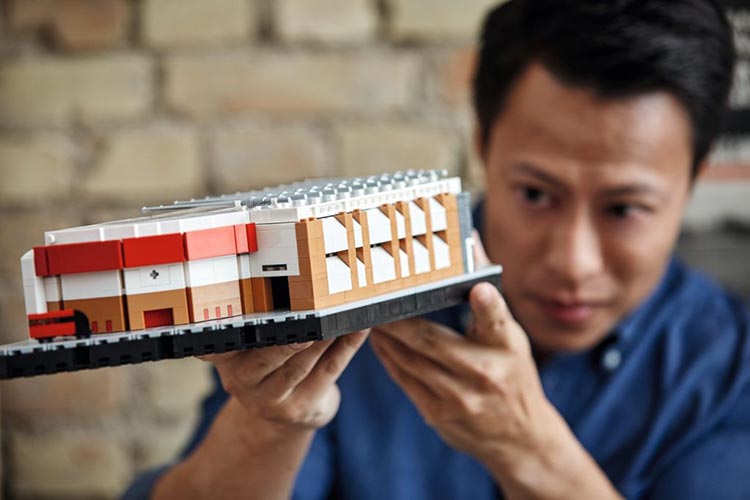
The façade once again includes a black microfig to represent a statue, this time of Sir Alex Ferguson after whom the stand was named. in 2011 to honour his 25 years as the club’s manager. The statue was erected in 2012.
After completing the construction this is what the façade looks like:
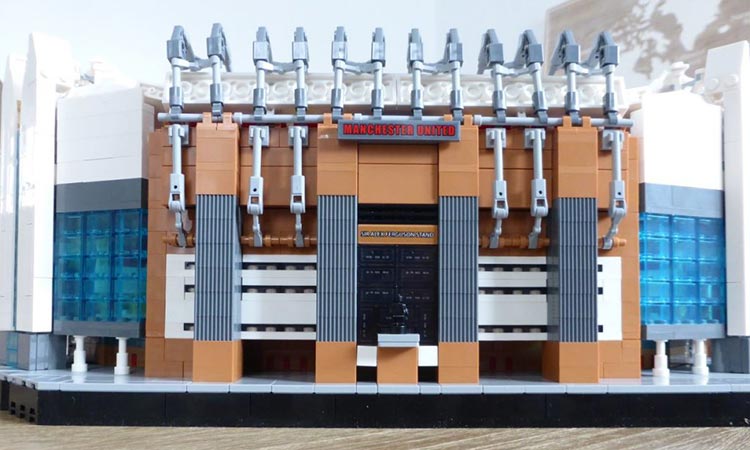
Inside this part of the stadium are Manchester United’s trophy room and museum.
The Most striking part of the façade is the metal structure that holds up the roof. The rods are similar to the ones used on the other stands but in grey. The corners are white and are not physically connected to the roof to hold it up (in the LEGO model). Even so they look the part.
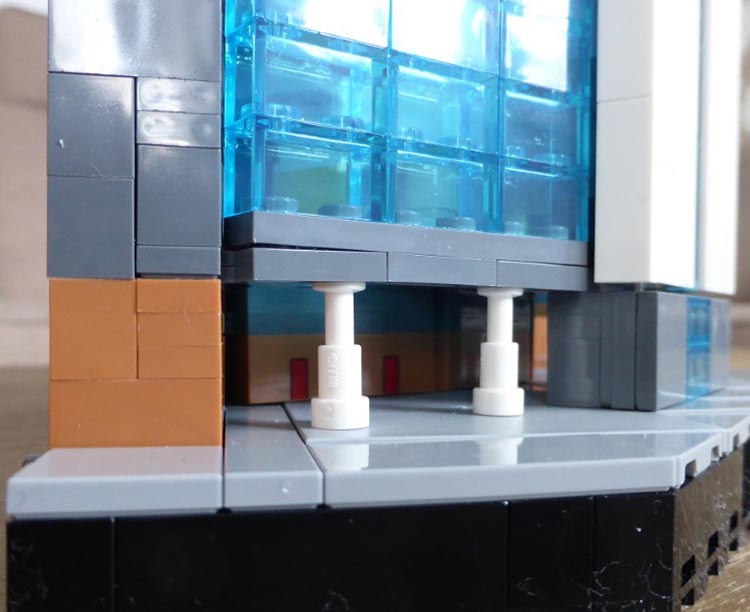
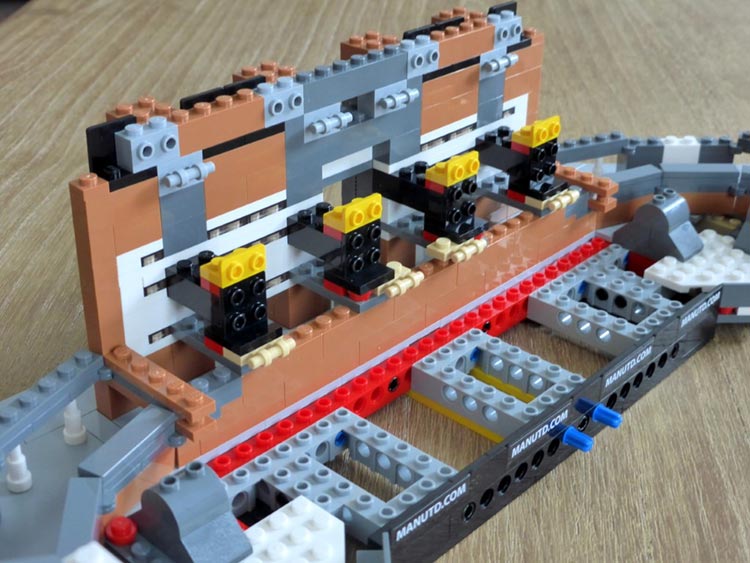
Before adding the roof though, we need to build the actual stands. These are held in place using the same technique as in the other two stands and you can easily identify the bricks with bar the stands will clip onto.
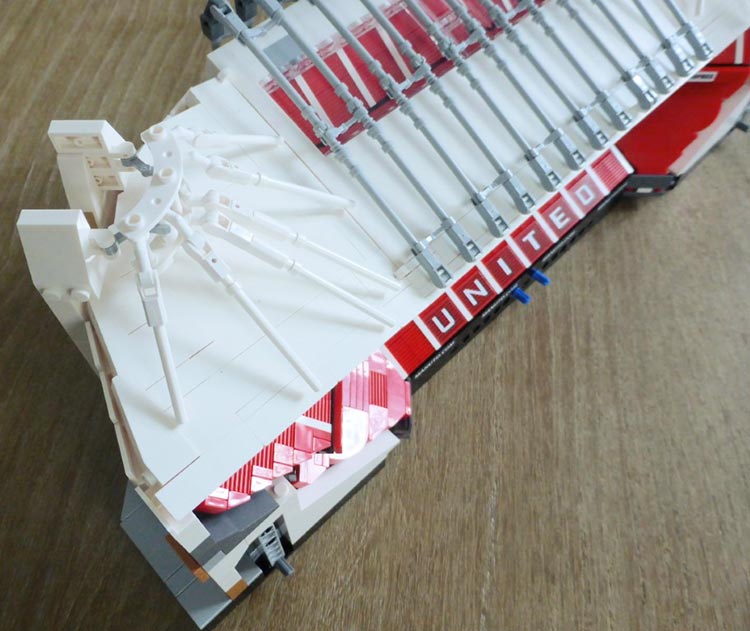
The third tier of stands is quite difficult to see from the front.
But there is a window in the roof that allows you to see them clearly.
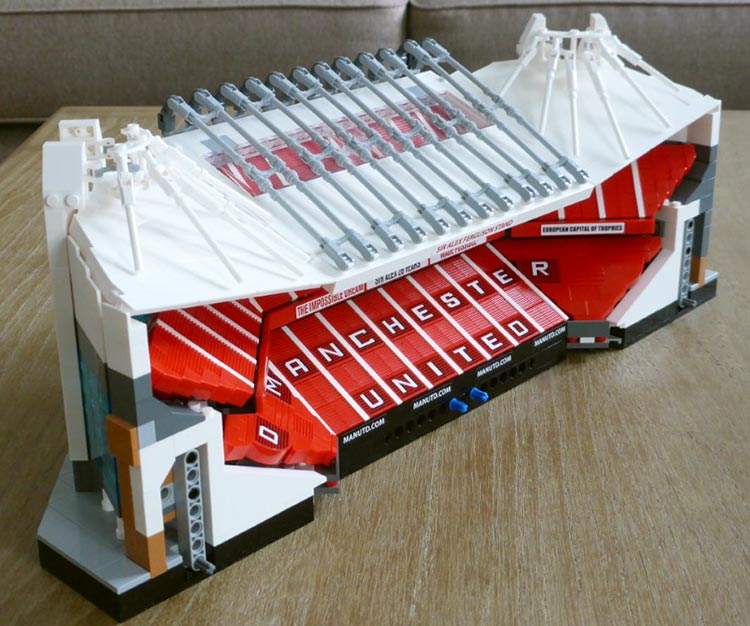
Unlike the small stands, this section of the stadium is not fixed to the pitch, but rather slides into place with the guidance of a few axle pins.
Just one more part to go before we complete the stadium!
We wish to thank LEGO for providing this set for review. The opinions in this review are not supported or endorsed by LEGO.
8779


