Set Review ➟ 76286 LEGO® Guardians of the Galaxy – The Milano
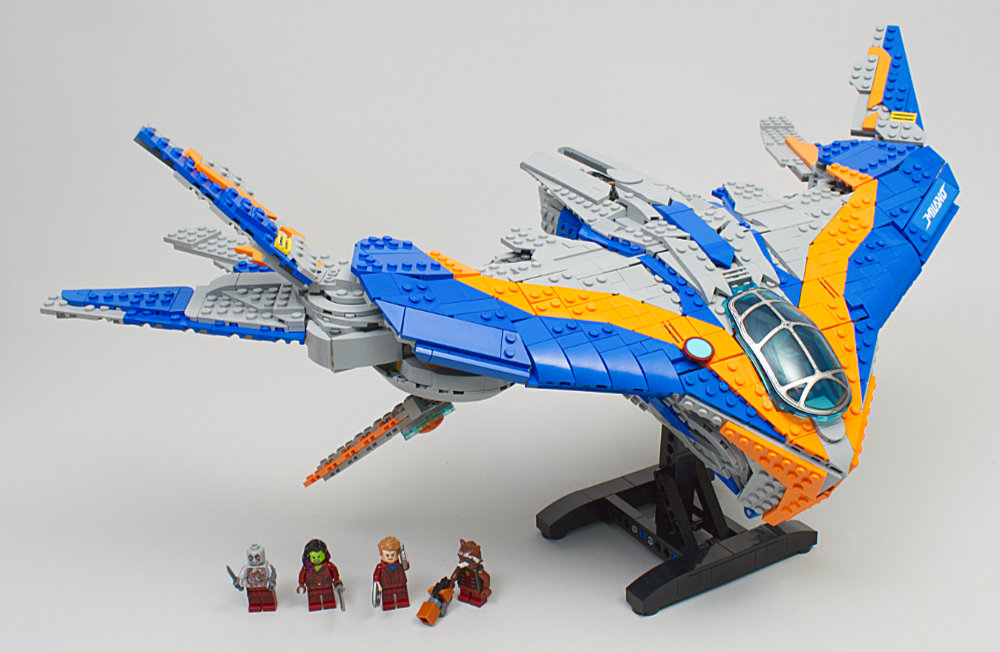
Unusual. There’s a lot of unusual with this set. Unusual good and unusual not so good and some just plain unusual.
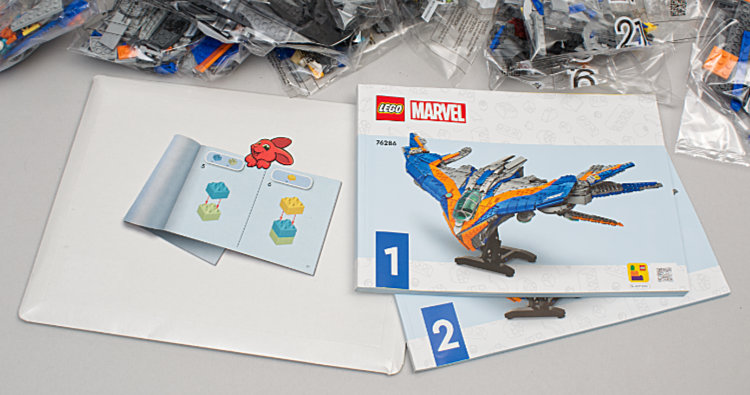
The first unusual note is that the instructions arrive in a cardboard sleeve with Duplo imagery. The backside of the sleeve has a warning statement in several languages, which may be usual for a Duplo set but is unusual in a set intended for ages 12+.
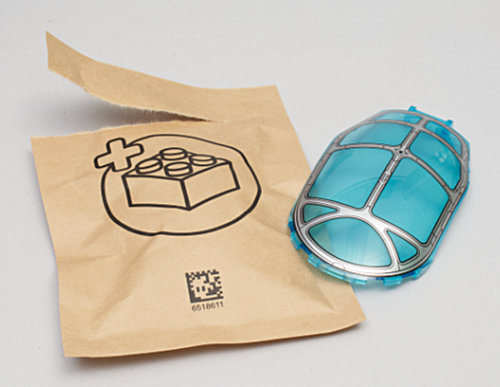
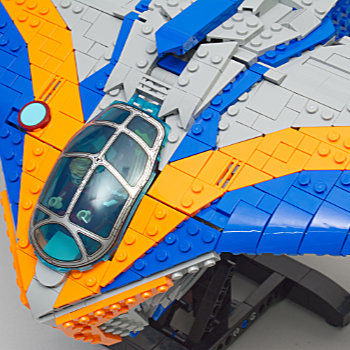
In the unusual but very welcome department is the windscreen being shipped in its own paper bag, minimizing scratching.
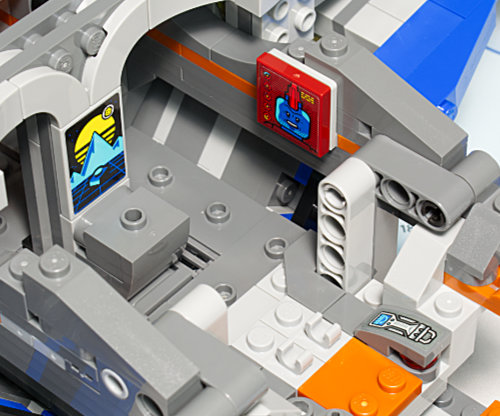
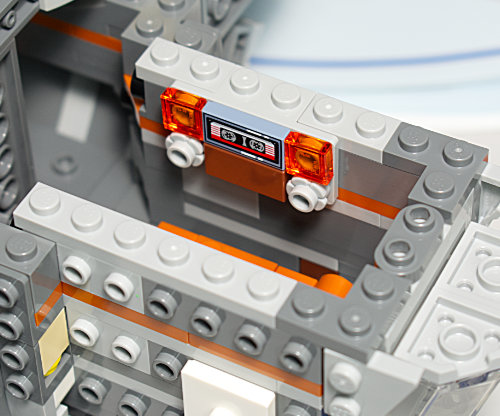
Of the six stickers, four are effectively hidden in the final build. Three stickers are in the ship’s interior and one unusually placed on the underside of one wing of the model where it defies being seen.


Along with the three stickered pieces in the cockpit is a single printed tile in the rear.
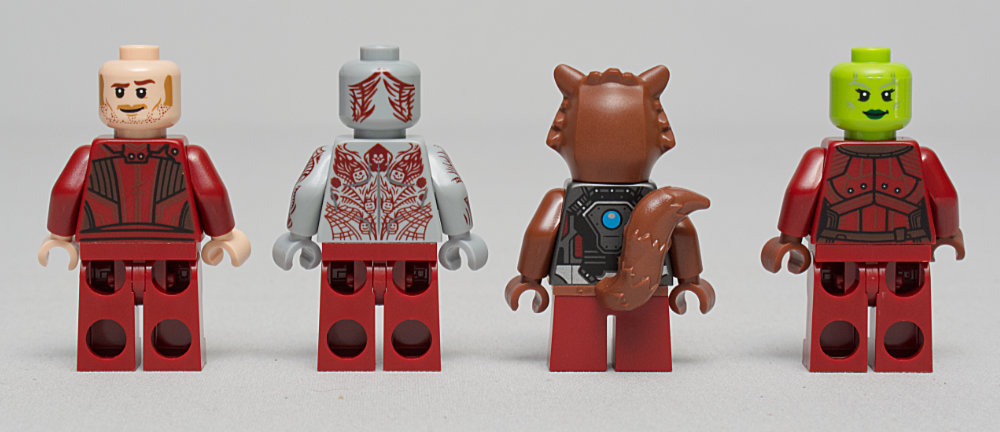
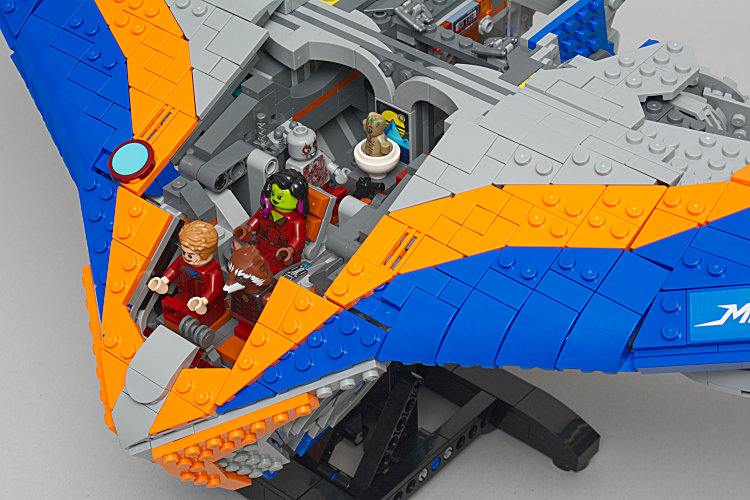
Taking a look at the four minifigures, in the usual department is the head and hair for Star Lord, Gamora’s hair, and all parts of Rocket. Drax, Gamora, and Star Lord get new torsos, Drax and Gamora get new heads, and everybody but Rocket gets the same new legs.

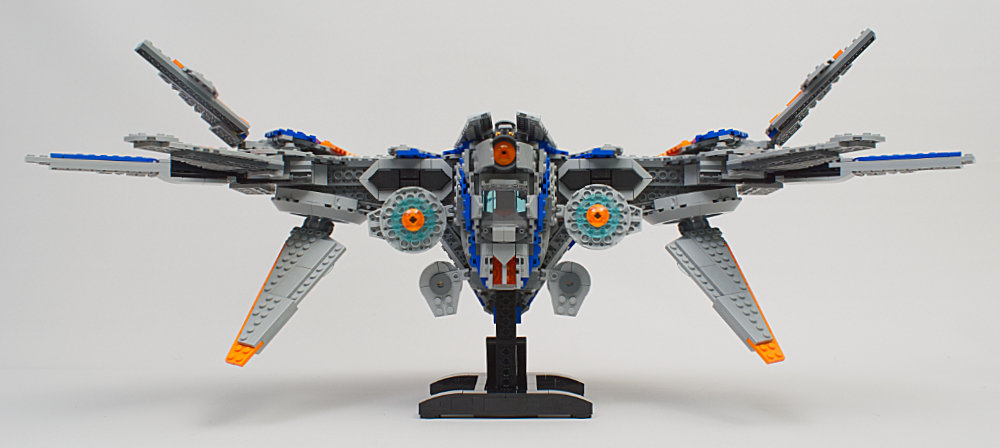
The hero and villain of this set, though is the build. The build is definitely unusual and challenging. There are many odd angles and curved contours to the ship, requiring clever design and several instances of less common assembly strategies. While there are usual stacking and SNOT techniques, there are many instances of clip-and-bar connections along with some ball-and-sockets, some technic connectors, various hinges, and some atypical stud connections.
While all that variety in assembly presents a certain level of je ne sais quoi to those enjoying more involved attachment techniques, the downside is that to get the desired finished look of the piece there are a substantial amount of connections to parts larger than 1x1 that are single stud only. There are also some points where I think it would have made more sense if the assembly sequence was handled differently. About midway through the ship assembly there is a pause while the stand is put together and the ship is placed on the stand. Note that this model is very wide with a wingspan of 64cm/25.25in. The ship simply slides onto the stand with no stud or other physical connection as gravity does the job. After this, the ship assembly continues. The issue is that many of the connections yet to be done happen on the sides, assembly points are sometimes in recessed spots, and panels to be attached are sometimes sufficiently large as to obscure their attachment points making the process guess-and-feel or hope-and-pray.
I found several points where attaching one part led to other parts falling off and needing to be reattached, which in turn sometimes caused the immediately previous attachment to come off. The model is somewhat wobbly on the stand and obvious points where you would want to hold the model while attaching a part ended up being impractical as counter pressure in those spots would make something fall off. In the end the model got put together, but there was some degree of frustration with single pieces or sections coming off, sometimes repeatedly.
I wish I could find a single cause for the finicky-ness of some parts of the assembly, but I suspect the issue could be multi-fold. First, is that this is a complicated ship design in that a rather organic shape is being attempted with geometric parts. Second is the assembly may have benefitted from some difference in assembly sequence. Third, I question the clutch on some pieces. Some of the triangle plates in particular being attached by only a single stud, or maybe by two studs…I could speculate that it is plastic formulation or design tolerances or humidity or Mercury in retrograde, but some pieces just don’t clutch well. Lack of clutch is something I’ve reported on before in Set Review ➟ 31142 LEGO® Creator 3-in-1 Space Roller Coaster: Roller Coaster. There the robot arm displayed no clutch and would spin freely on a bar. If this lack of clutch is a manufacturing issue I hope LEGO gets a handle on it soon.
There are several points of articulation on the ship. Most of the wing tips can be placed into different positions, and the possible positions vary by the attachment type be it ball-and-socket, hinge, or technic ratchet. There are also some paddles on the rear end attached by ball-and-socket, others by bar-and-clip, that can be positioned.
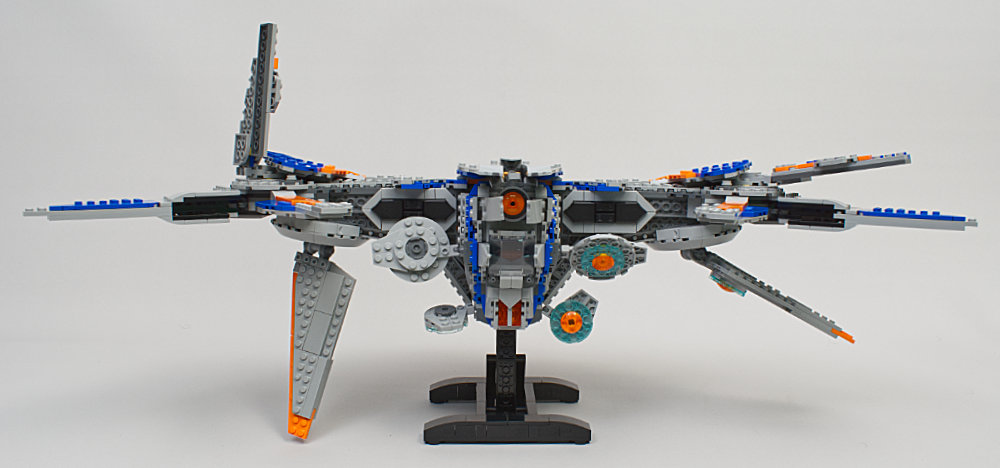
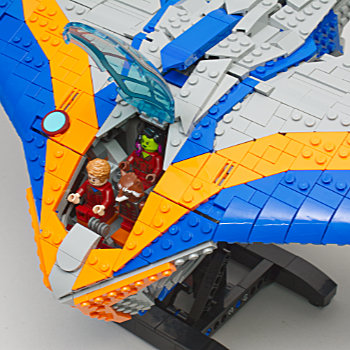
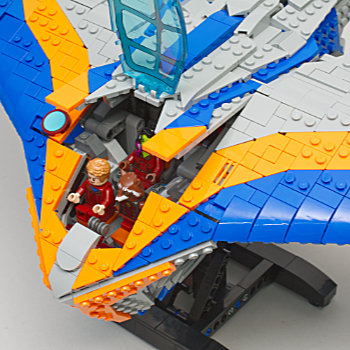
While there is some articulation of the canopy and other joints along the top part of the ship…which are more intentioned for defining the ship’s form than they are for providing access to the interior…for all practical purposes the entire top of the ship needs to be removed to get all of the minifigures in and out. While the two figures in the front two seats can be accessed easily enough by simply lifting the canopy, the middle center seat passenger will experience some interference with the canopy at the hinge point…doable but fussy and requiring two hands…and the fourth figure is buried in the guts of the ship.
The Randolph T. Fielding Absolutely Administrivia Section
Really the only things to note are the windscreen is a first-time-seen piece and some of the pieces in the instructions are not colored consistently or correctly. For example: book 2 steps 539 and 540 the 1x2 plate with bar on end is green. In steps 541, 542 and 543 it is turquoise and on the facing page steps 544 and 546 it is green and step 545 and 547 it is turquoise. The actual part is turquoise.
Summary
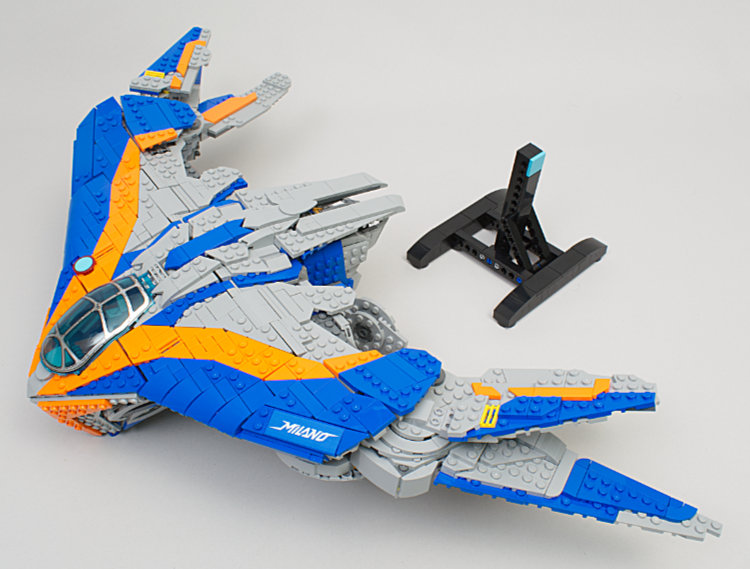
The kit provides a delicious mix of assembly strategies and should definitely appeal to those fans who live for the build. Play value is minimal as the ship is very large and bulky and parts tend to want to come off. The model will require quite a bit of shelf space to be displayed and if one wants to remove the ship from its stand it is a little fussy to get the stand back into place not because the attachment is particularly difficult but because the ship is so heavy and unwieldy. Once assembled (and left alone) the model is quite handsome and unusual in its multi-contoured organic shape. To truly enjoy the finished model, though, it is going to need to be set on an island where its extensive detail, sleek front and busy rear, can be viewed from all sides.
Disclaimer
Thanks to LEGO for kindly providing the set for review.
33645