Set Review ➟ LEGO® 75394 - Imperial Star Destroyer
And here comes a new set in the form of another edition of an Imperial Destroyer. This time it's a little ship with 1555 pieces, a cost of 169,99€ and 7 minifigures. A couple of them are special for me, Cal Kestis who for those of you who don't know (including me) is the protagonist of a couple of video games and Commander Praji who is the character along with Darth Vader who once assaulted the Tantive IV wanted the stolen plans of the death star and who luckily already had R2-D2 inside him.

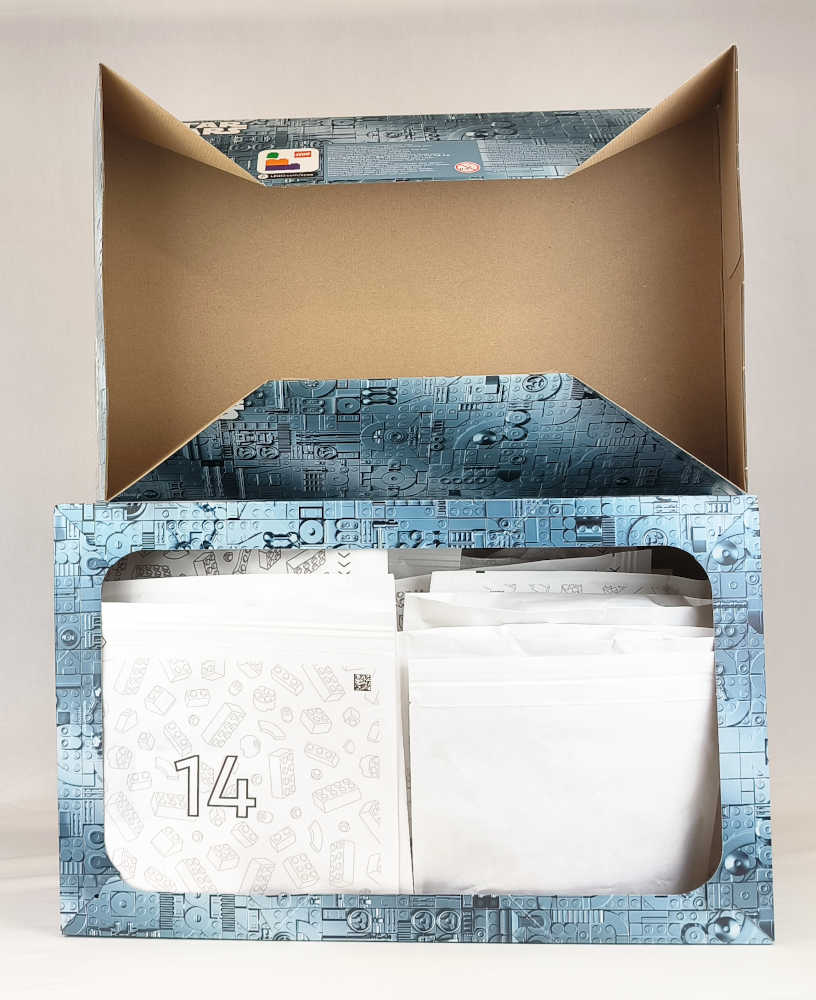
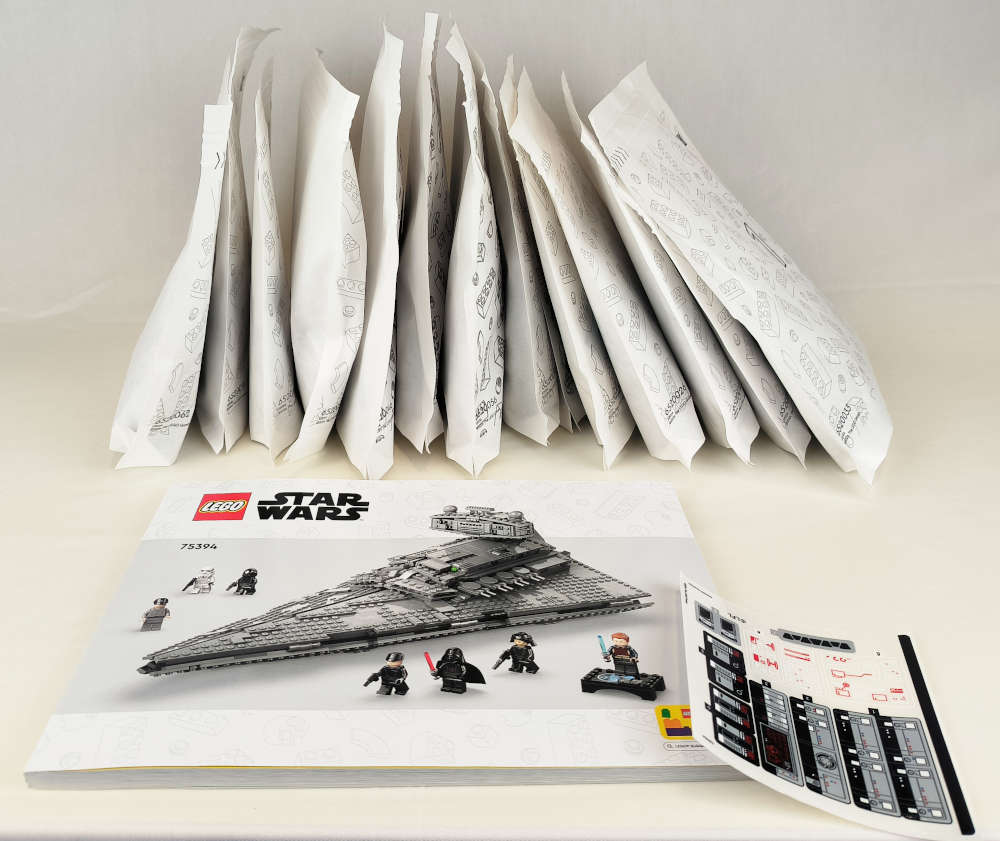
The peculiarity of the box is that it is foldable, which is a good thing as it is ideal for storage. In addition, the box is much more compact, which means that the set takes up less space when it is full. Checking if the folding is really effective, the lid folds without problems as well as the base, although the latter is a bit more difficult to fold, however it is possible and takes up little space. Well, as always here you can see the contents of the set. Manual, 14 paper bags and a sticker sheet.
The build starts with the Darth Vader minifigure and the back of the destroyer. There are no notable techniques or new parts so we quickly move on to the second bag.The build starts with the Darth Vader minifigure and the back of the destroyer. There are no notable techniques or new parts so we quickly move on to the second bag.

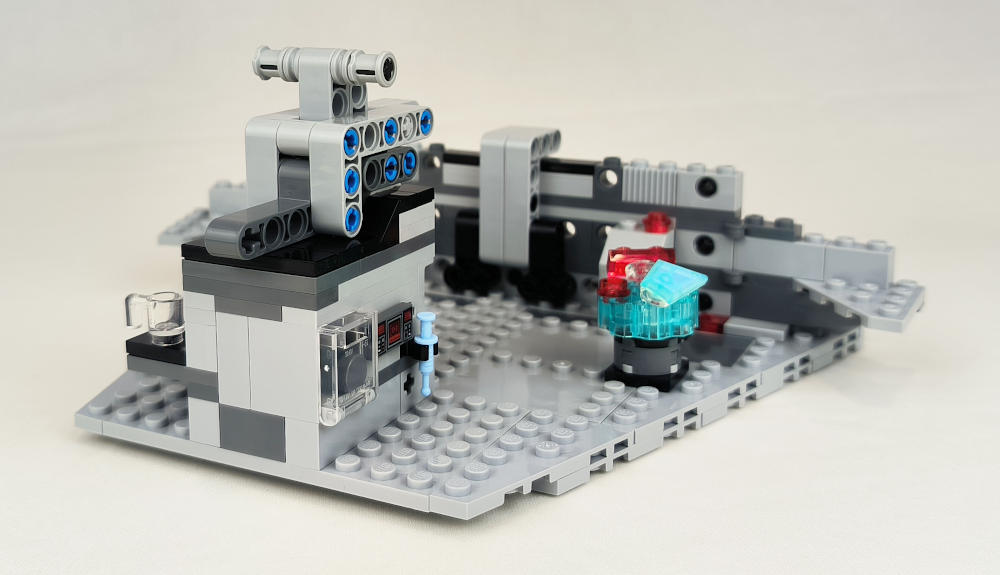
We continue building a minifigure of a member of the Imperial party. This is where the central part will be fixed, which will be used to securely hold the Star Destroyer. There's also a detail that I loved, can you guess from the image? Yes, that's right! There's a hologram showing ships and objects and one of them is clearly a destroyer! Wonderful.
Now it's time for the lower front part of the destroyer. Suffice to say that it follows the same dynamic as the rear with some different details but nothing remarkable. The complete base of the ship is already there, so now it's time to fix both parts and from here we'll see what we find.

The next part will obviously be to make the sides. The implementation is based on technic bricks as expected. The rear part has also been prepared with technic arms to house the engines later on. The 6211 set came to mind. I remember how difficult it was to attach the sides. However here it is very very easy.

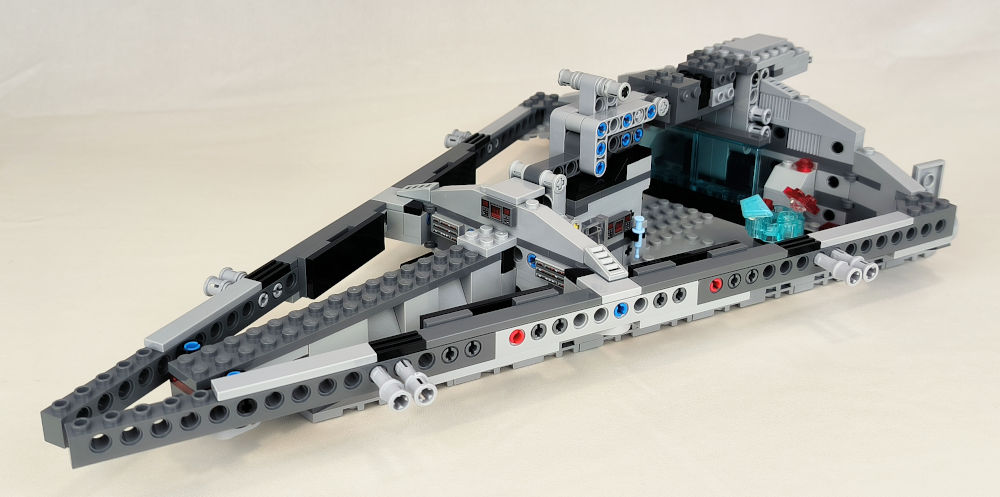
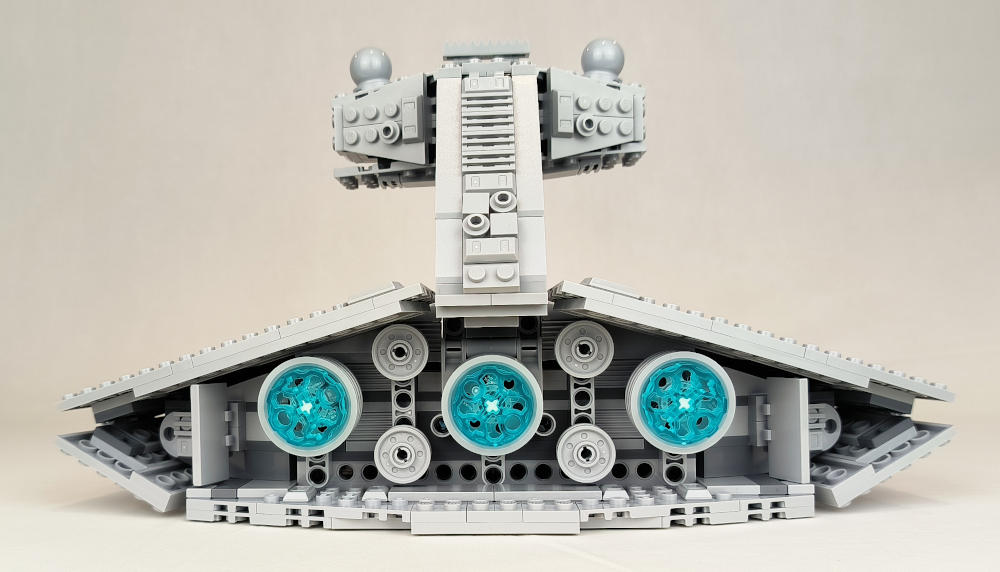
And finally Commander Praji makes his appearance :D. In this section the rear engines are placed with some technic pins and we will focus on the central rib where the control tower is located. Big slopes and a couple of sets of brackets covered with brackets make this structure quite stable and of course very attractive.

The sixth bag has a funny thing going on with regard to its material. The bag is made of paper, but inside it has a plastic bag :O... Here the control tower is implemented. The technique is simple, with some plates and wedges and some greebling the result seems to me to be very well done.

Now it's time to start with one of the low sides. Much elongated plate to get the final structure. You can see the detail of the hitch in the following image. When placed it looks very nice.

Designers will now project the top of that side as a continuation of this side instead of separately. A couple of pictures will be very enlightening. The support with the interior parts is very, very good as it is fully supported by the 1x4 slopes that we put in when we were building that area.
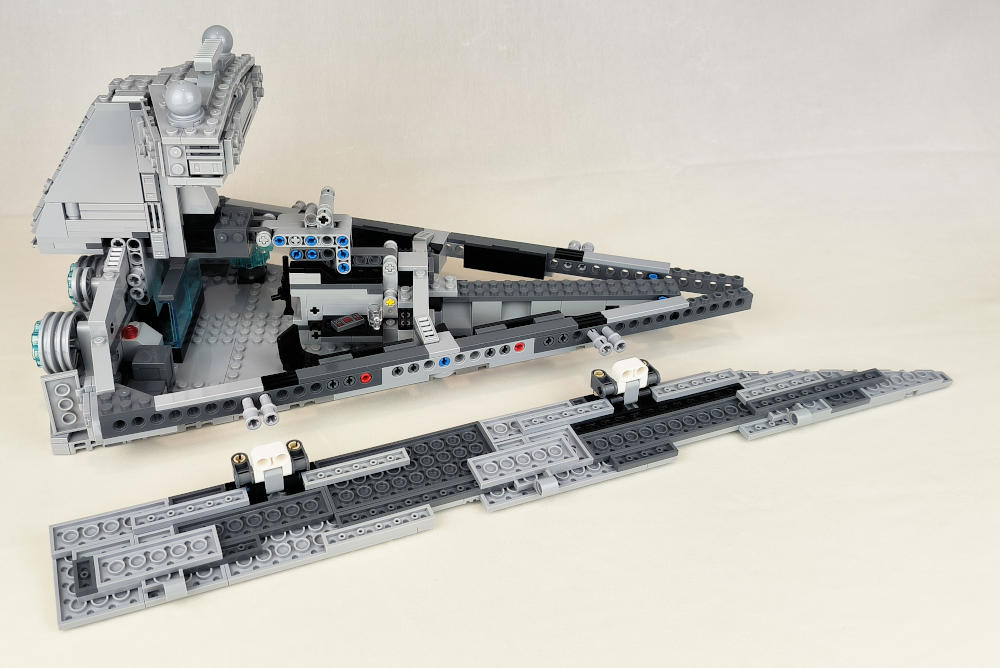
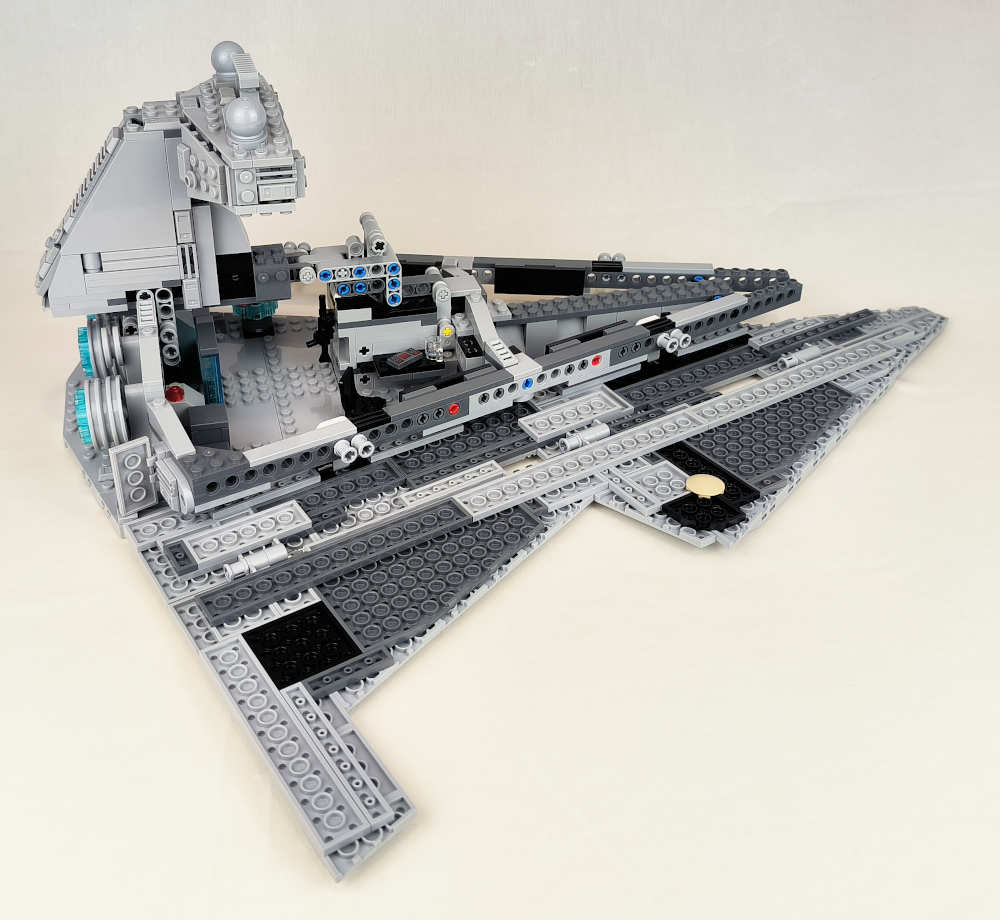
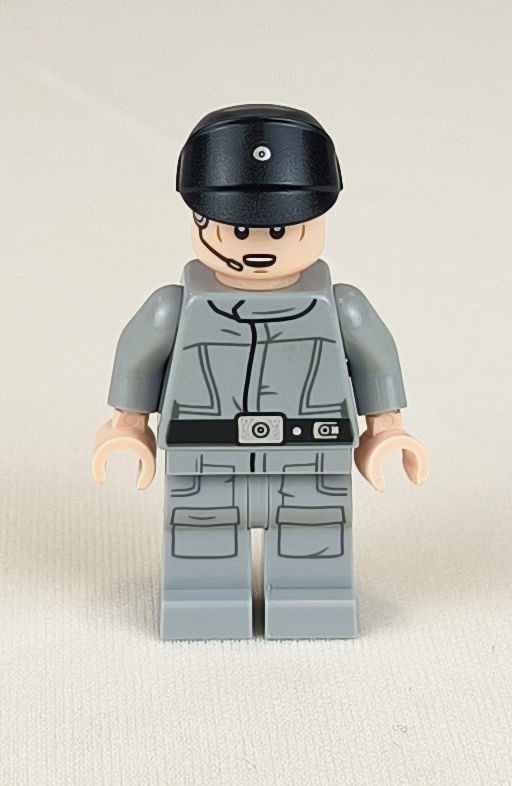
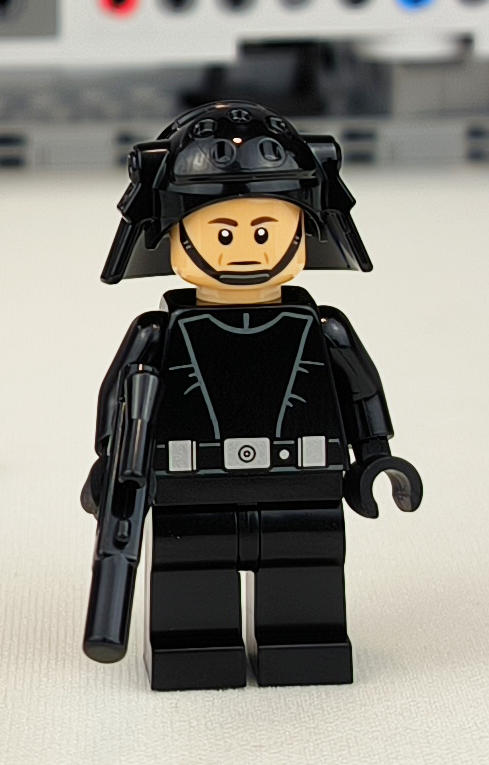
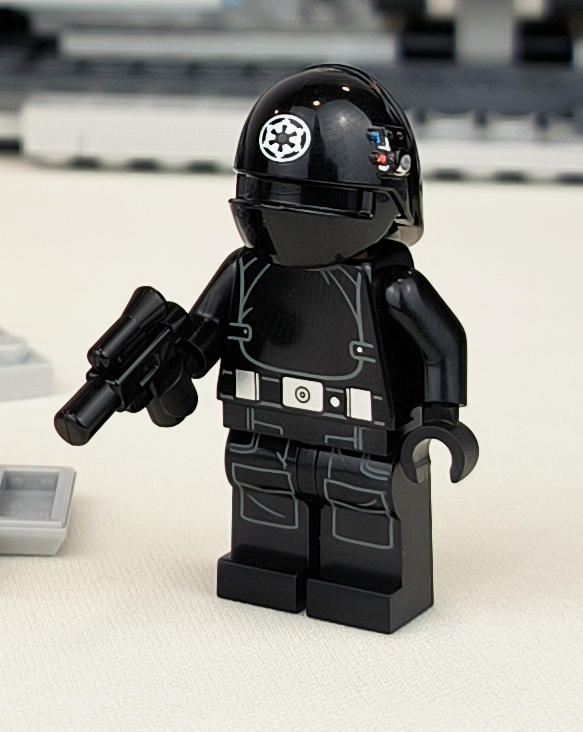
However, at this stage in the following bags we will naturally repeat the steps taken in the creation of the lower sides and also the upper part. So only the minifigures make the difference. An imperial navy trooper, what a cool helmet, and also an imperial gunner.
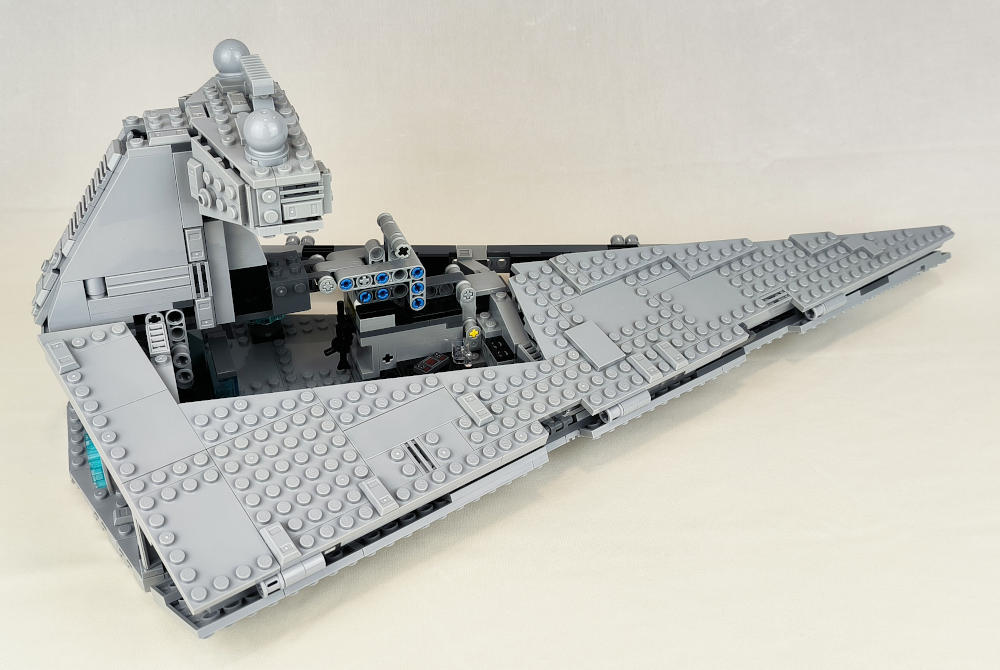
Here you can see how well the parts overlap as I mentioned before.
And now we start the last part of the destroyer. The "lid" but not before building a Stormtrooper.
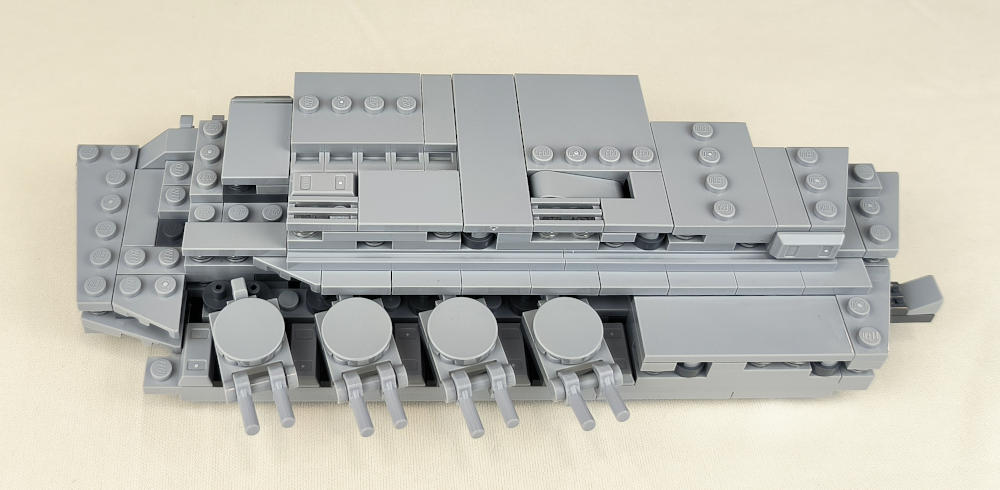
Here the highlight and of course playable with the side turrets. A shooter-pusher is created by which the turrets move in unison. It's actually very simple but no less cool.

It gives it height and windows. There are some details that I like, for example using a 1x3 arm technic with a 1x1 round tile underneath in such a way that it is oblique and gives that part a very cool greebling look, but it is also the trigger button.

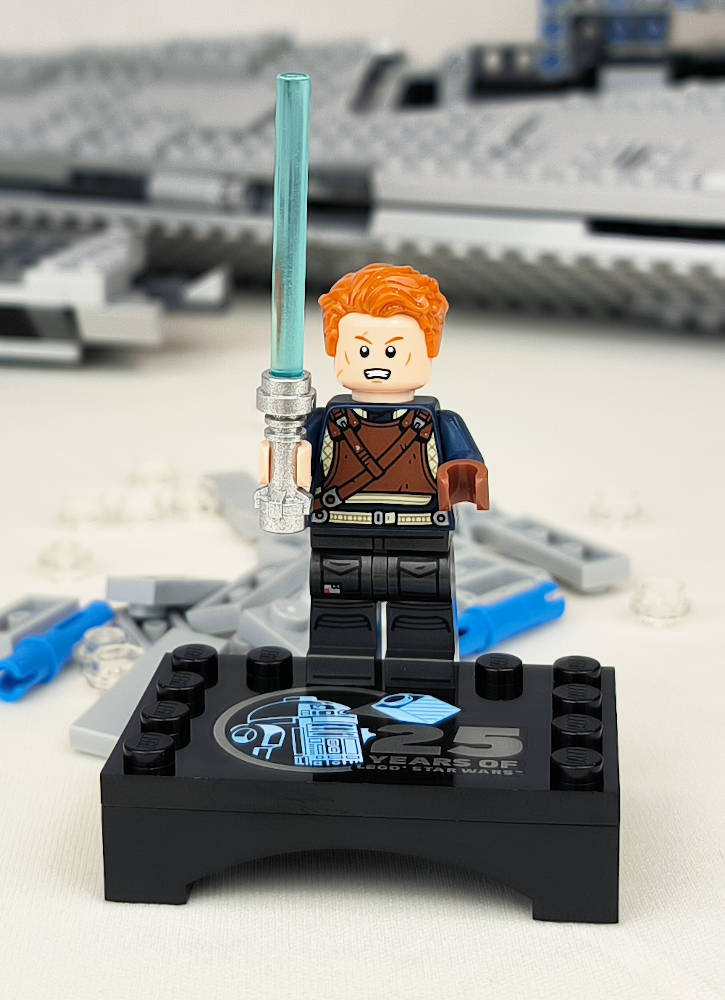
The last two bags will be the specular form of the same part with the exception that we will be able to build the Cal Kestis minifigure. The truth is that it is very cool.
Well, this is how the imperial destroyer looks like. I have to say that playing it is very very easy, the opening is designed so you don't have to dismantle anything and as it is flat you can play with the minifigures inside without any problem.


It is a playset that has surprised me for its simplicity of construction, its robustness when it is closed and of course its great playability when it is open. The minifigure set is also quite good, although if I could ask for a droid, it lacks a droid. Otherwise I think it's a great set, now let's give it hours of flying! We would like to thank LEGO for providing the set for this review, although LEGO does not support or endorse the opinions expressed in this review.
33641