Set Review ➟ LEGO® 21343-Viking village
Here we bring you today the new LEGO ideas set number 51 dedicated to this long awaited theme by many Viking fans. This is a set with 2103 pieces, 4 minifigures and some very interesting pieces. We guess it will cost more than 200€. This small village has a watchtower, a small smithy as well as the central dwelling of the village. When I saw the box of the set I was immediately transported to the Viking settlement of Ribe in Denmark. At first glance the set does not implement the historical rigour it should, especially when LEGO is Danish. I'm referring to something I learned not too long ago, and that is that Viking helmets did not have horns. It seems to be more of a marketing gimmick than something historically driven. Nevertheless, it is a set that promises hours of fun for young and old alike.

Once we take a look at the box of the set we can see 2 of the torsos that came in the set 31132, the new reedition of the Viking ship and the snake from the world of Midgard. In addition we see printed legs and two new torsos, of course we also see shields similar to the ones that came in the minifigure number 8 of the series 20 collectible.
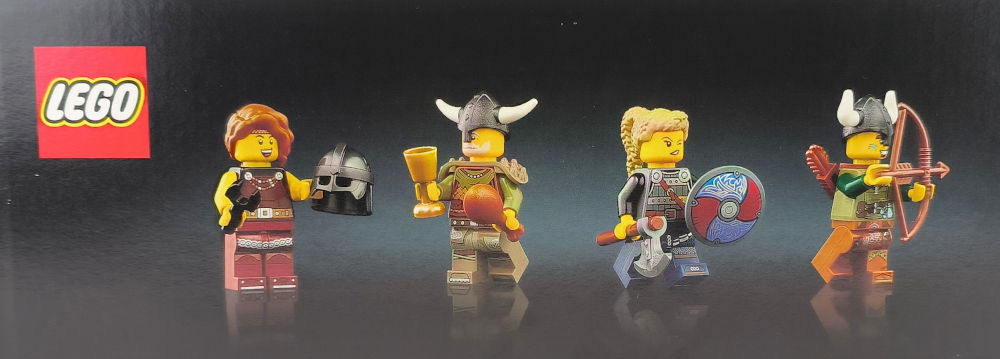
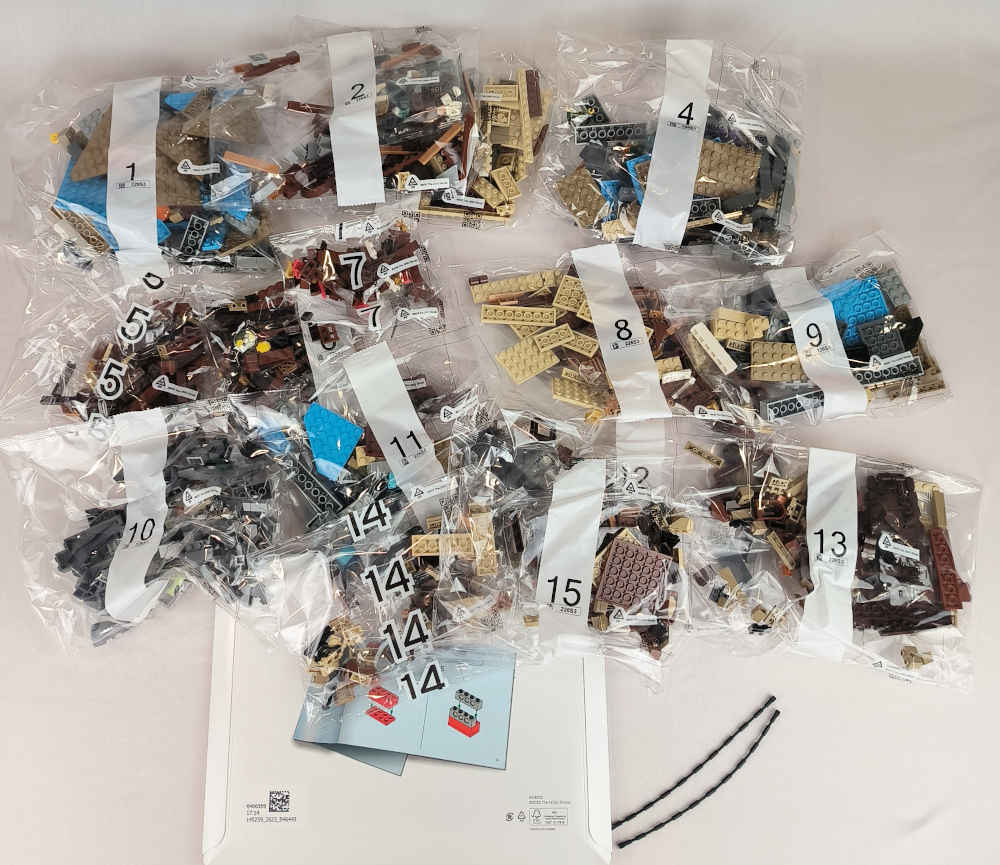
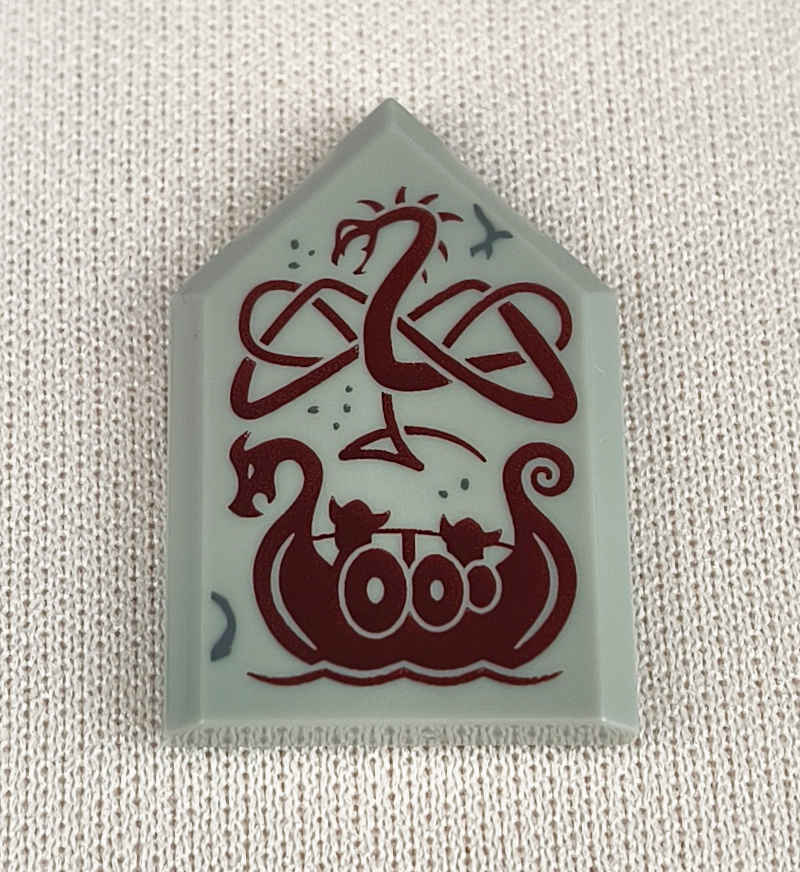
Also if you have noticed on the box, the set comes with a new reedition of the printed tiles with reference 2431pb043 and that are at an exorbitant price in bricklink. We can also see that in the blacksmith's shop there is another tile printed with a Viking ship and the logo printed on the sail of the 7018 set. Well, let's see what we find and let's hope it's not stickers! The contents look like this. 15 bags, a manual and a new reference that will act as strings. This reference is now all rubber.
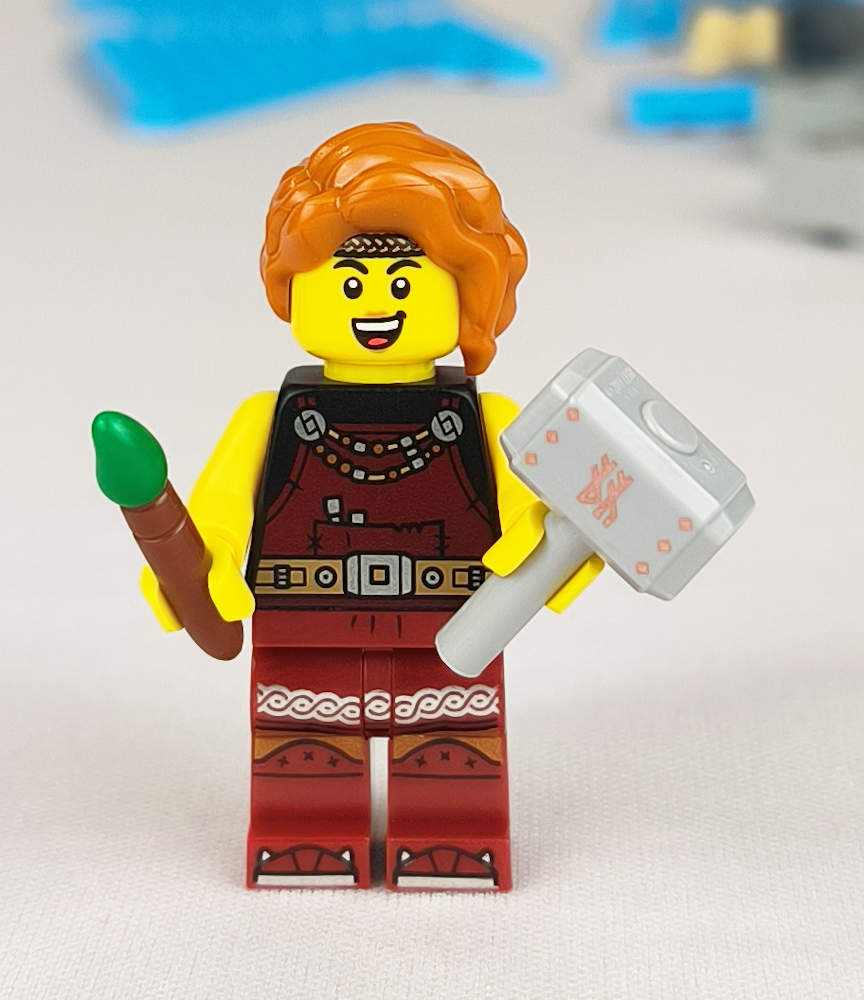
The construction of the set is divided into 3 clearly differentiated areas. We start with the smithy part by building the blacksmith artist as she not only makes weapons and shields but also decorates them.
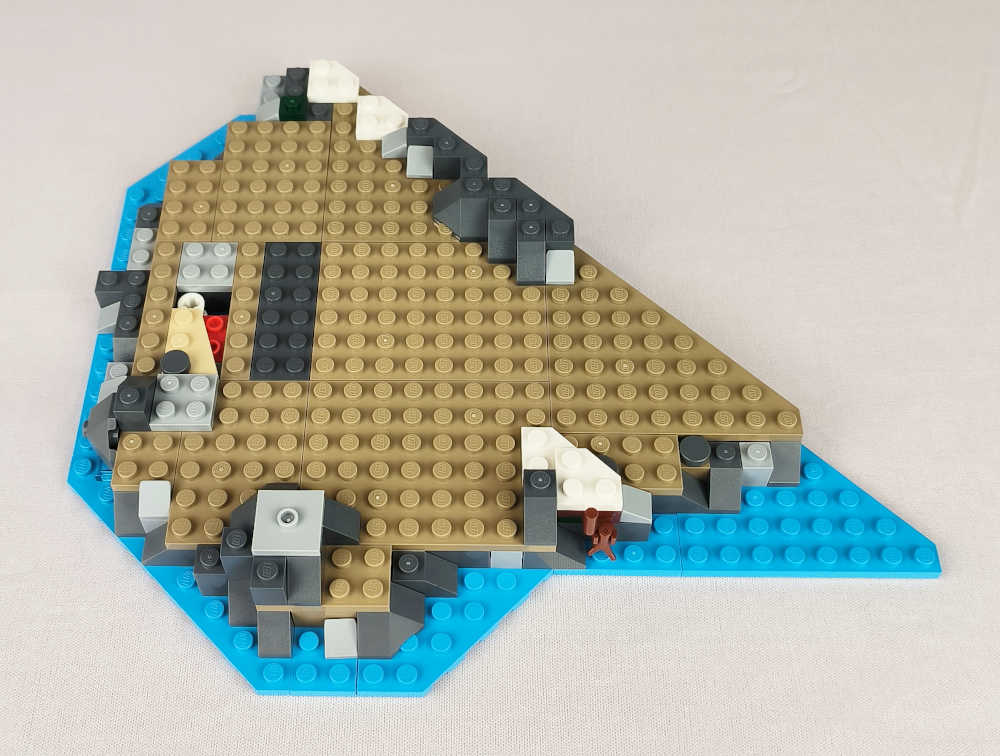
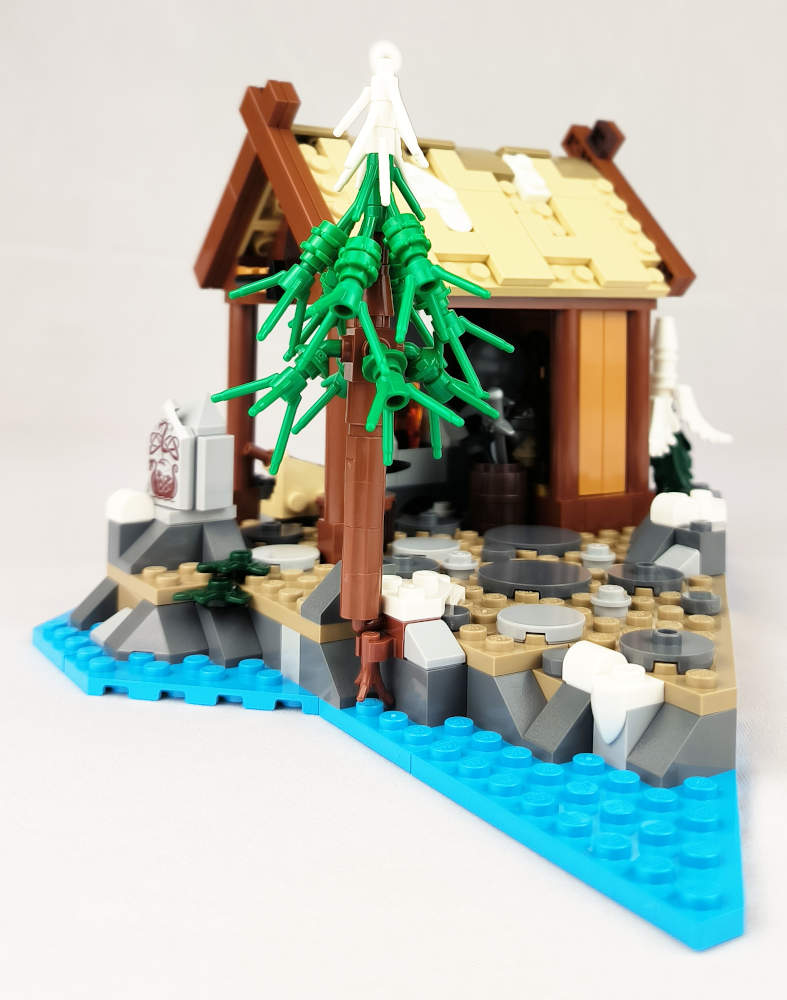
The initial bag produces the result of the image below. The base where the smithy building will go. It doesn't have any outstanding technique but it is an enjoyable start. We start to see the details of rocks, snow and some roots hanging over the water.
In the next section we can already check some known references but in new colours. Very successful by the way. The part that has interested me the most is how that section of the hut is made. Also the ingenious mechanism for stoking the fire is outstanding. The details like the random cobblestones, the snow, the tools, the smoke! As we go along, it only makes the journey of construction more and more exciting.
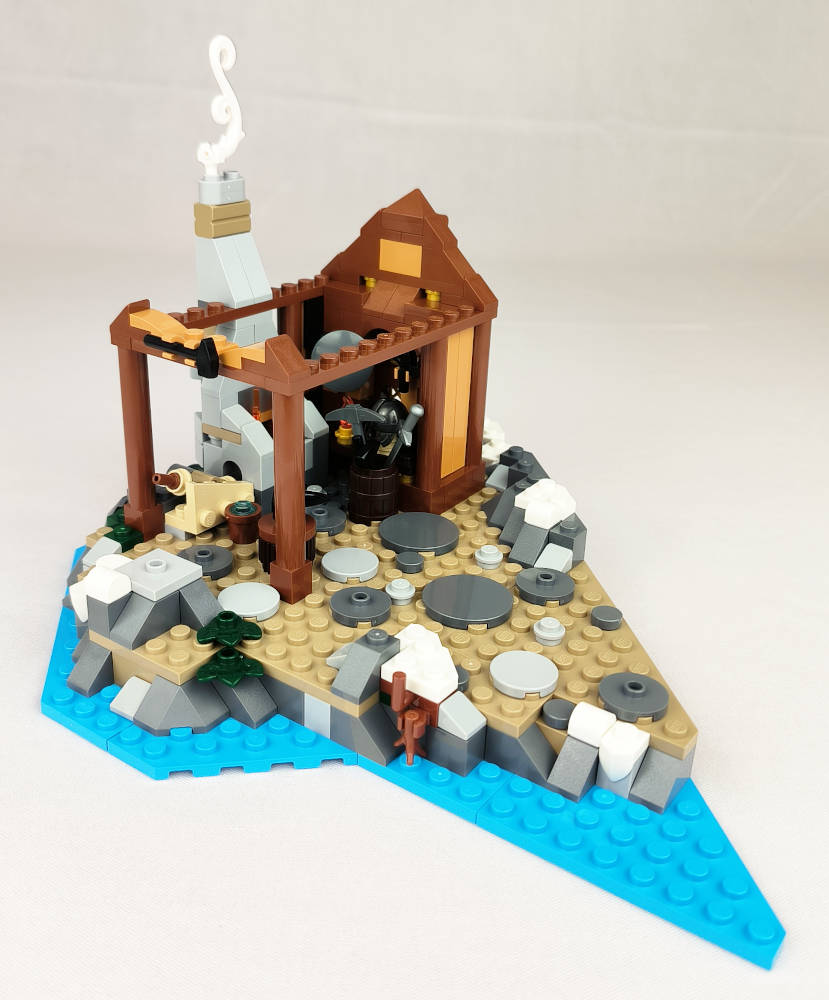
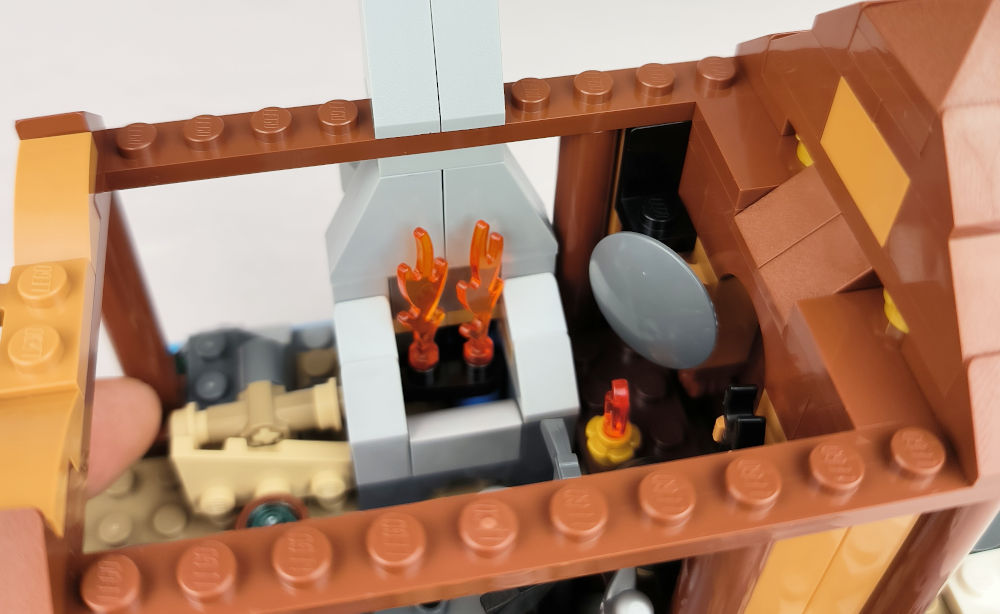
Now we are going to make the roof and some more flowery details. Also here we can see the printed tile with the ship and the viking logo, I love this tile :D.
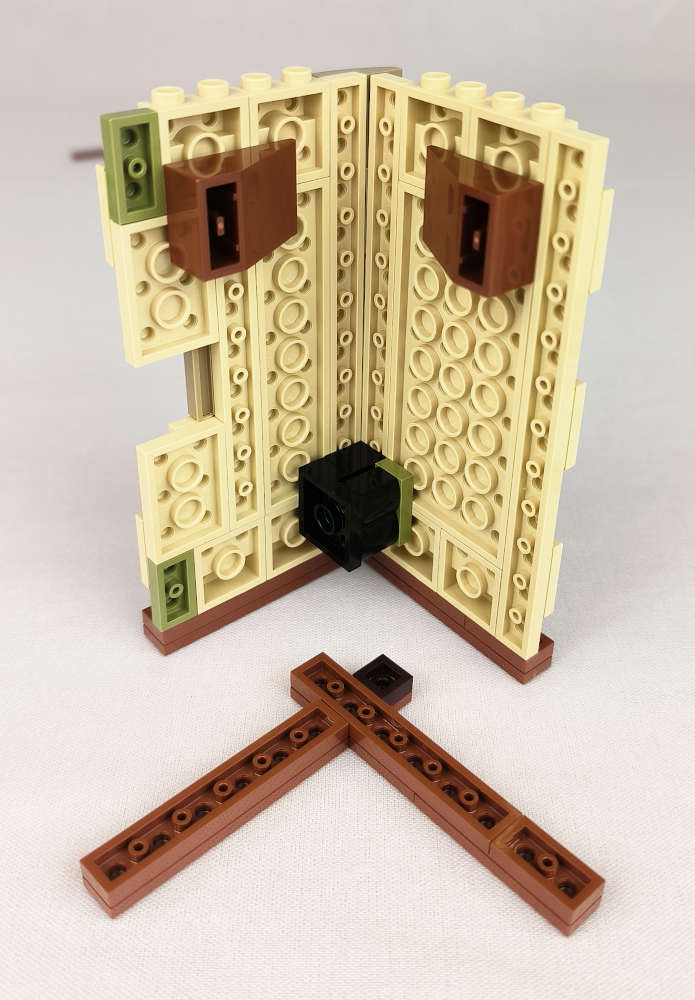
The roof technique is perfect and very successful. Good designers make easy what is not easy. I was also struck by the way the big pine tree was made, as it is totally recognisable and easy to make with just a few pieces. With this last pine tree this section of the Viking village is finished.
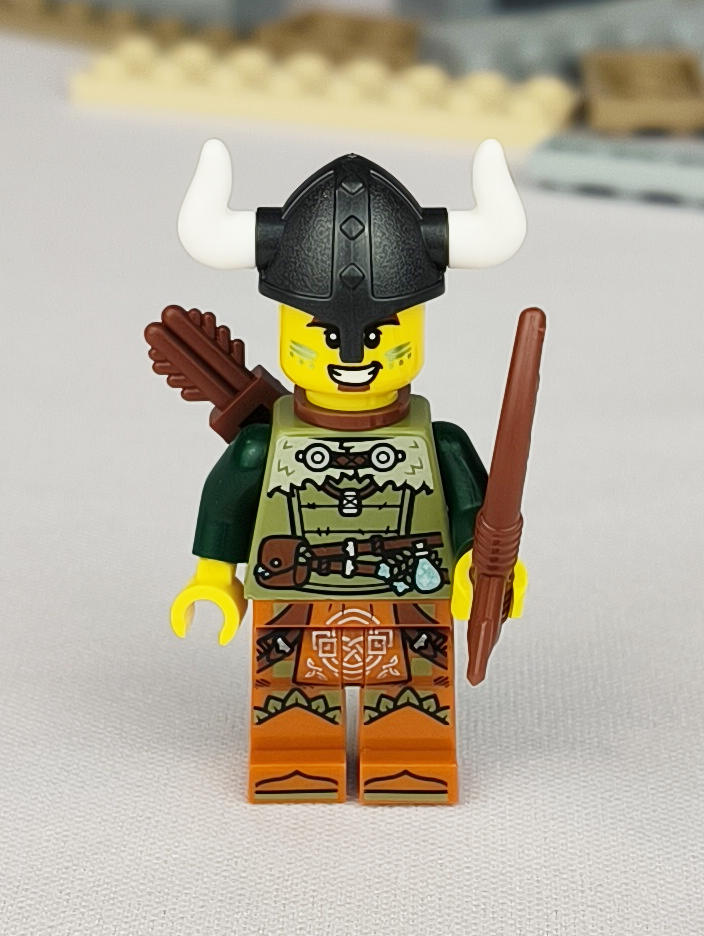
In the fourth bag we start to build the central phase of the set. Here we will make the typical Viking central building where celebrations, councils and the social relationship of these people took place. We build another Viking with one of the new torsos and legs. The face looks more like an American Indian than a Viking. The base of this new village area has hardly anything remarkable except the location of the fire and the technique used to insert it into the earth. It's a joy to look at.
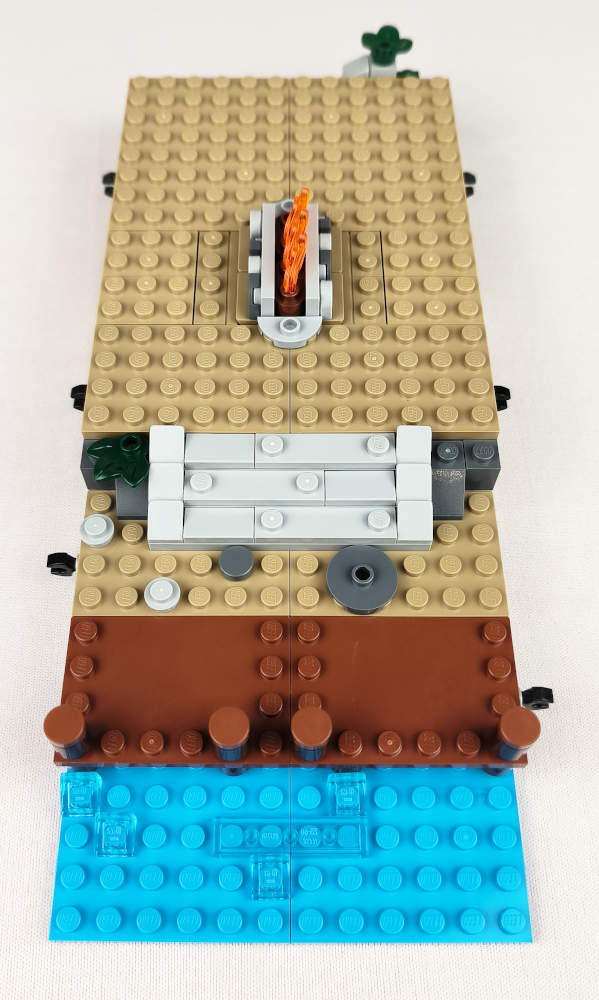
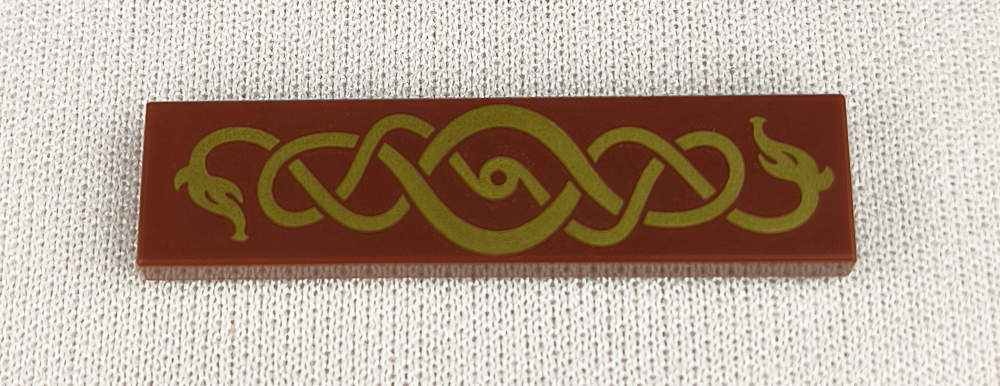
In the next steps we will make both the front and the back of the building. We will also make the throne of the village headman - what a beauty! It doesn't miss a thing. The colour combination of reddish brown and dark brown is perfect. What do you think of the new reedition of the Vikings tile? I think it looks delicious!
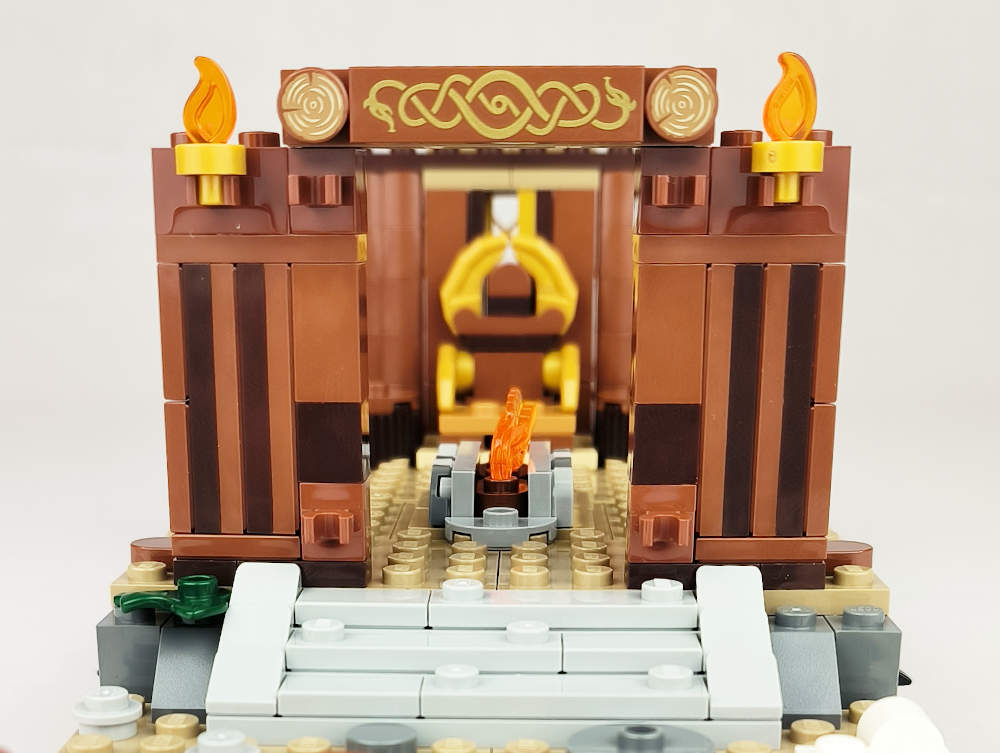
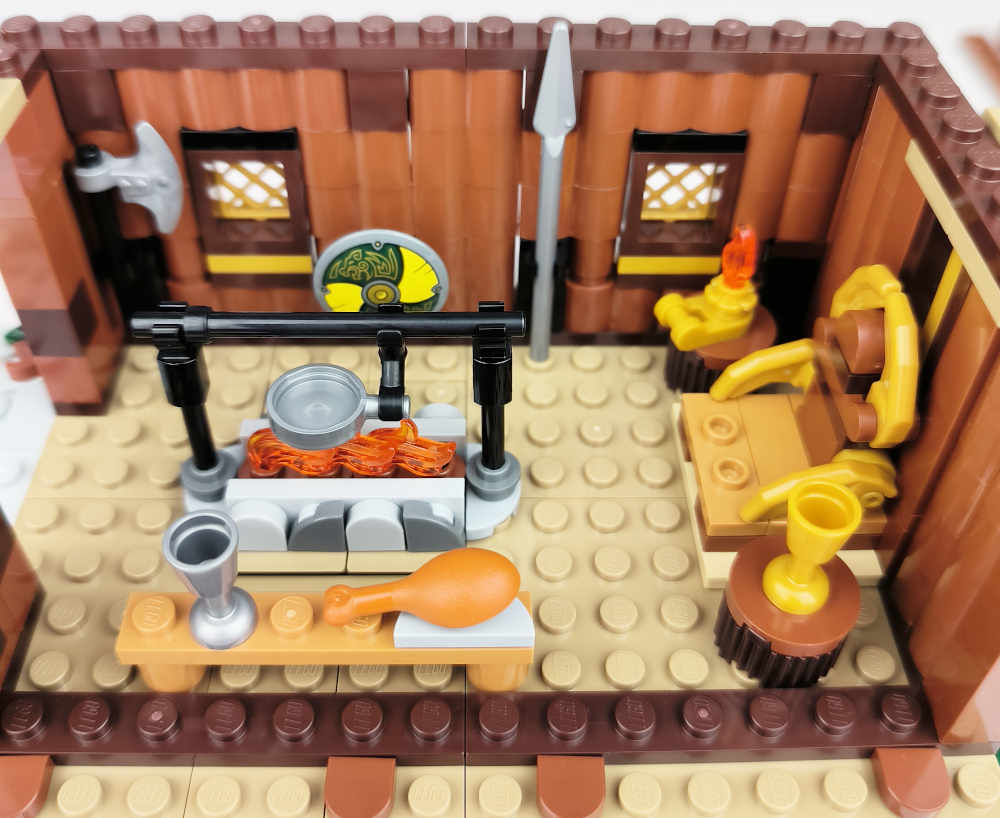
In this part we will build a Viking, now with his shield, how wonderful! In this section we will make the walls of the building adding interior details such as weapons, food and cooking utensils on the fire. The final part is the typical wooden buttresses on the outside of the building. Certainly without this last part it would be nothing more than a wooden hut but this detail gives it a much more Viking flavour.

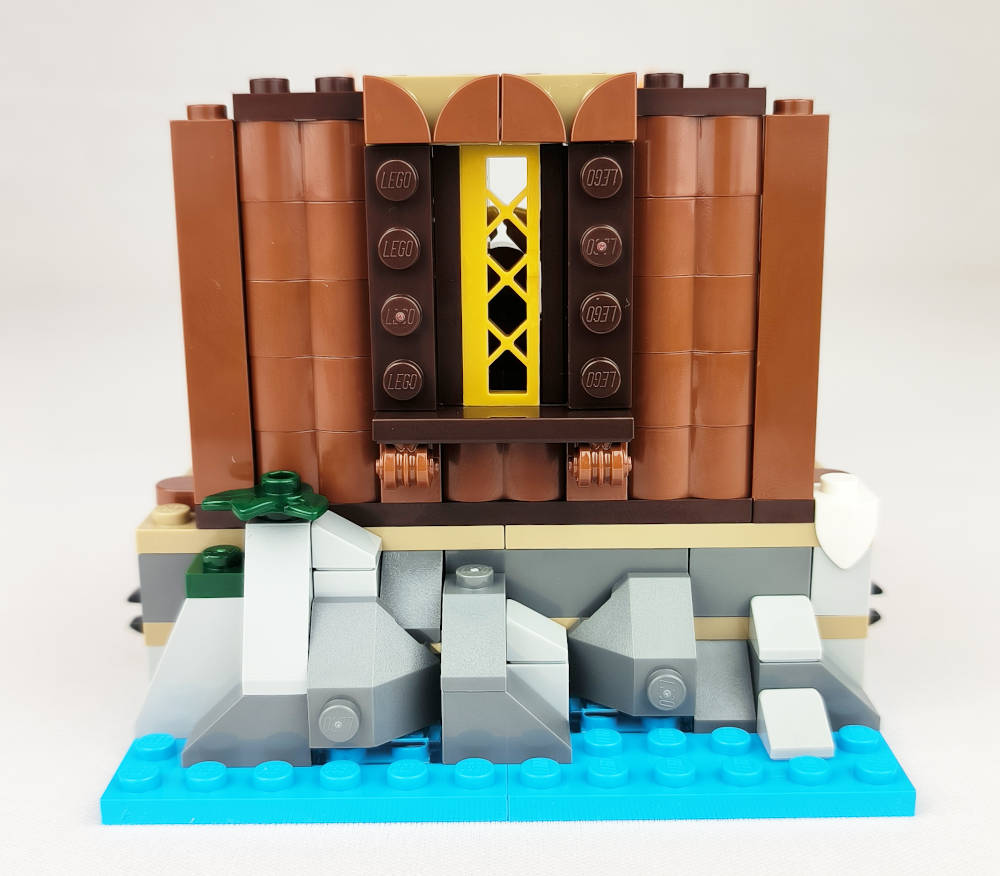
In the seventh bag we will make the slope for the roof and the door. This last part of the door is a real eye-catcher. In very little space a functional and well achieved door is achieved. Both leaves are built in a mirror image, so you can see them at a glance in the following image.
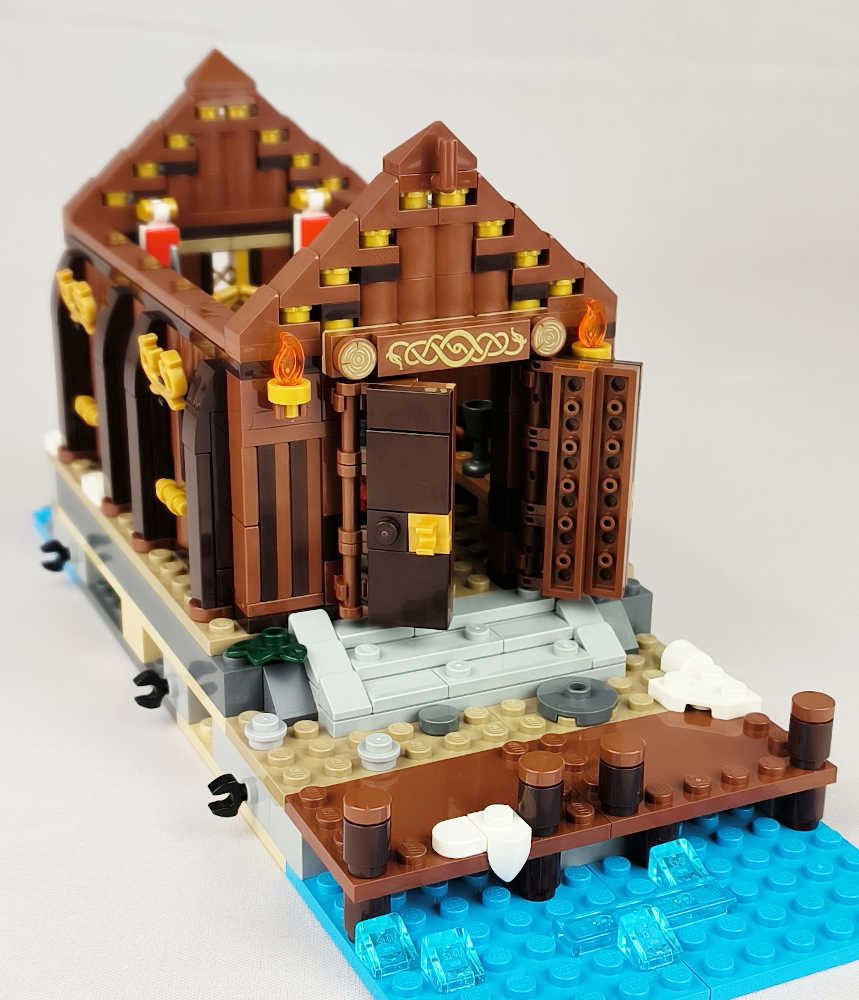
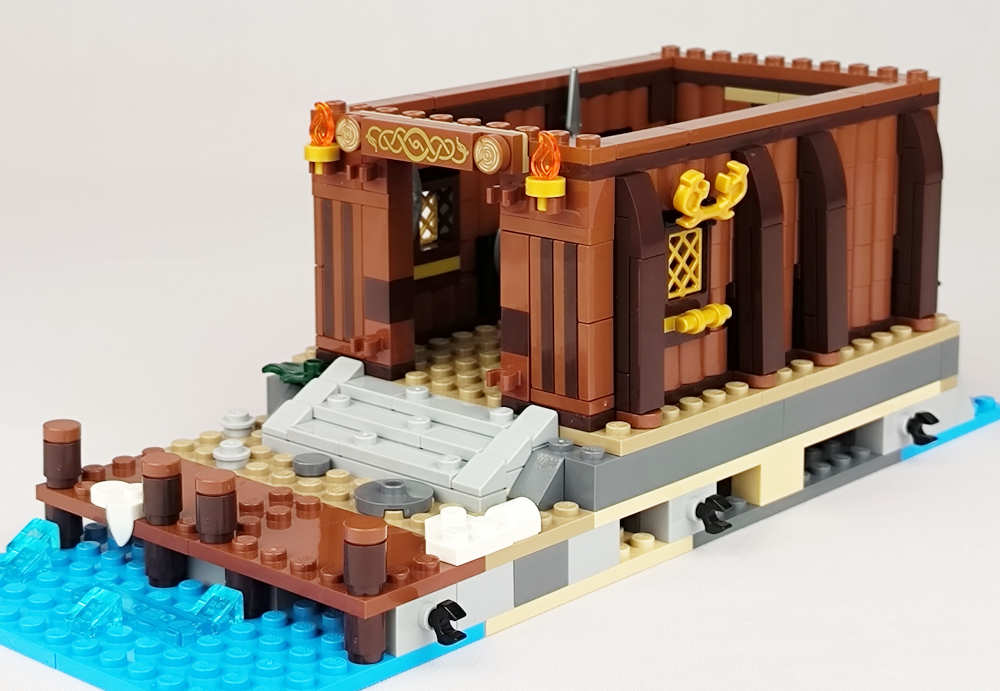
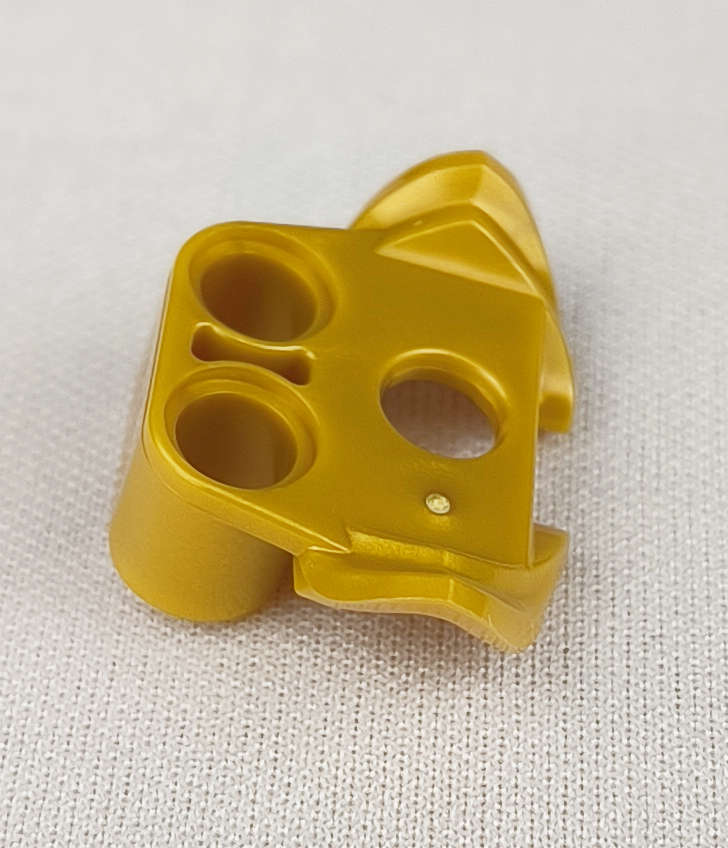
We will finish the construction by making the roof. I can also see a new reference that seems to be used as epaulettes, but according to what I have seen in the box, it is used as the end of the vertexes in the roof. It is very interesting the internal finish of the small roof. You can see the assembled parts of the roof in its totality in the following images and the final result of the building.
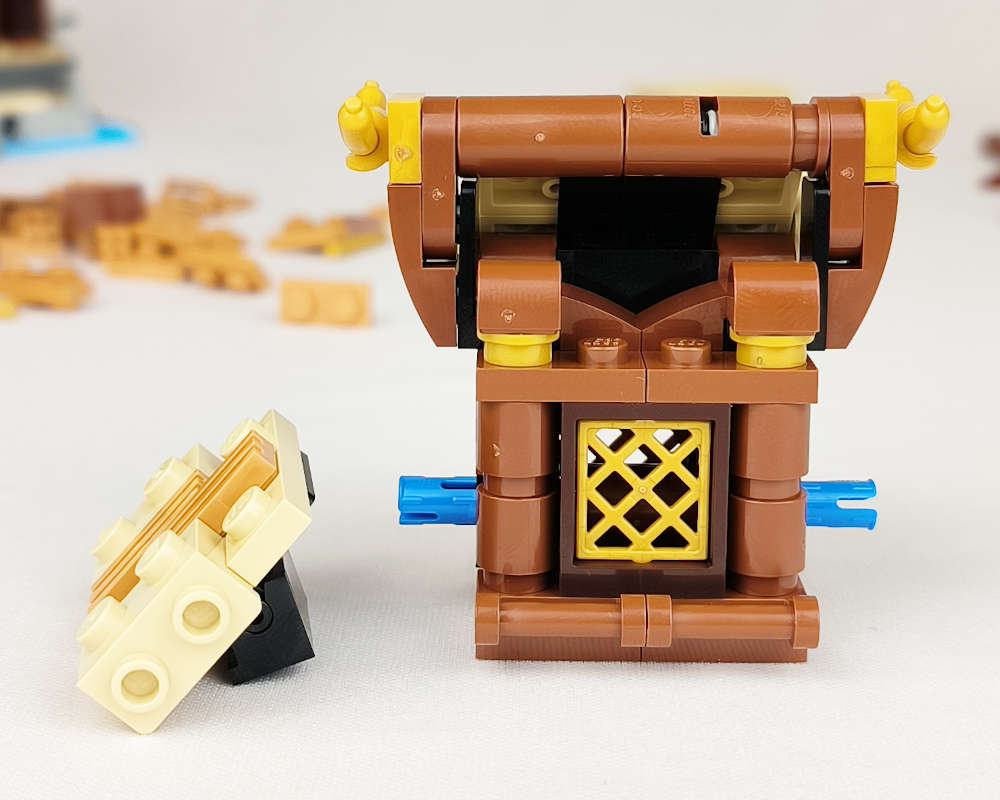
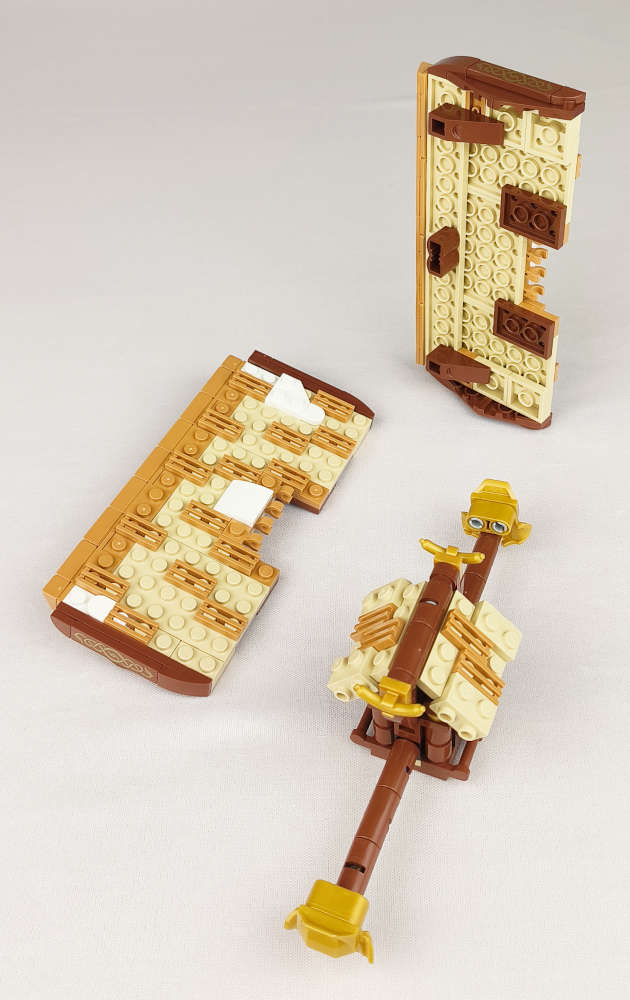
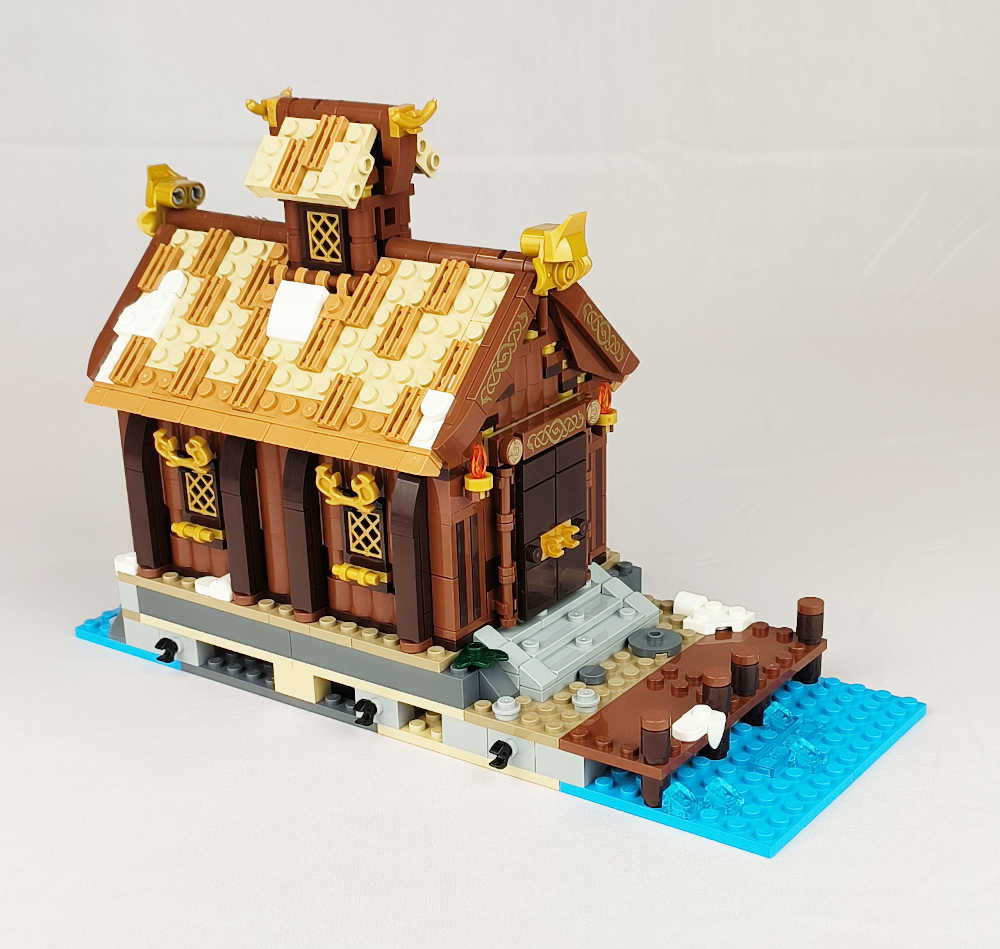
From this point on we enter the third and last phase of the set with the ninth bag. Following the usual line in the construction we will redo the base of this area of the village. It has nothing new to add that we haven't seen in the previous parts.
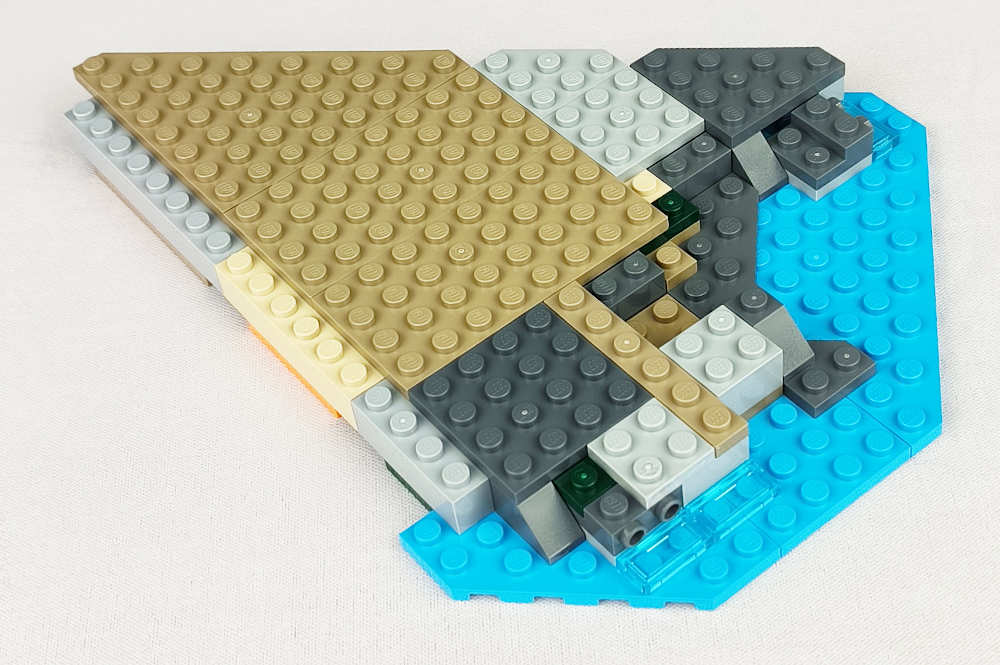
Here yes, here in these steps there is something that I find very interesting. The implementation of the staircase, although I have seen similar techniques as for example in the set of the Boutique Hotel, the staircase over the art gallery that gives access to the terrace, it seems to me that doing it over a landscape of rocks in this way is at least very enriching. A picture is worth a thousand words for both the cave and the staircase.
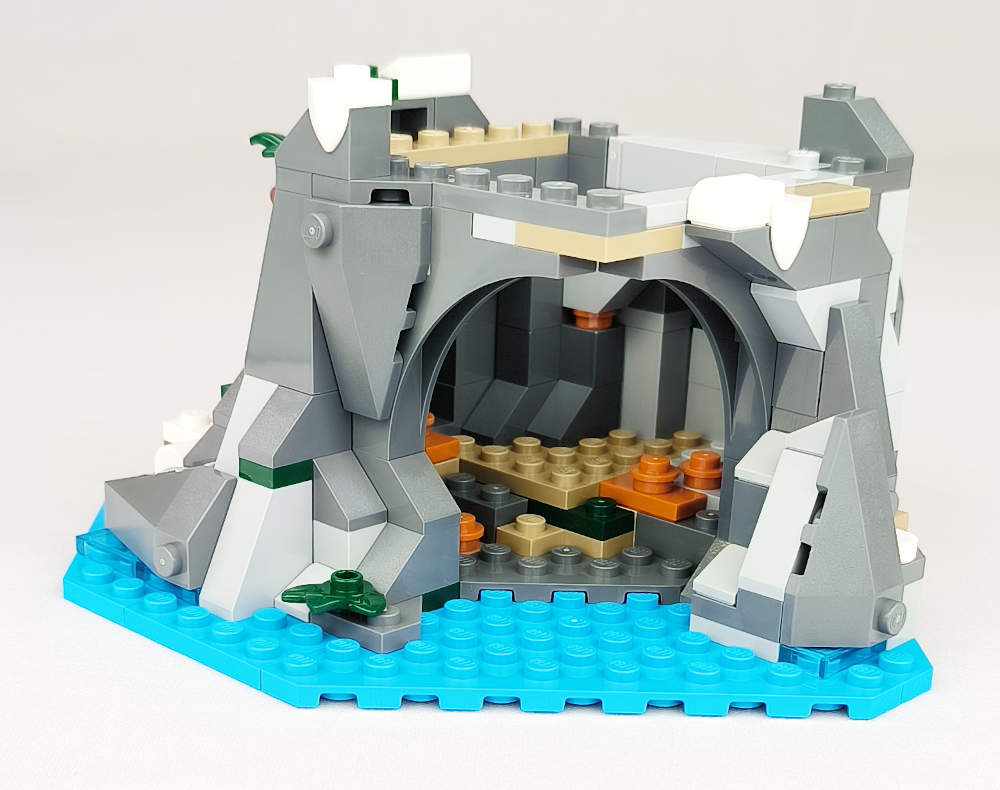
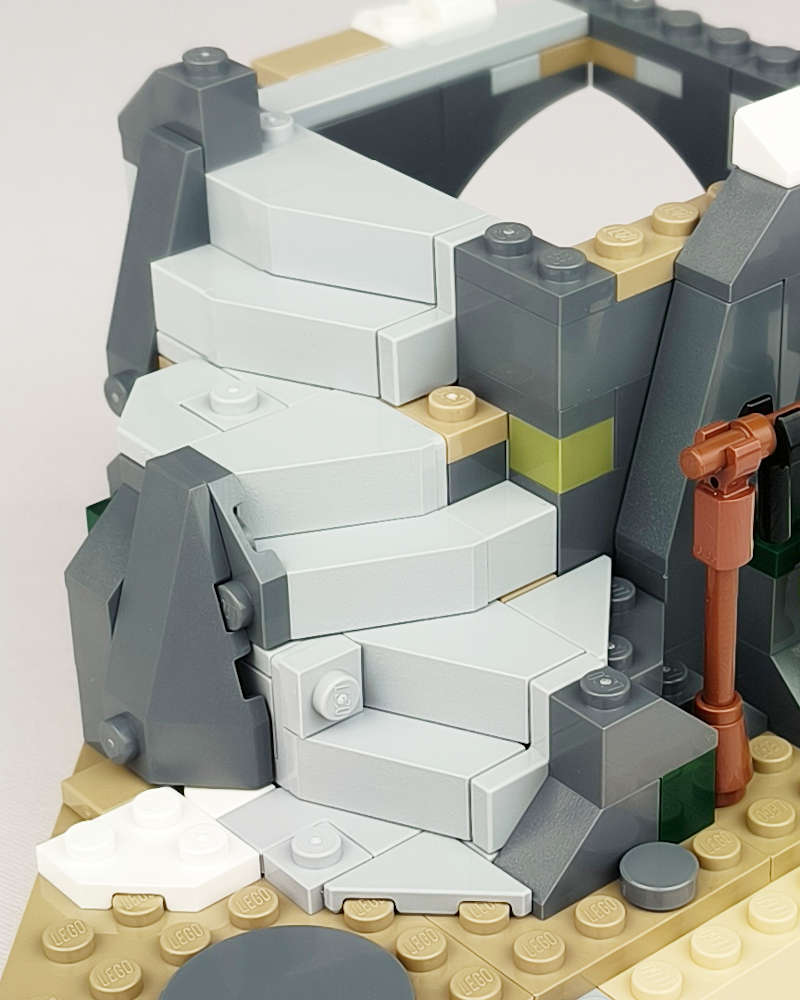
The next section will extend the base where the watchtower will be located. Nothing new to add other than extending the village. The set is already taking a considerable size.
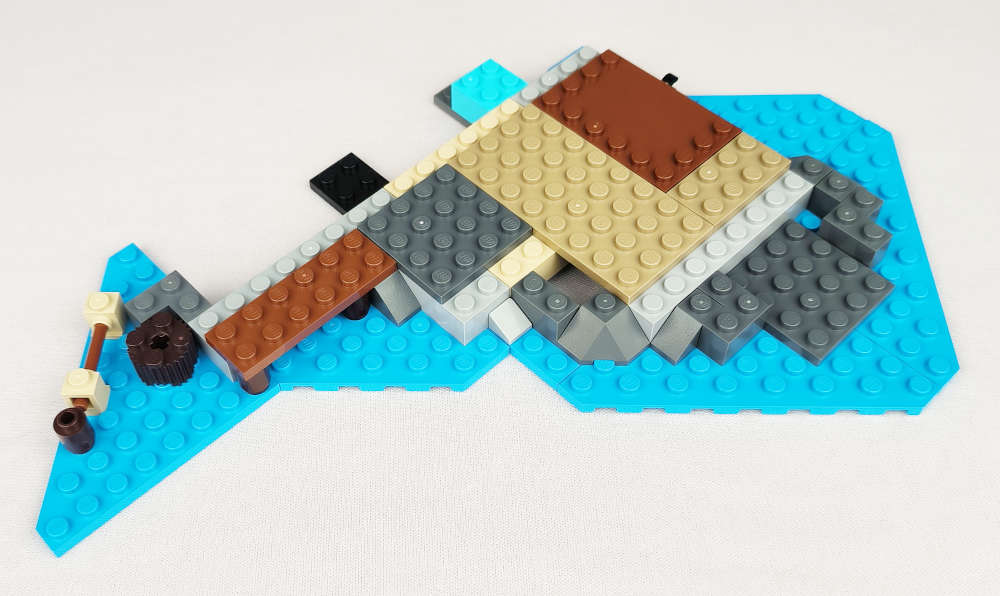
In this section we will be getting taller and more detailed. We will build a Viking warrior and we will find a shield in a different colour from the previous one as well as some printed barrel lids, I love them!
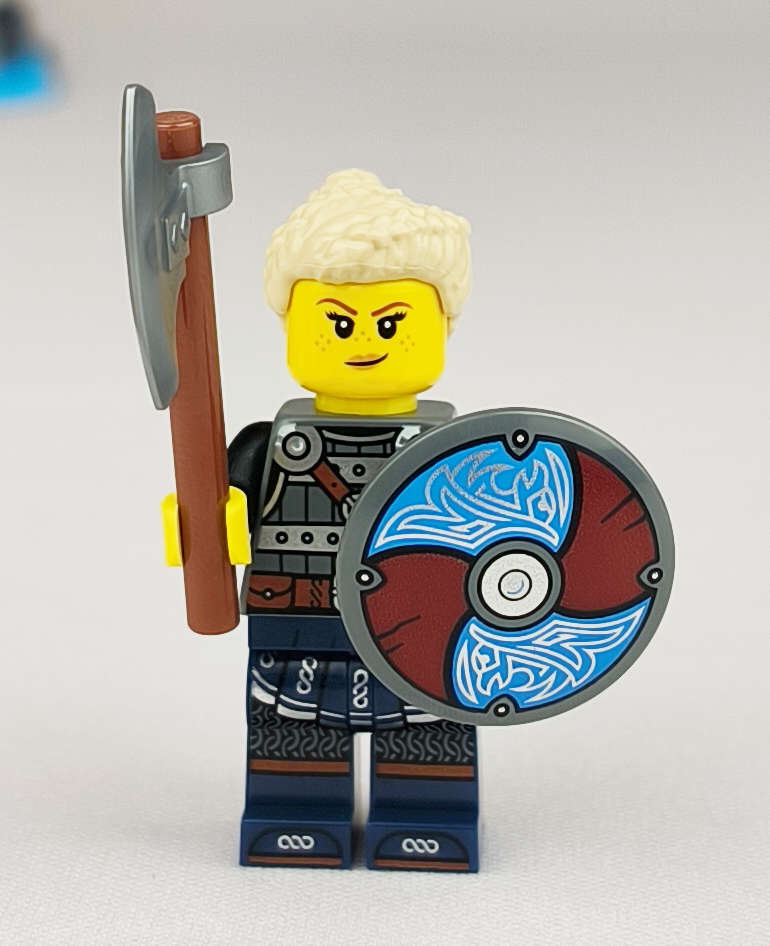
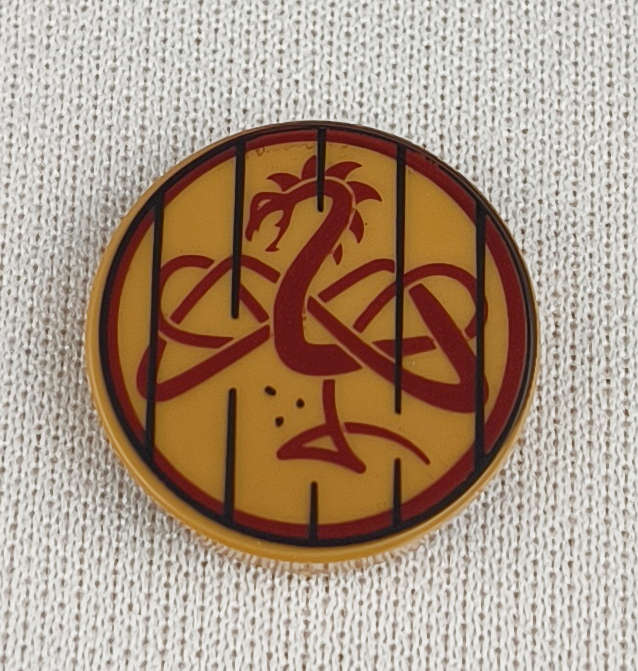
This section ends by joining the two constructed bases and giving them coherence with the wooden pier. The construction of the watchtower has no more than a few enjoyable steps putting rocks and the tower itself. The barrels I liked the implementation with the back full of snow made with a 2x2 curved slope in white. It's a cool detail, plus.... the beer will always be nice and cold! Skol!
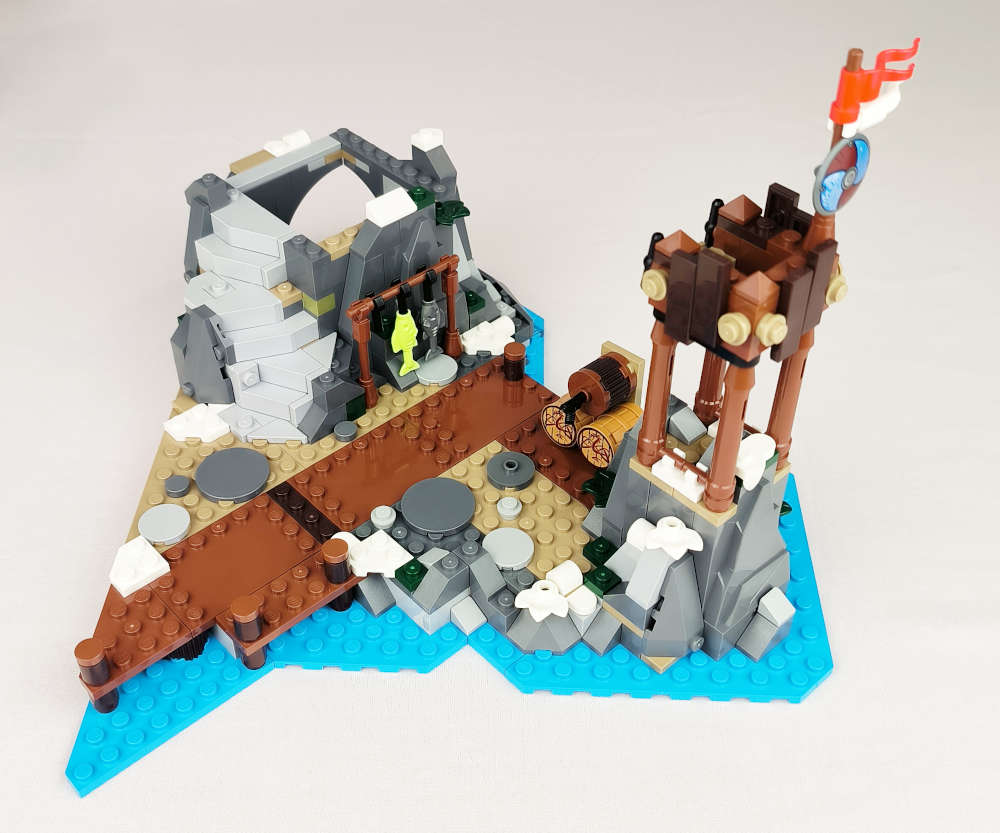
In this part we will make the construction that gives access by means of the suspension bridge to the watchtower. I found the part of the roofs of the windows very interesting. It is a simple technique but I found it beautiful and I will definitely use it in my medieval or viking constructions. The door with the detail of the magic wands is also to memorize.
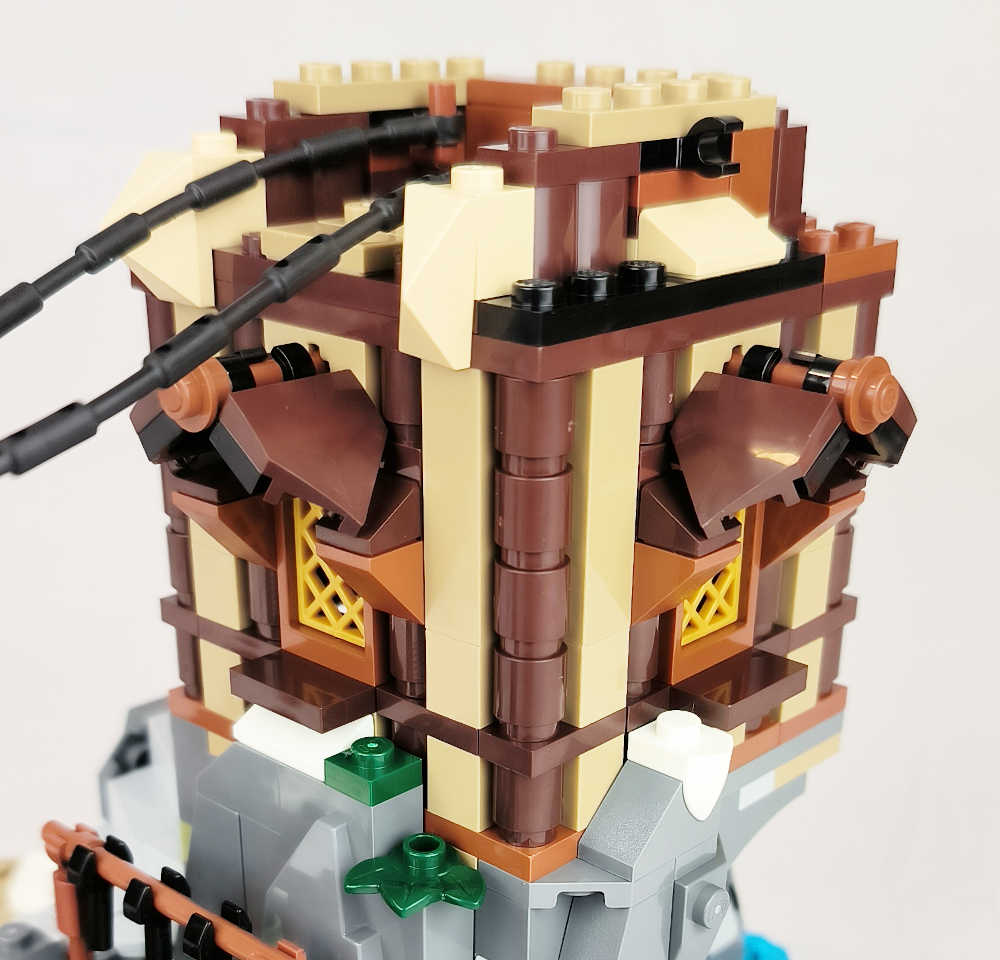
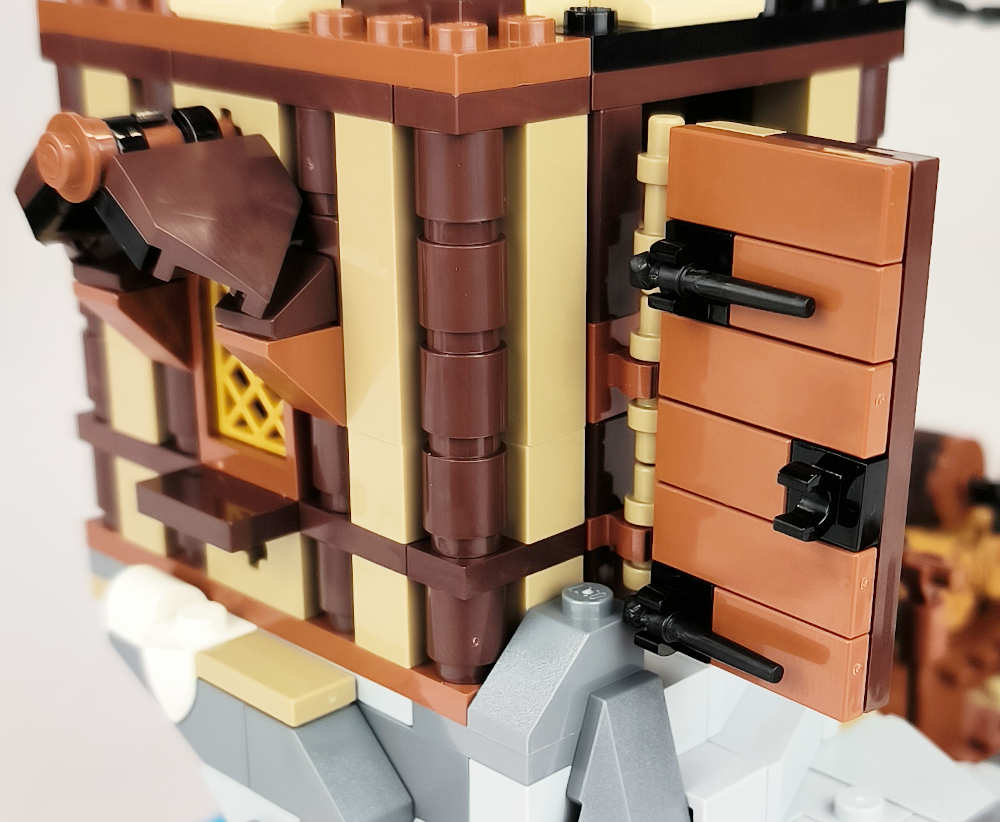
In the penultimate pocket, the side roofs and the corners of the building as well as the suspension bridge will be built. Also a wall with a window on the next level up. It is a pity that LEGO has not yet been able to achieve uniform colours. In this case you can see that the 1x1 plates on the dark tan are quite different in tone from the 1x1 bricks on the upper wall of the building. The arches are the same, but this time they are darker than the normal dark tan. The difference between the tone of the plates and the arches is abysmal :(.
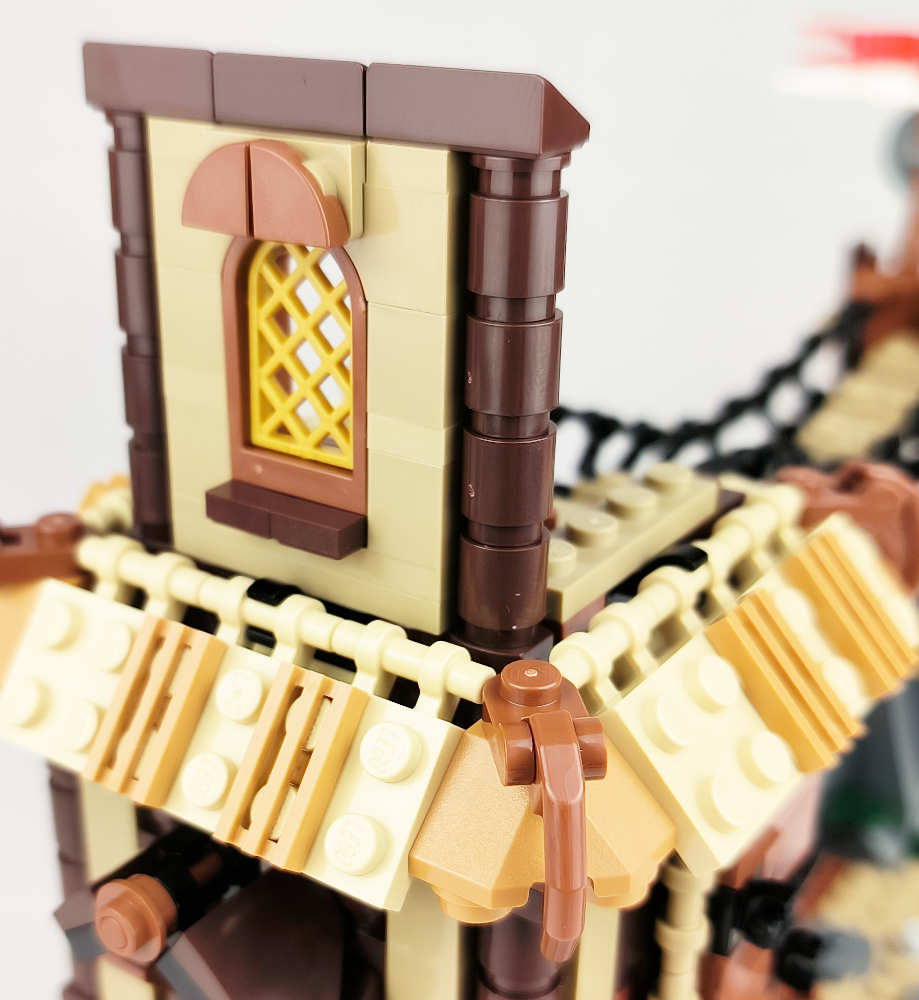
With this bag we will finish the set by completing the upper part of the building. It is interesting the shape of the roofs, it is a curious technical shape and with very common bricks. I think the overall result is great. A set for adults but with a very playful flavour.
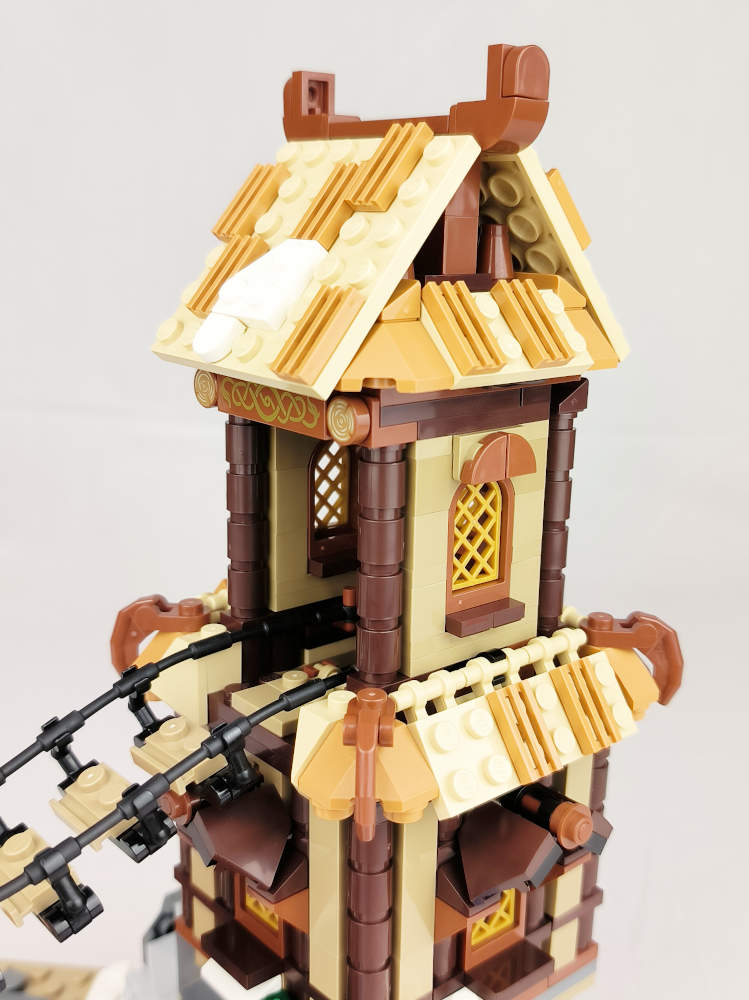
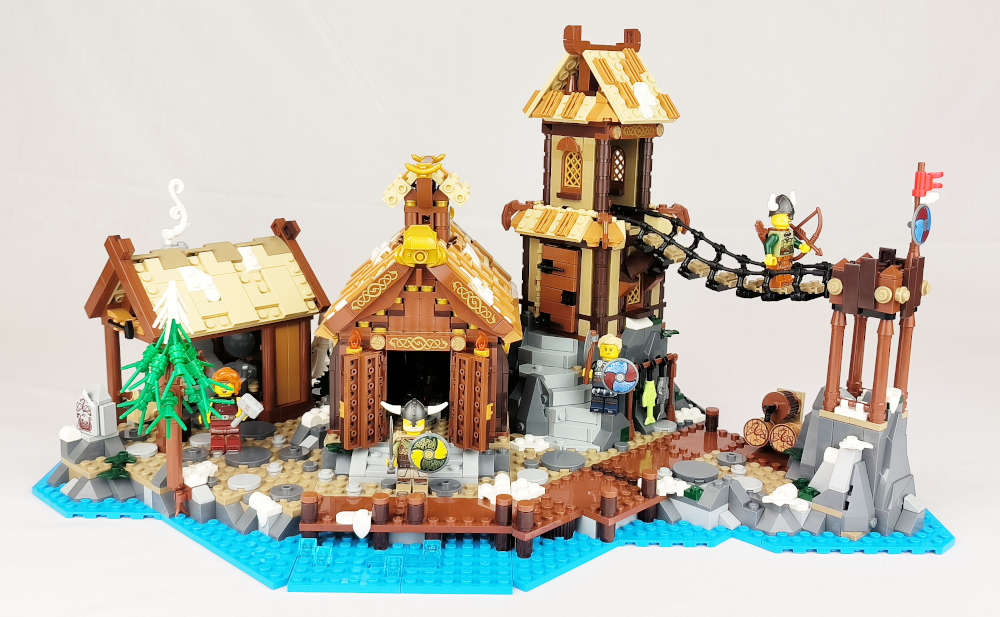
The conclusion is that it is a beautiful set, a balanced set as it has a smithy, the central building of any Viking settlement as well as a watchtower. And of course... beer kegs! The quartering is quite succulent, shades of brown that give versatility in colour and texture to the construction. I do miss some more minifigures like a child and of course some animal, a goat? It shows us different construction techniques in roofs, stairs as well as the assembly of the parts that make up the base. This assembly totally breaks with the paradigm of the square and gives the final set a more realistic appearance. If something is not positive are the tones of the pieces, in this occasion the dark tan :(. Without a doubt this is the great unfinished business at LEGO. Let's hope that sooner rather than later they can solve this problem. Also with respect to the scale it may seem to be tiny, but for example if we put the 7018 set next to the village it doesn't seem to be dwarfed next to such a barge. Personally I love the fact that they have respected the same sail logo of the 7018 set on the tile of the blacksmith shop and the beer barrels.
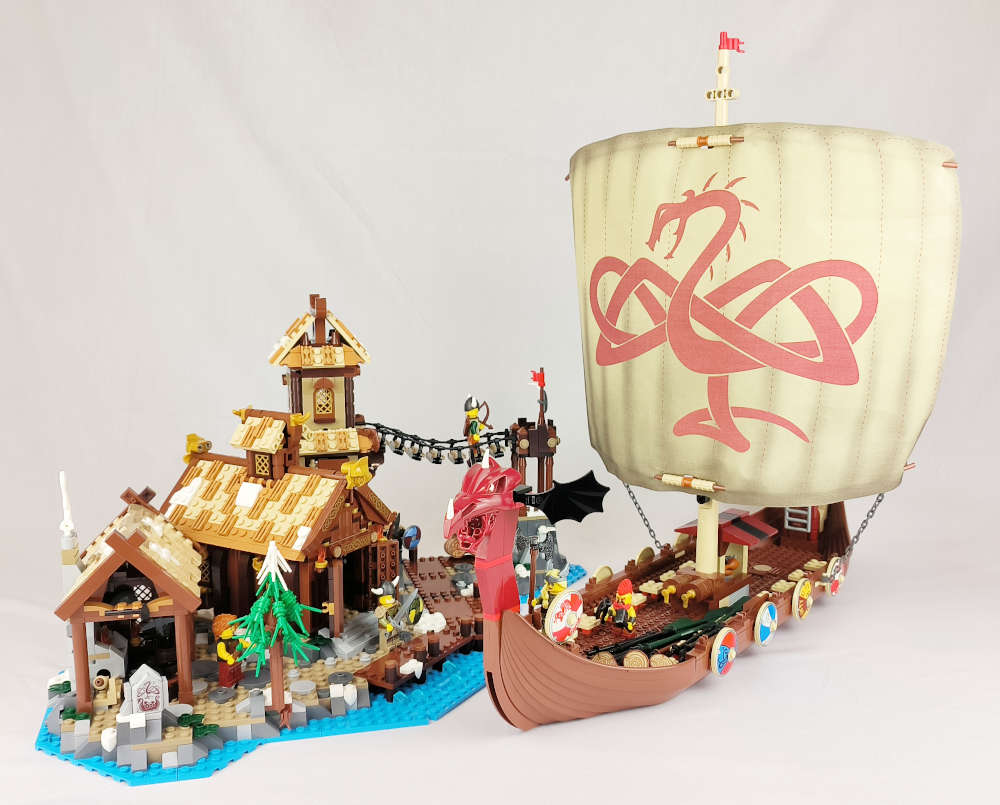
For those who love the Viking theme, for those who are looking for a set in new colours of versatile references, or for those in love with the classic themes of this LEGO toy, this is definitely a set to take into account. We don't yet know the price at which it will be sold but it is certainly a set to get not only one. We would like to thank LEGO for making this set available for this article. As the opinions expressed herein are ours alone, LEGO does not endorse or support them in any way.
33596