Set Review ➟ LEGO® 75323-The Justifier
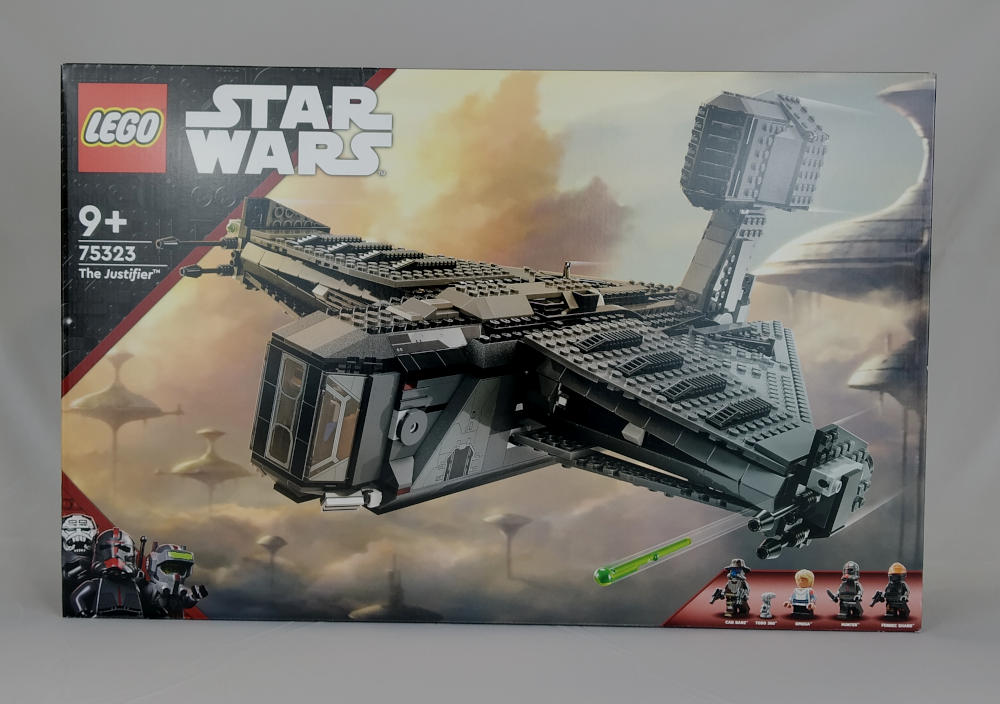
In this last review of some Star Wars sets that have been in the LEGO catalogue for a while now, we will show you the construction of The Justifier ship. As you know, this ship is featured in the Star Wars series "The Bad Shipment" when Cad Bane captures Omega by defeating the Force 99 Clone in a unique western-style combat. The box of the set is an inordinate size in my opinion, according to bricklink it has only 1004 pieces.
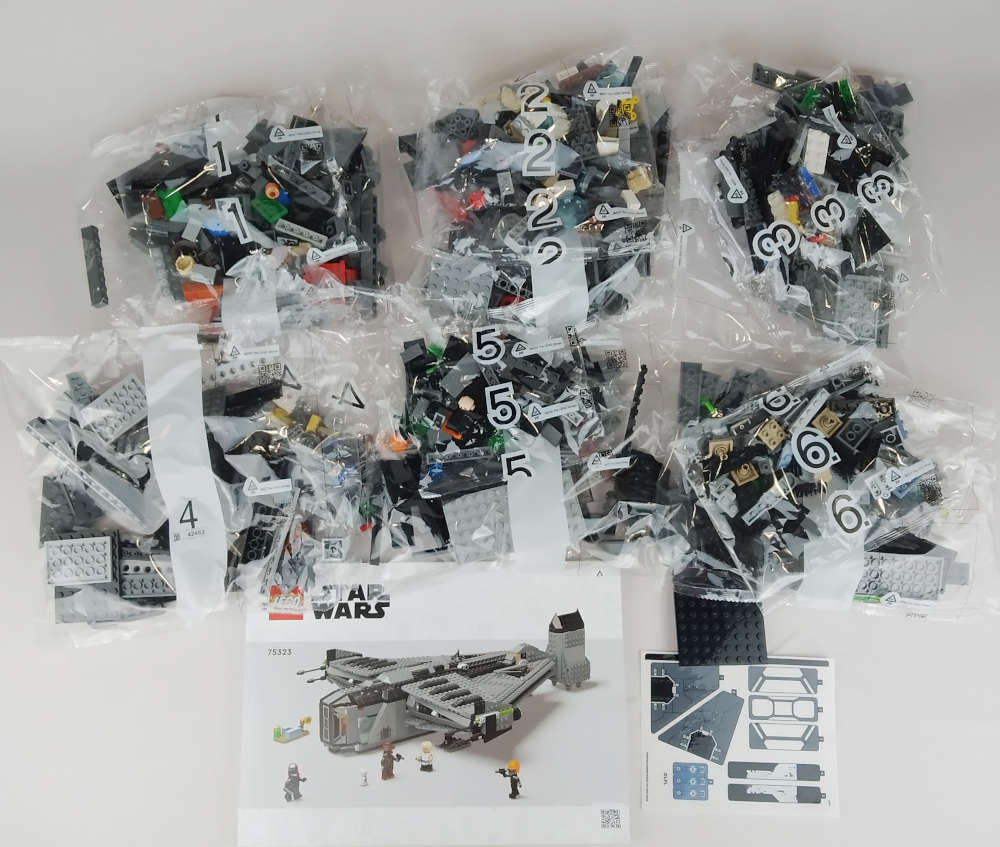
The contents are a good pile of numbered bags, an 8x16 black plate, the instruction manual and on this occasion... also a sticker sheet... oh no!
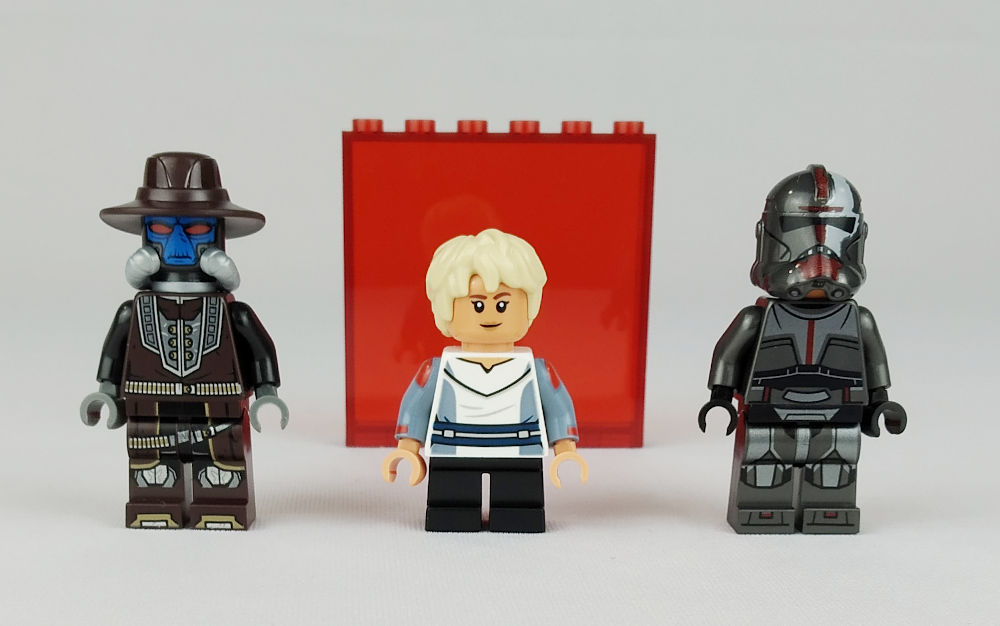
In the first bag we get a double joy. There are 3 of the 5 minifigures in the set, that is if the robot is considered a minifigure, and although it's not in this bag according to bricklink it does count as one, some purists may argue various things about it, and we also see a trans-grid panel!
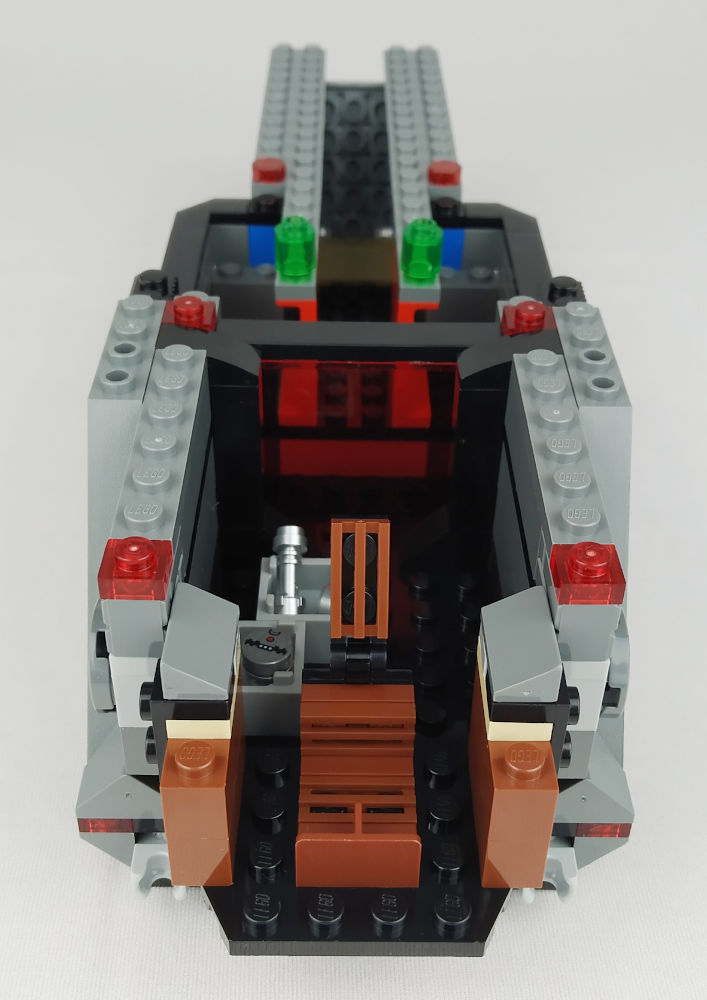
Well, the construction of the start of the ship is nothing special. All "studs on top" and nothing remarkable. The best thing is the seat and the panel that looks like a laser protection barrier behind the cockpit.

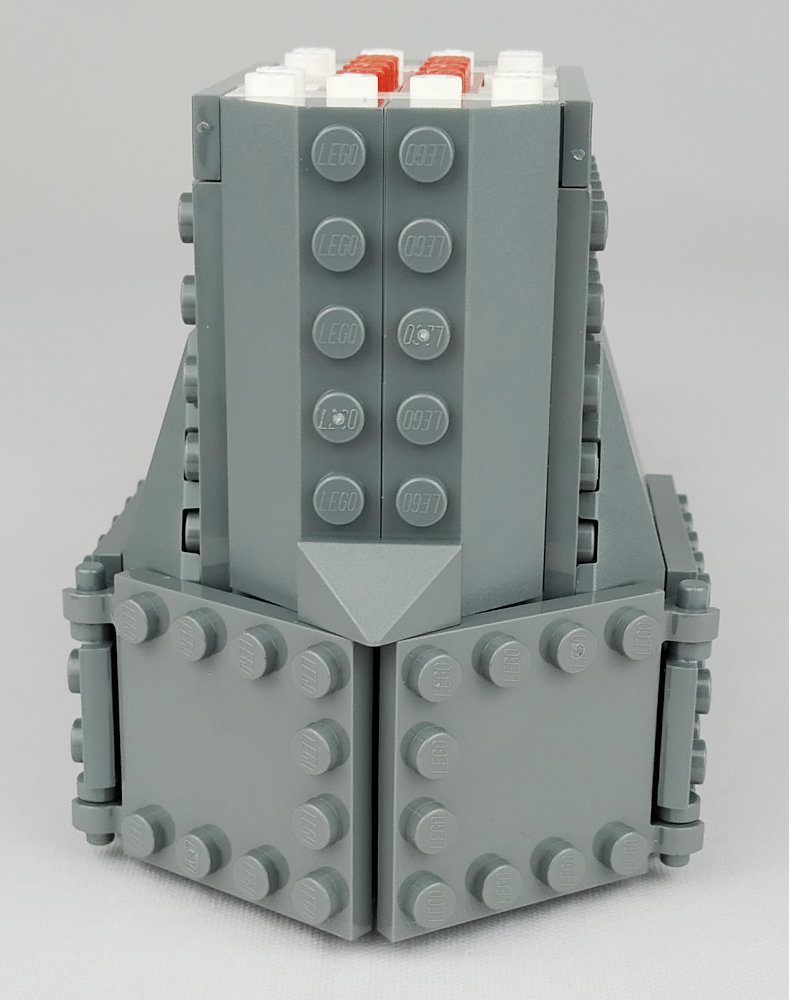
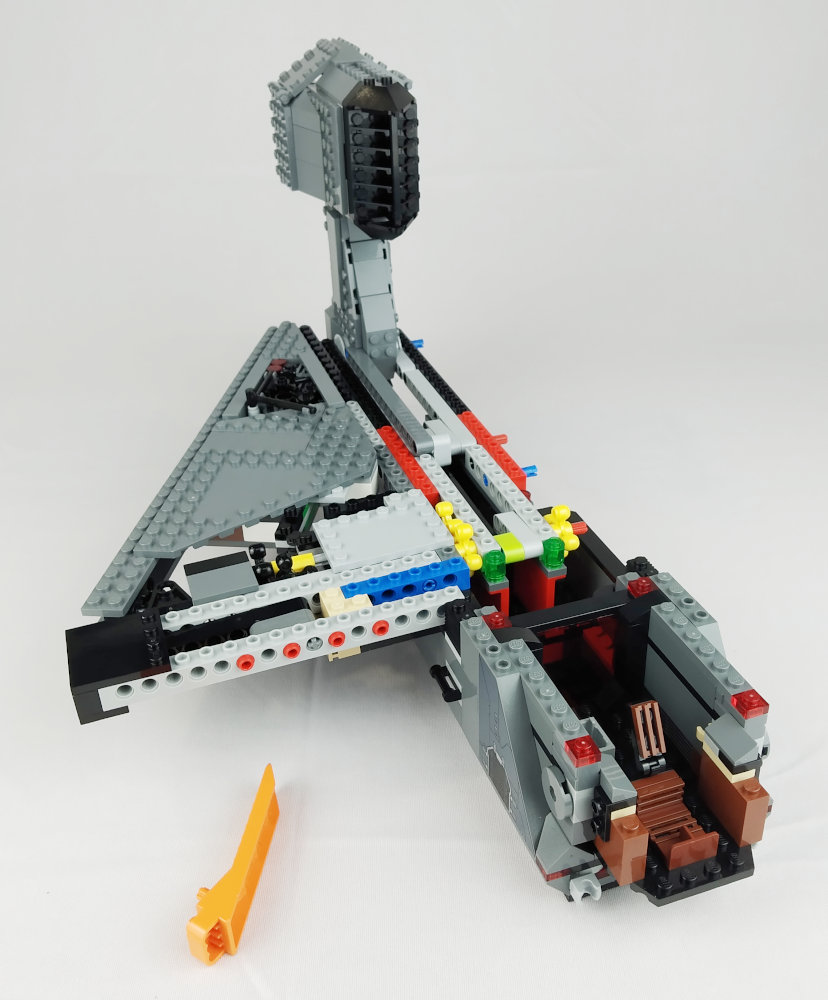
This part is a bit more substantial. Here we work on the tail of the ship, which is characteristic for having a certain similarity to a scorpion. This tail is used to lift the ship and project it through space by turning 90º. Here there are a couple of shapes that fit very well in the structure of the tail, in which these are anchored to some brackets, which by the way the structure is nothing more than technic bricks with some ornaments in the form of slopes. The propulsion engines of the tail area are embedded in these "shapes" and it really looks good. We will see when it comes to move the tail if they resist adequately.
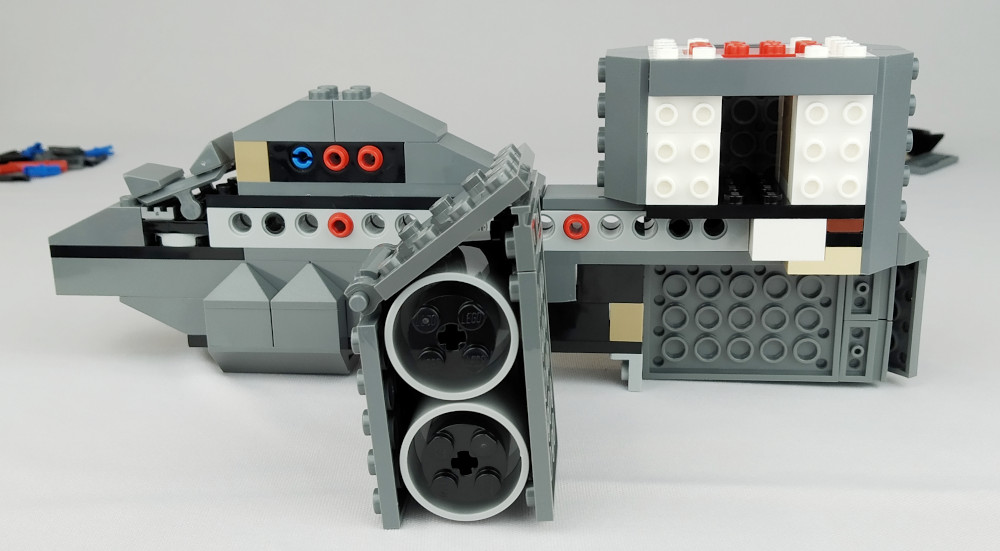
We arrive at an aesthetic part implemented with a plate and tiles. The feeling is that this may be an illegal lace. So if we remember that short document about stressing the pieces written by Jamie Berard (Stressing the elements) we will see that this area is totally legal as well as being a simple construction but interesting for its aesthetics.

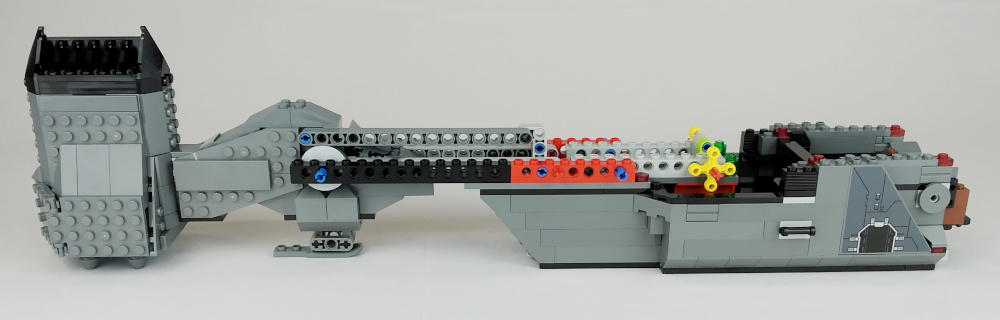
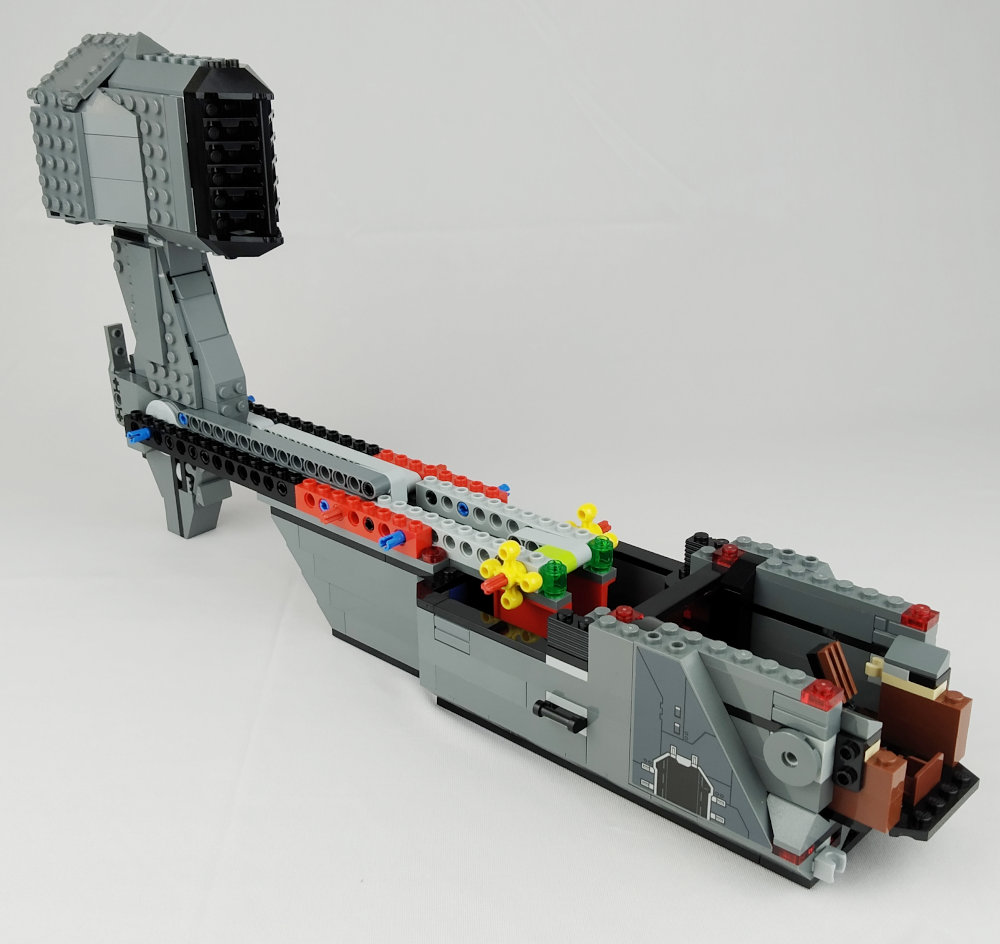
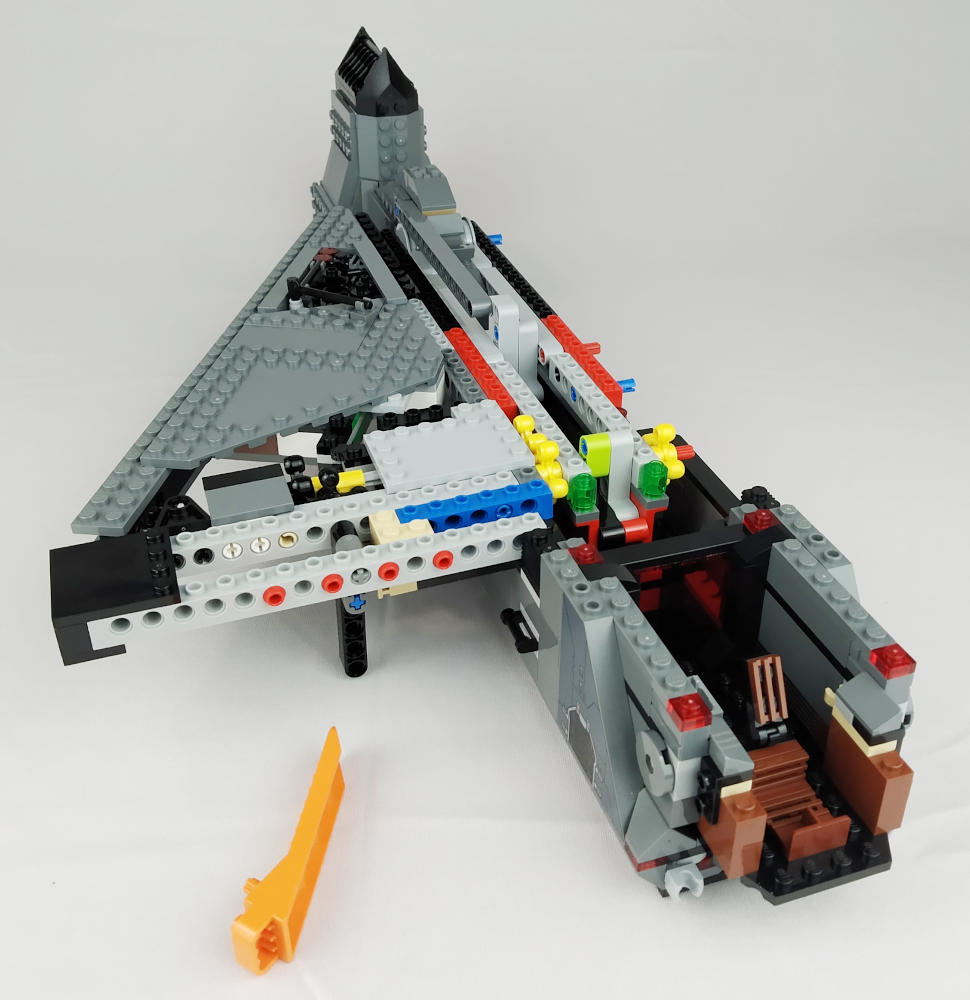
It is time to combine the sections we have already built. In the following steps we will lengthen the tail of this last part to embed it in the central base or belly of the ship as you can see. The technic arm when moving the tail makes the yellow nuts at the end (6284189) move, we'll see if this is useful for something, no doubt it is :). With this we move on to the next bags, there's not much more to tell here.
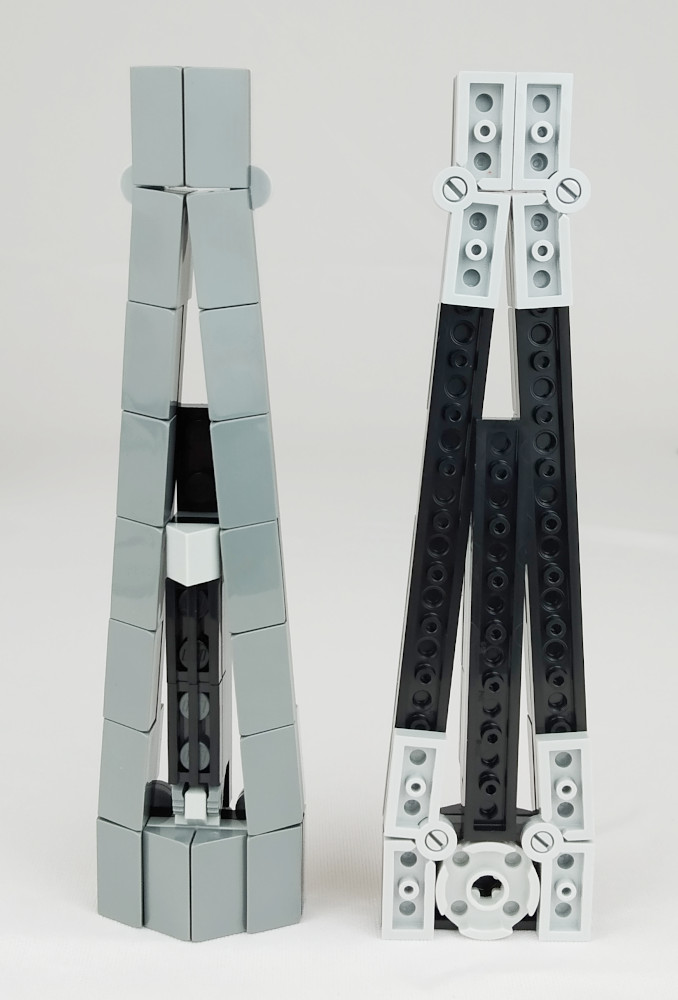
In the next section we start with one of the wings of the ship. A priori it seems that it is going to be a rather heavy section given the size of each wing of the ship and yet the surprise I get is that it is quite light. The configuration is triangular joining its vertices with hinged plates. It has some "greebling" that I really like. Of course the gear that we were wondering what it would do when we moved the tail in both directions is solved here. As you can see in the pictures the wing has some kind of "flop" that goes up and down with that movement. According to the central image in the box of the set these are the side legs of the landing gear. It is a simple and very effective gear.
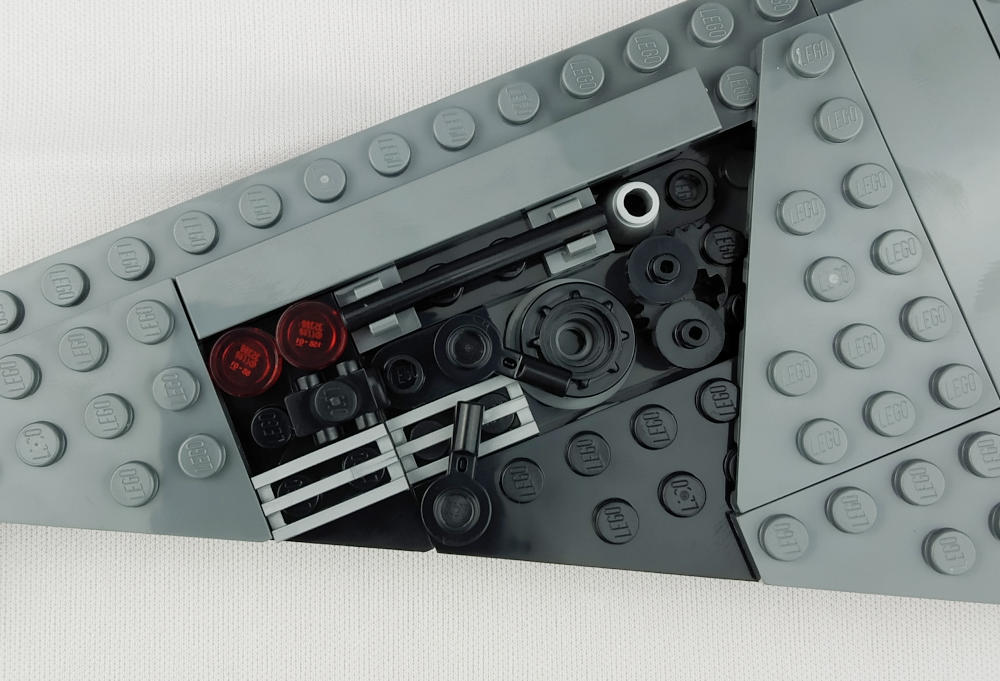
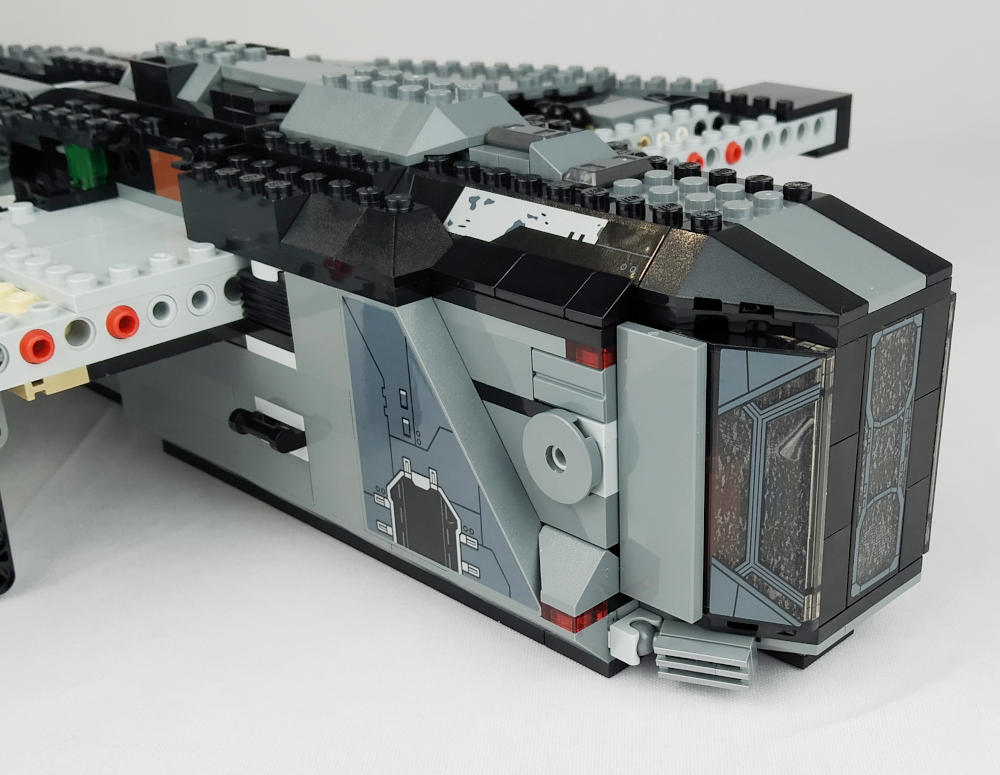
Here you can see the detail of the "greebling" I mentioned before on the left wing of the ship at the rear and also the triangular configuration before it was completely decorated.
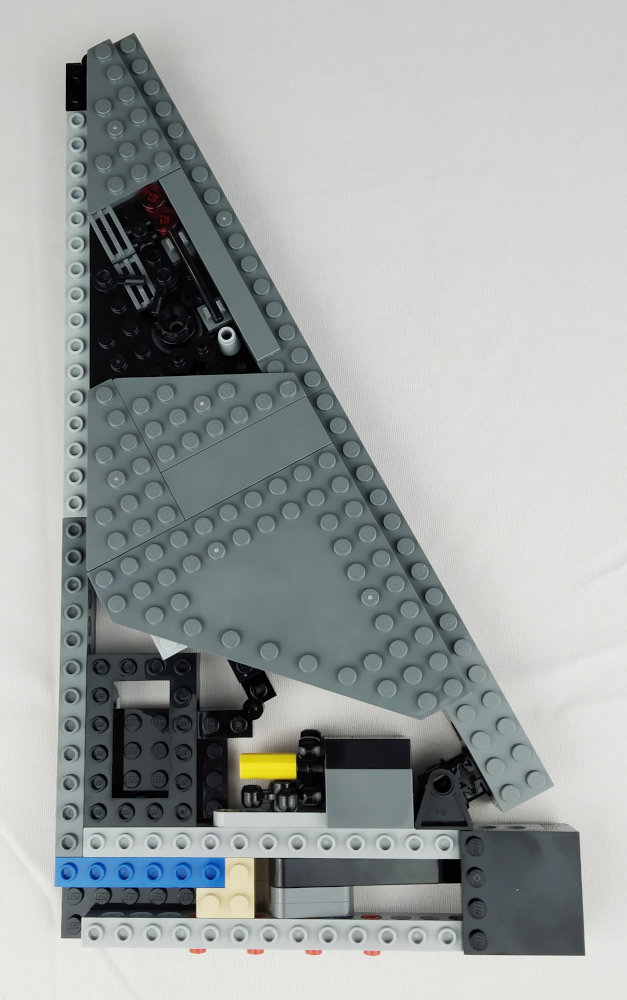
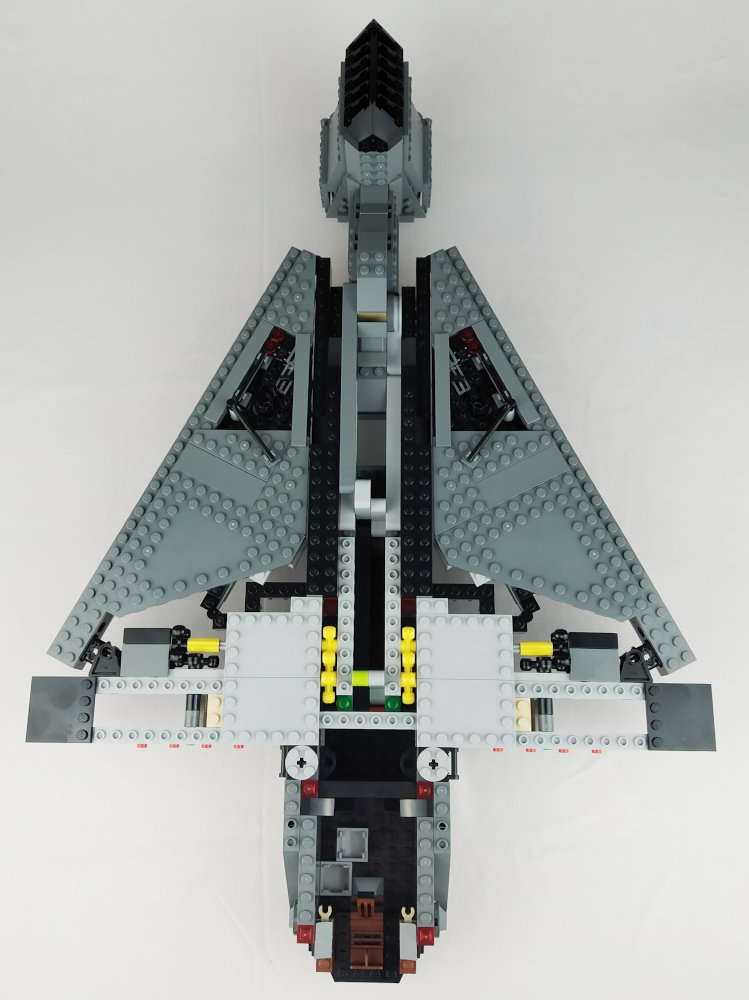
And once this section is also finished, we can see the whole thing from a zenithal view. What do you think of the size? It is quite a beautiful ship in size.
Well, in the fifth bag we assemble the last two minifigures, one of them is well known to us as it was also available in the set 75315, and also comes with his helmet this time. We are talking about Fennec Shand, a character we met in the series "The Book of Boba Fett" but who also makes his first steps in this one. We also have the pleasure of enjoying Todo 360, Cad Bane's robot. I confess that these little robots are a delight, ever since the one that appeared in the N1 starfighter of "Mando" and that belonged to Peli Motto I was in love with these galactic miniatures.

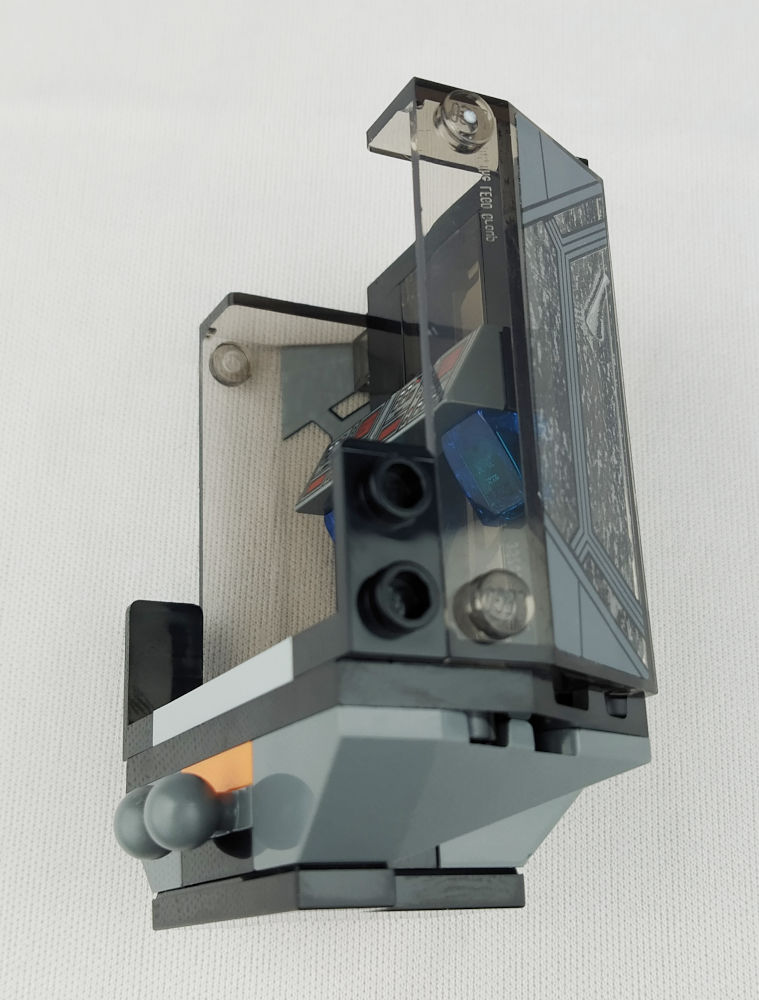
The glazed part of the cockpit is placed in "snot" although it is built normally. It is certainly a success and the underbody looks excellent. The attachment to the ship is extremely strong. This is very well implemented. Finally, the removable roof is an assembly that is not attached to the ship in any way, so access to the cockpit is easy.
Well, with the following pieces we will have finished this set. Let's see what else is in store for us until the end. Now it's time to shape the front of the wings. Both pieces are interesting in their construction and look great.
Now we will also plywood the upper naked part and put the side cannons. This is the end of the set.

There are no impressive techniques in this set but the overall feel of the construction is good, the triangulation of the wings, the way the structure is coated to size the ship, the extension arm mechanism that operates the tail and landing gear, the way the cockpit is inserted and of course the minifigures make this set a "must to have" for fans of this Star Wars license. Personally it leaves a good taste in my mouth. Maybe its price and quantity of pieces is not right as almost 170€ for only 1000 pieces makes it a very expensive set, very very expensive. But... who said LEGO is cheap? We thank LEGO for making this set available for review in this article although we must let you know that LEGO does not endorse or support our opinions in any way.
33585


