Set Review ➟ LEGO® 10302 - Optimus Prime
Once again we have the opportunity to make an article with the impressions of this set catalogued for adults with a perfect child’s heart. Who didn’t wish to have an Optimus Prime when they were a child? Well, now as grown-ups we have the great opportunity as AFOLS to have our own and made of our beloved LEGO pieces!
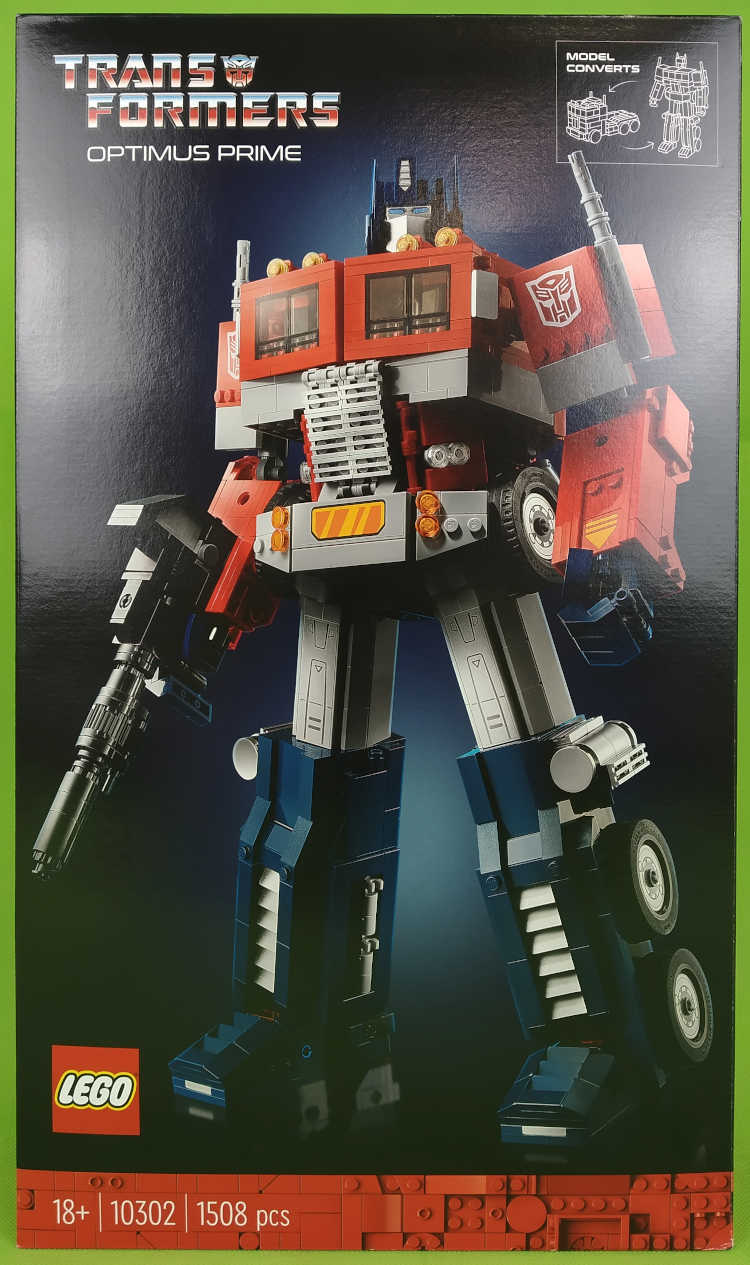
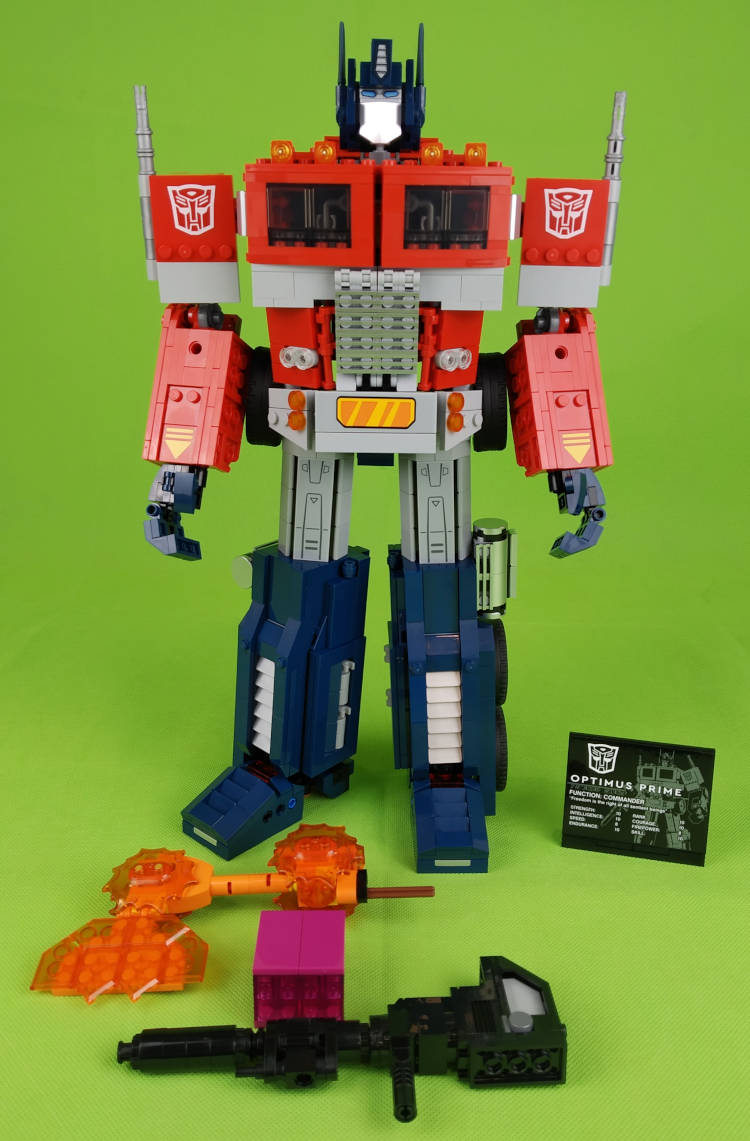
This is a set as we have said catalogued with 18+ and with 1508 building pieces, plus as always the goodies in the form of extra pieces. As you can see in the box the model is 35 centimetres high by 18.5 centimetres between the shoulders.
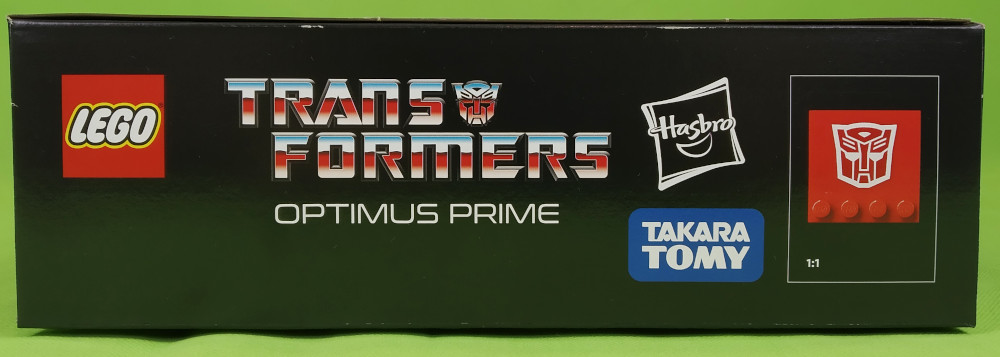
At last the LEGO group took over the HASBRO licence as well as Takara Tomy, the latter being a merger of two Japanese toy companies, Takara and Tomy. Very clever name. Doing a quick search in any market I have found that in this toy brand this same Optimus Prime model is more expensive than this set that will be around 169.99€ and will be available from the month of June this year. So seeing the infinite possibilities offered by the LEGO brick system…who said it’s expensive? who said it’s expensive? Here you can see the box of the product.
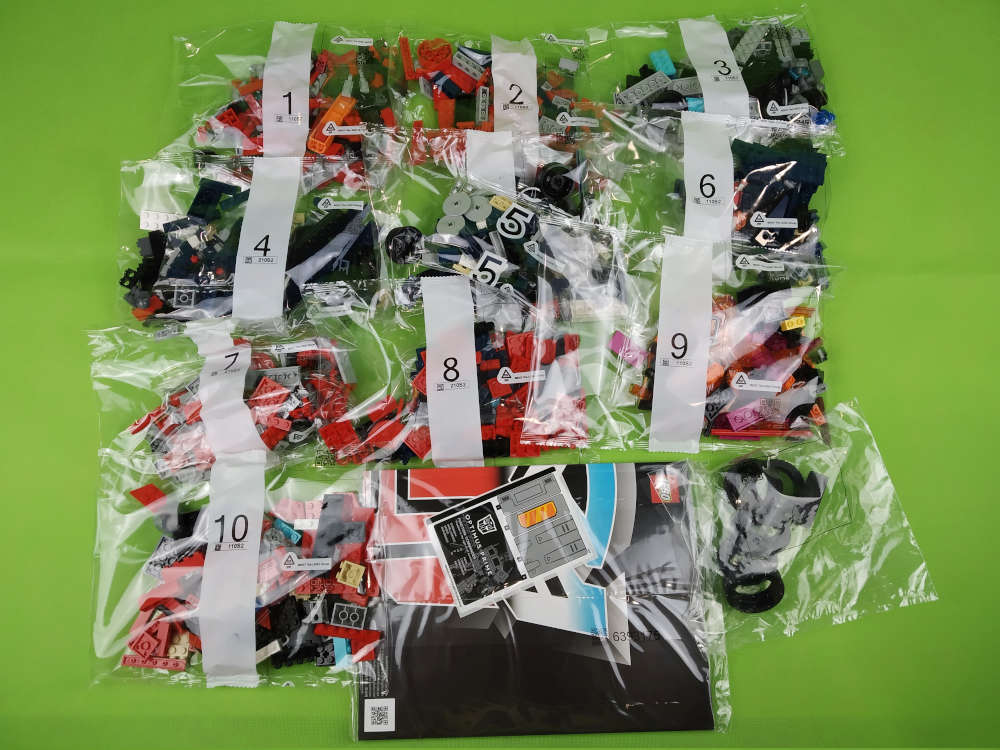
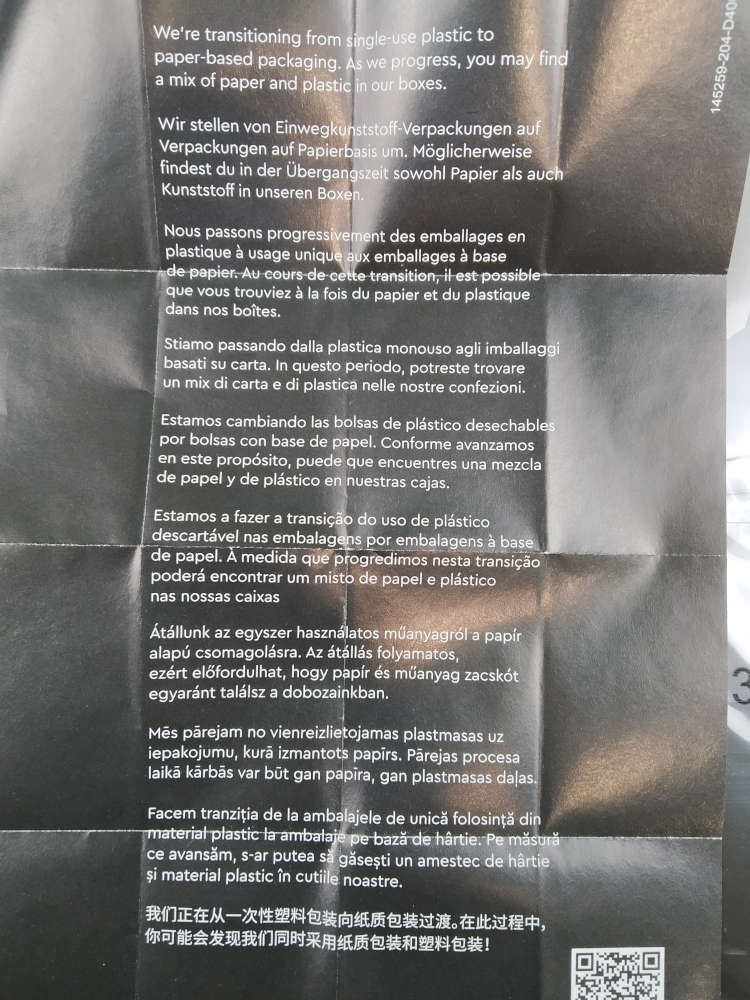
Now let’s take a look at the contents of the box. It comes in bags numbered up to 10, the construction manual and a small sheet with some stickers. One of them will act as a small plaque to present the model. Throughout the manual we are given pearls of Transformers wisdom of the parts we are building. Looking at his characteristics, Optimus Prime is a goody two-shoes as his stats are down in speed and firepower to an 8, in everything else he gets an A+. This is the first time I’ve found an additional sheet in a set warning of a change that is being made to the packaging of the sets. The sheet warns that little by little they will be changing the plastic for paper-based bags. I don’t quite understand if the appearance will be similar to the plastic bags so you can see the contents or if they will be opaque. In this set they all look like plastic, but to the touch they look like the same old plastic. We would be grateful if someone could clarify this for us to extend their knowledge please. So, without further ado, let’s get started on the construction of the Optimus Prime model.
In the first pages of the manual we can see a delicious cover page of a comic book with some Autobots, followed by the statistics of our protagonist and some words from his designer Joseph Patrick Kyde, who points out that the challenge of the model was to be able to convert it without disassembling it. One of the reasons that inspired him to become a toy designer was precisely the Transformers.
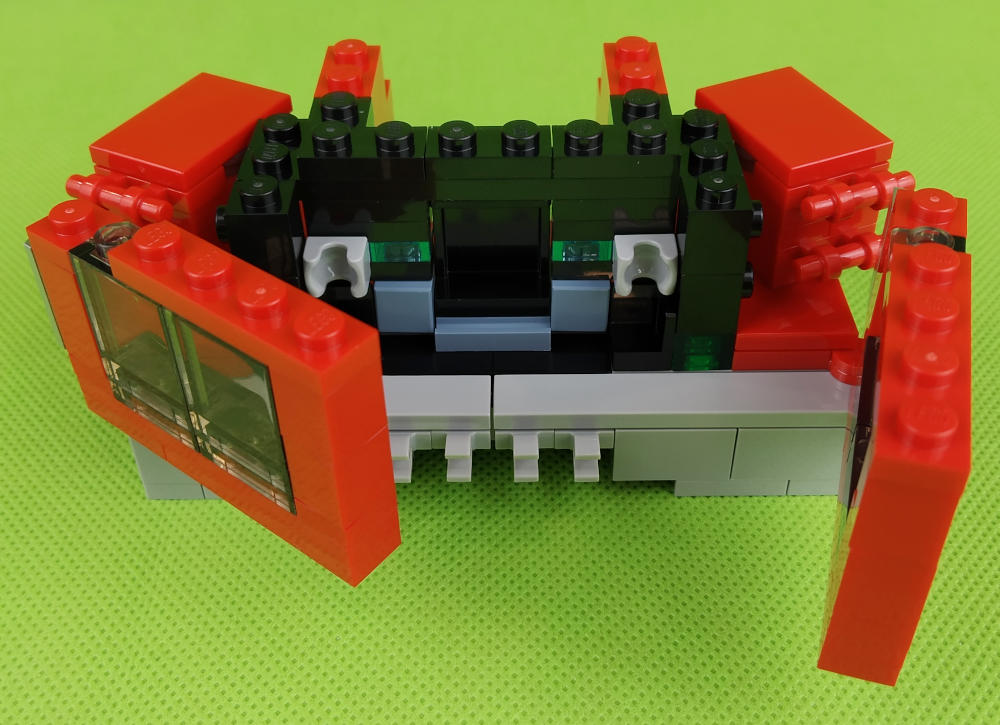
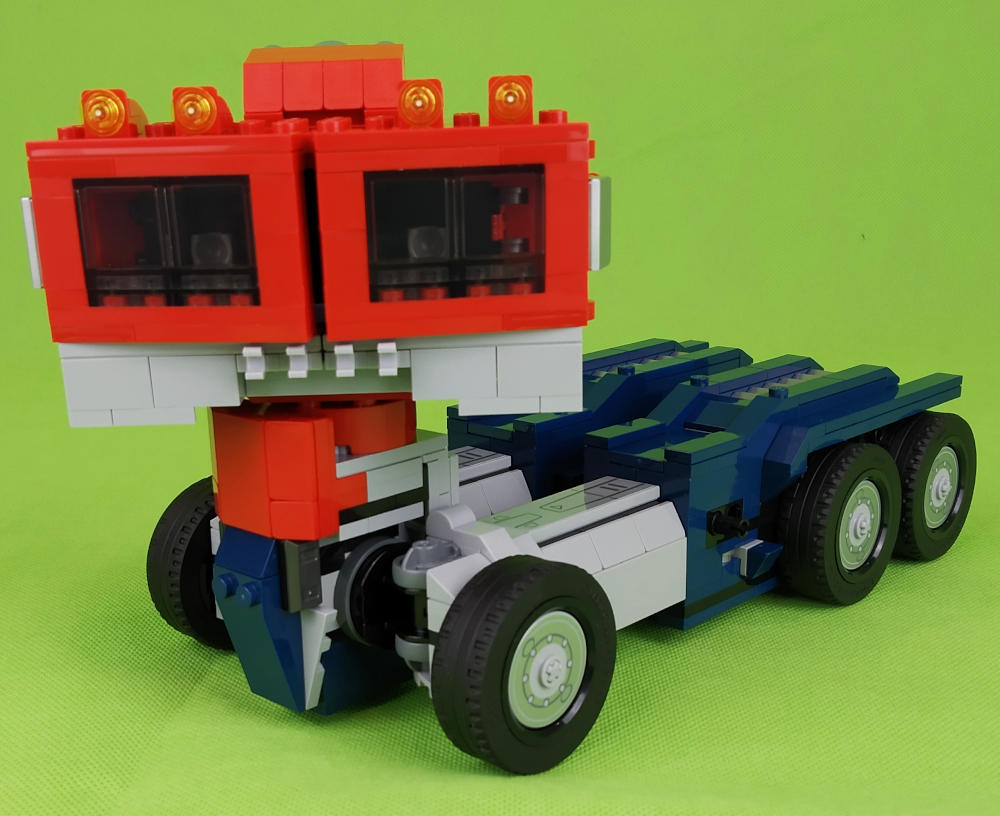
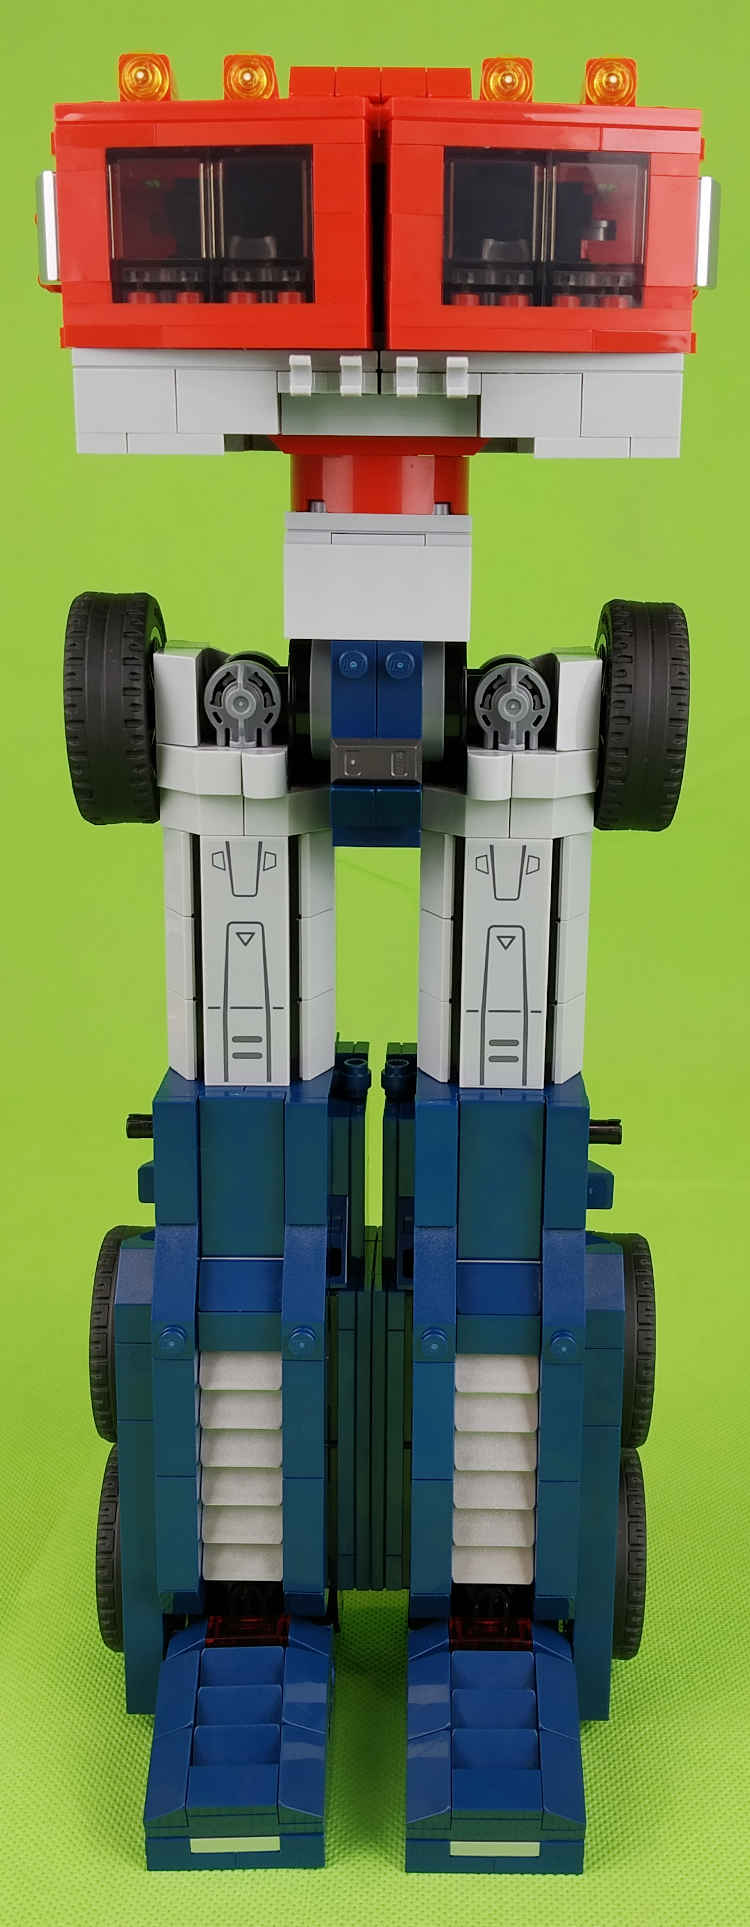
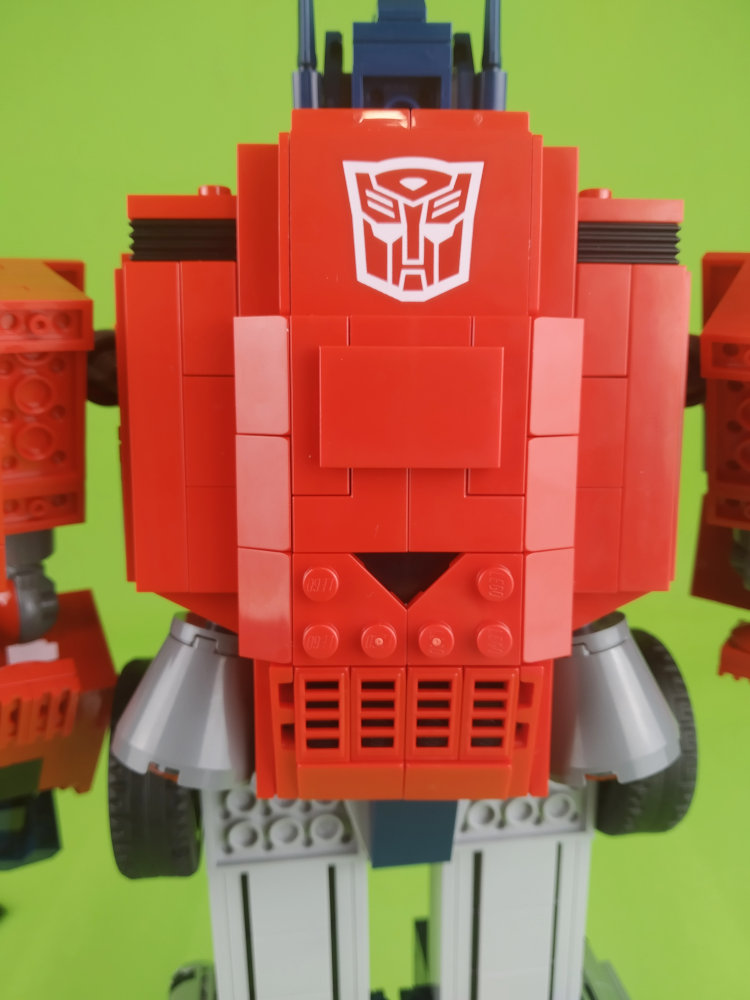
We’ll start with bag 1 at the chest. That very characteristic part of Optimus which will be the cockpit of his transformed truck form. There’s a cool touch here of the modified plates which could be inserted into the bricks with studs on one side to perhaps give the cab a firm hold.
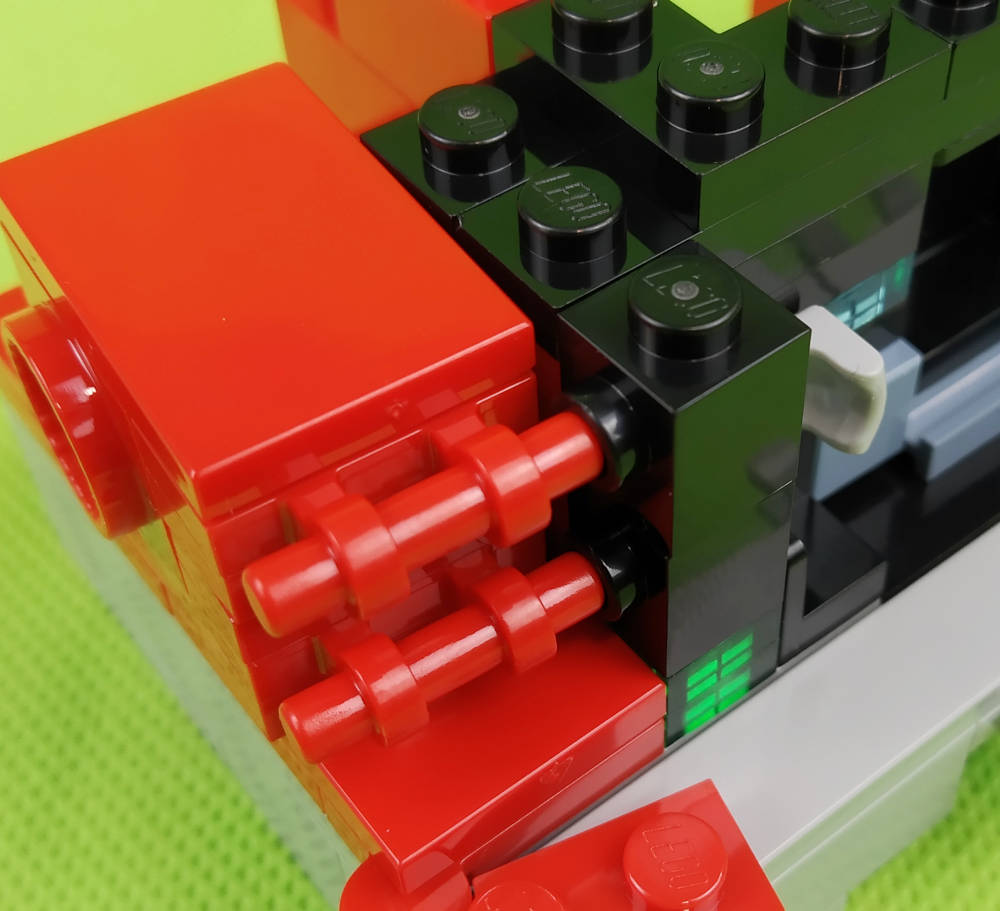
In bag 2 we will continue with a lower trunk extension, which is what will make it possible to add the upper part of Optimus’ lower limbs on some technics bricks.
In the next couple of bags we will start the Autobot’s limbs. It should be noted that so far we haven’t found any weaknesses in the construction. Everything is being movable but at the same time quite sturdy which is commendable as playability will be possible as well as always necessary in a LEGO set. Who won’t transform Optimus over and over again?
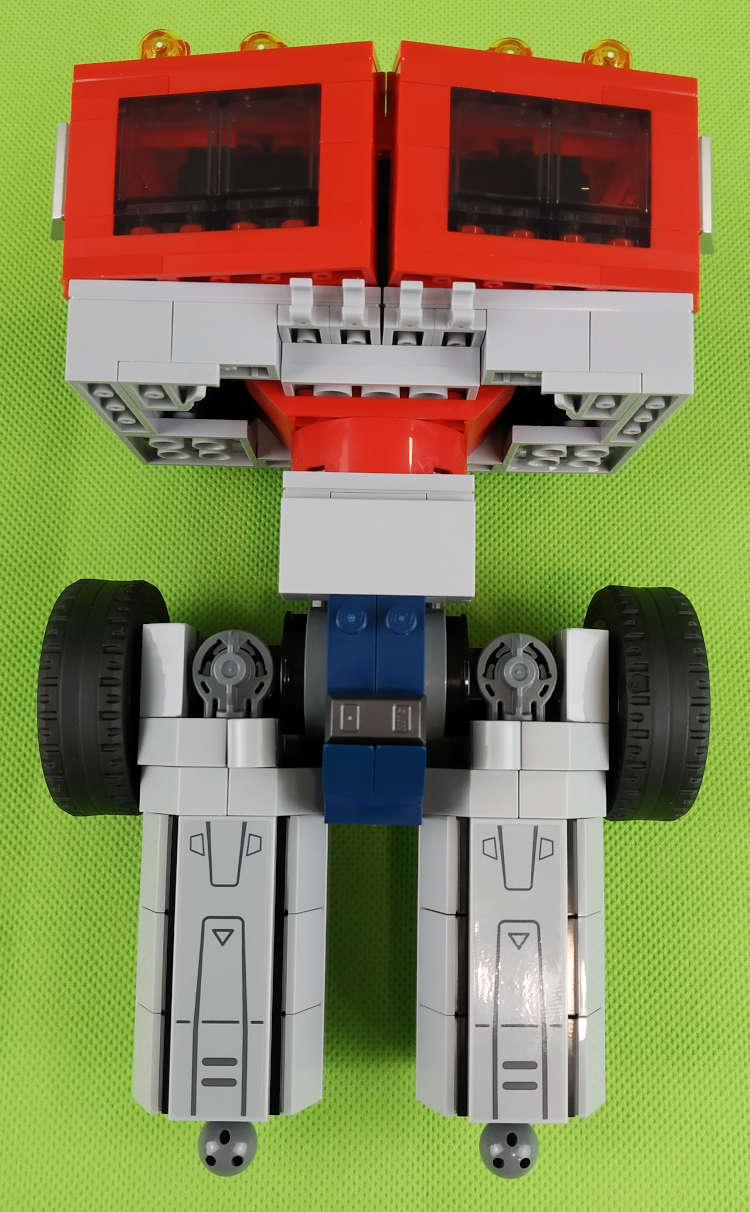
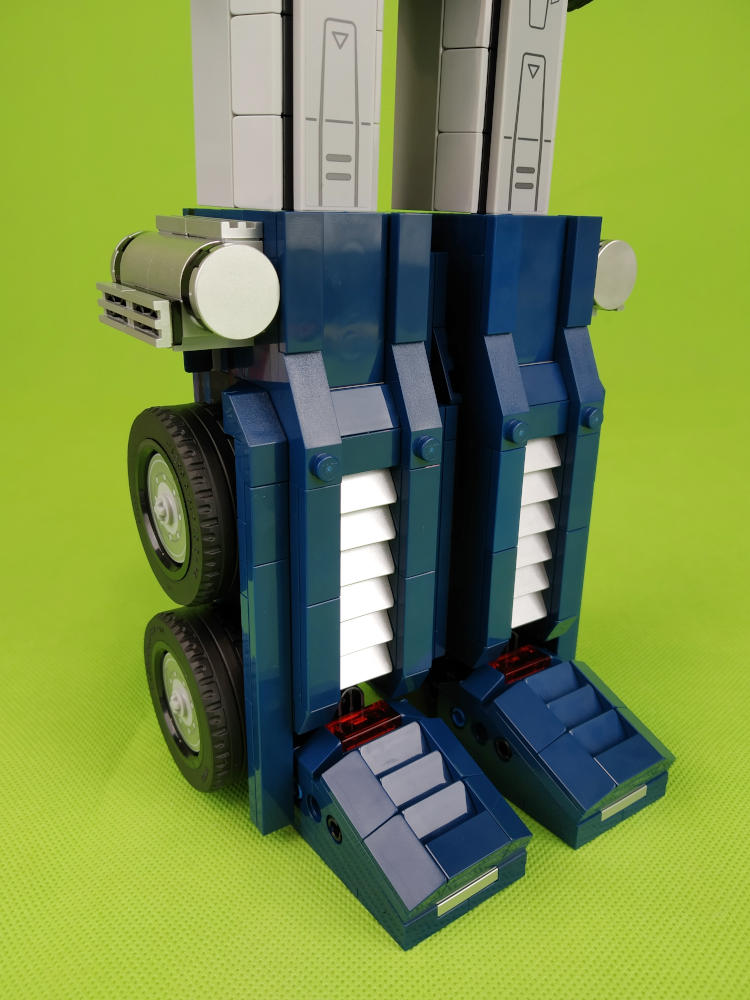
The next step will be to recreate the lower right limb. The technique will be to use plate brackets to make the module and then insert it into the patella of the previous module. This will allow for 360 degree rotation. You can see that Optimus has no tendon problems in his knees. Here you can see the finished module.
And here assembled. Optimus Prime is starting to grow to a considerable size.

In the following steps the other module is replicated in a mirror image except for a few parts. It is interesting to see the internal assembly to be able to convert the Autobot to its vehicle form. At this point we can see that it rolls perfectly and, as we said before, it is very, very robust.
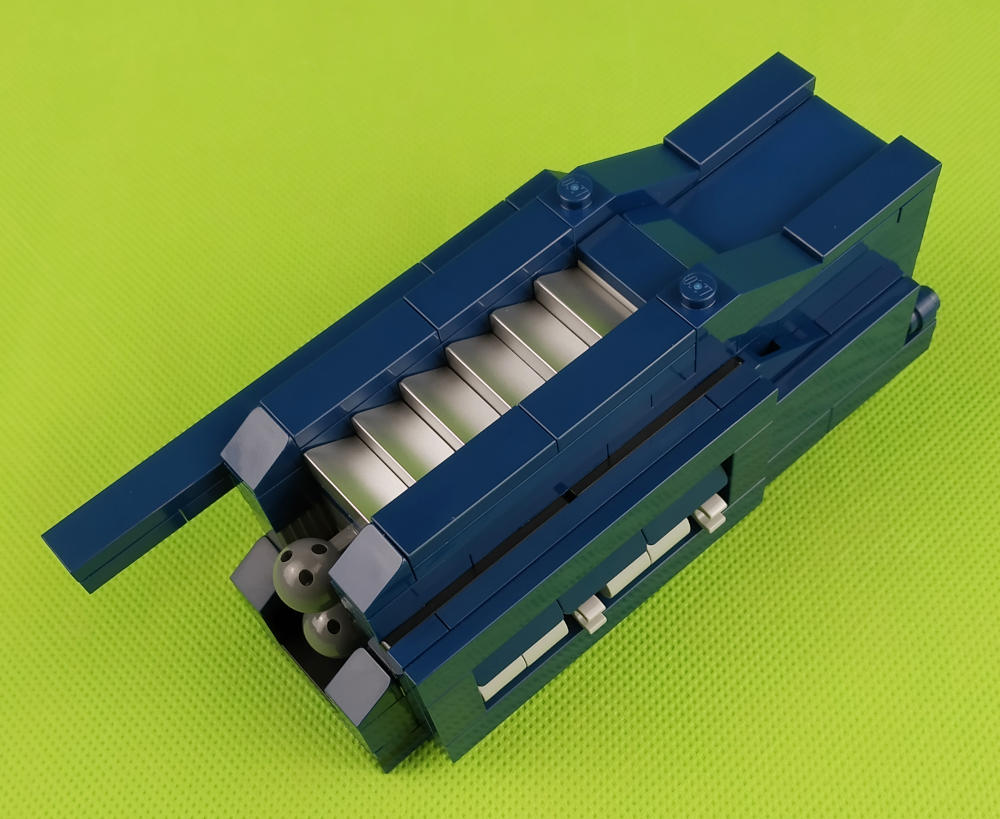
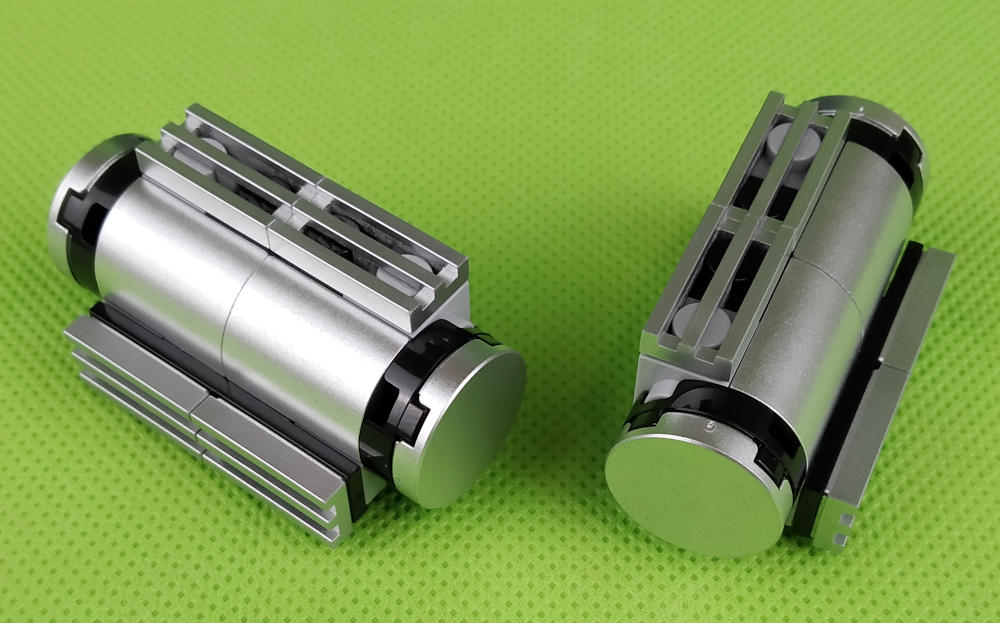
In the next bag the feet of Optimus are constructed identically. The gearing to the limbs is to use the ball joints that we already placed at the time. They are mostly implemented with technic parts. The detail of the orange rubber bands to make the model more stable on smooth surfaces is perfect, its triangular shape makes it almost stick together. Finally the bag ends up making two fuel tanks.
The radiator part, bumper and shoulder pads are the next steps. Very simple techniques based on using plates with clips and bars and the shoulder pads are made using brackets.
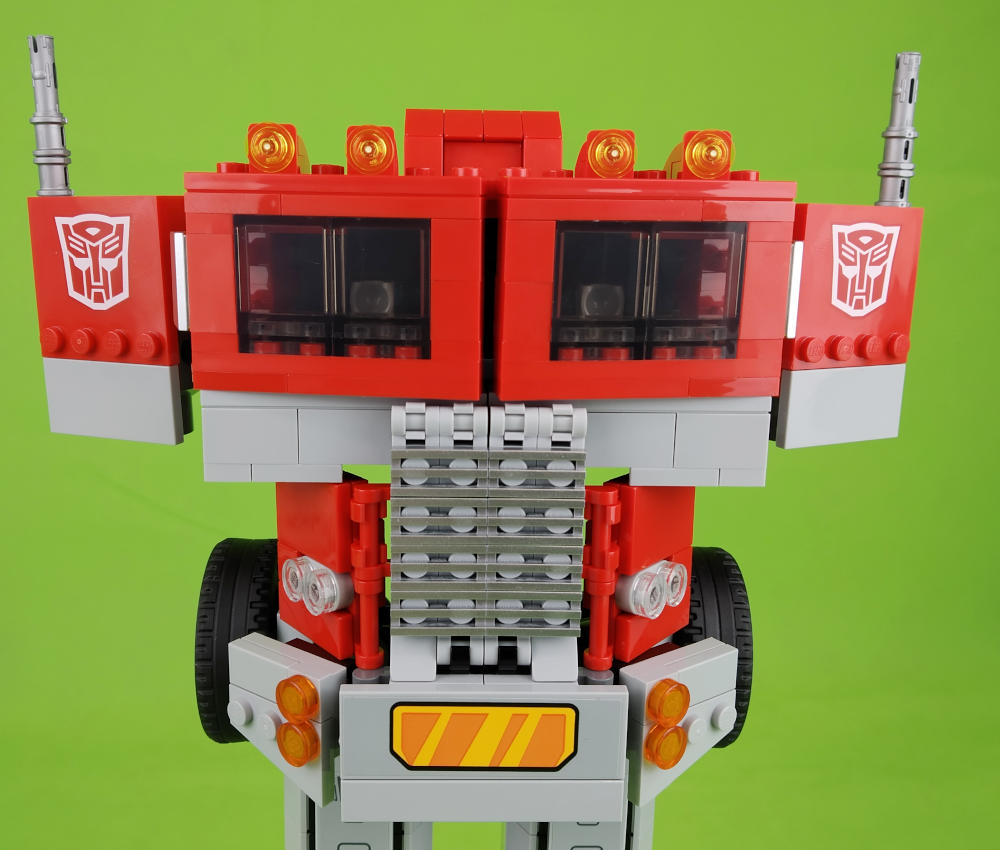
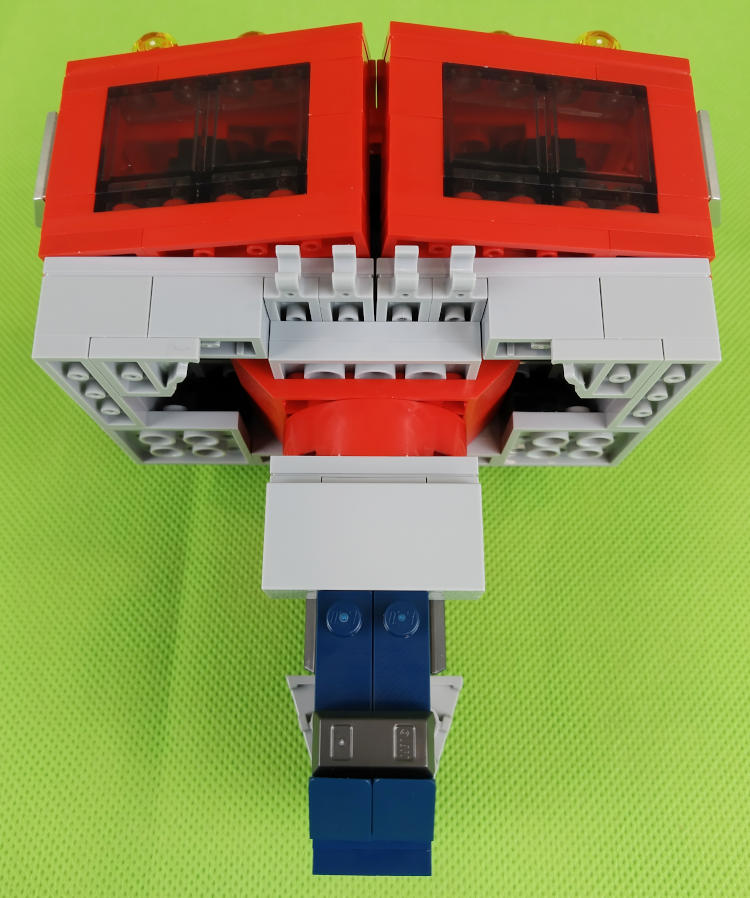
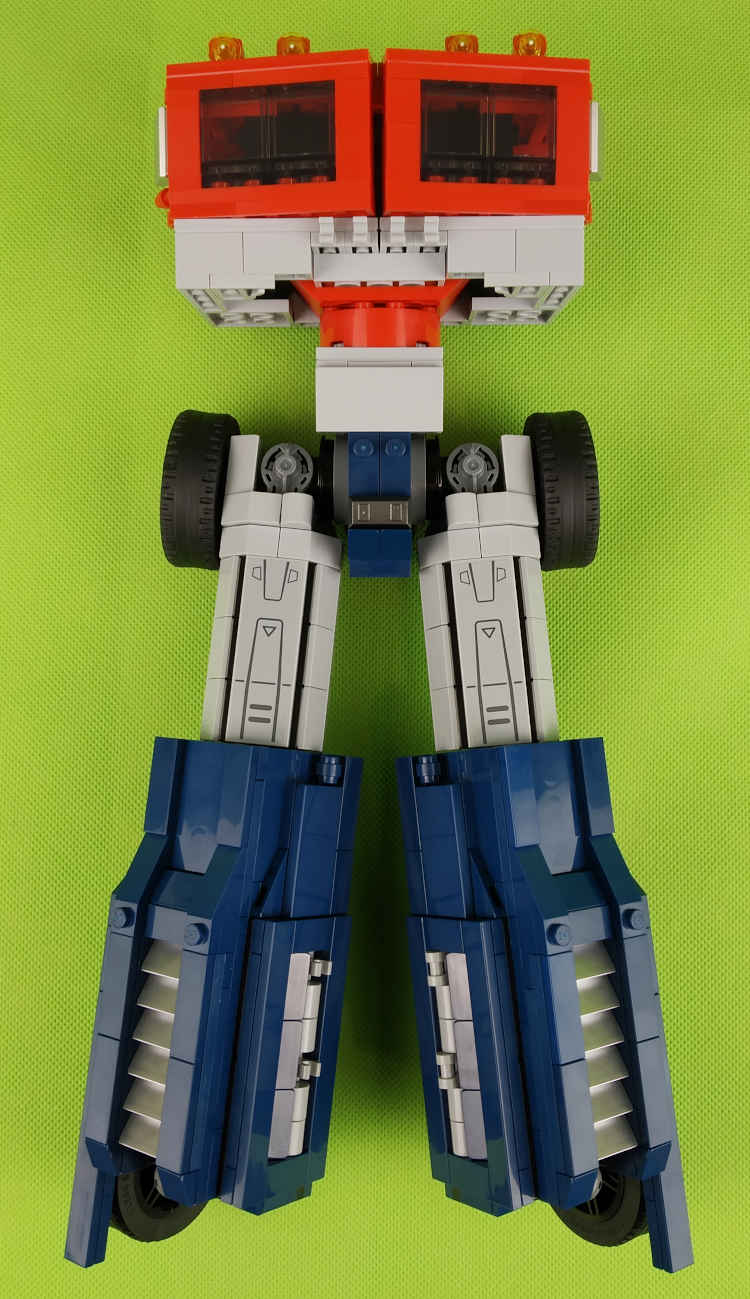
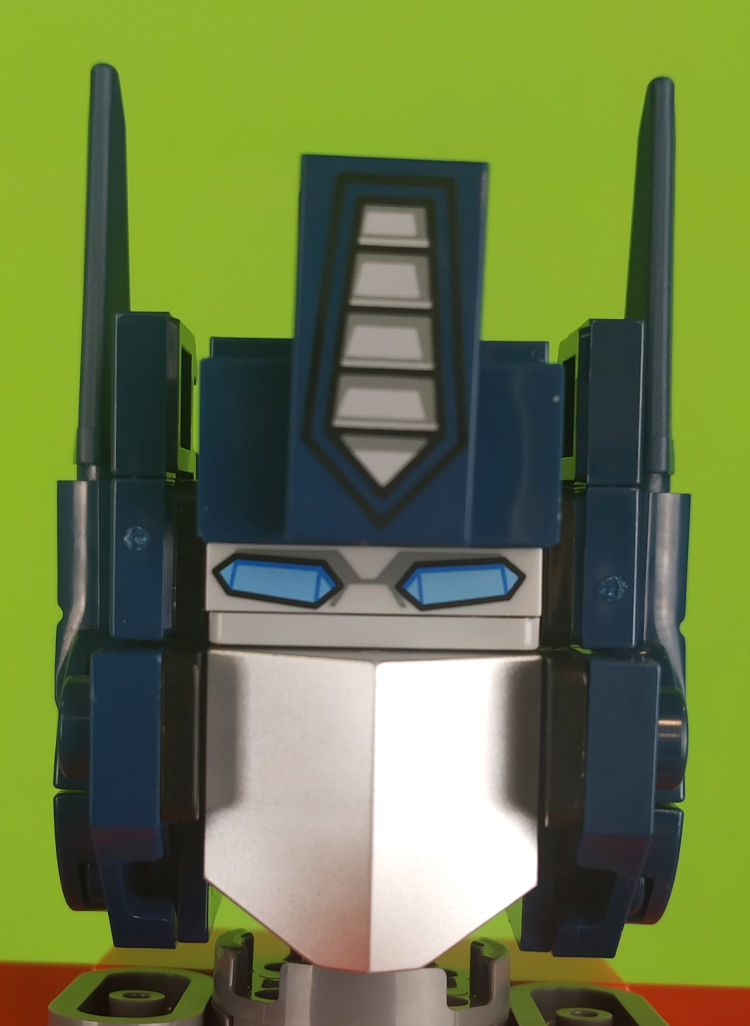
Next we will do the forearms and hands. Here we get some new patterns in tiles, a plate with the printed eyes of Optimus and also a new reference in silver grey, it seems to have the number 1762 printed on it and searching in bricklink we only get some polybags. So we guess that yes, it is a new reference.
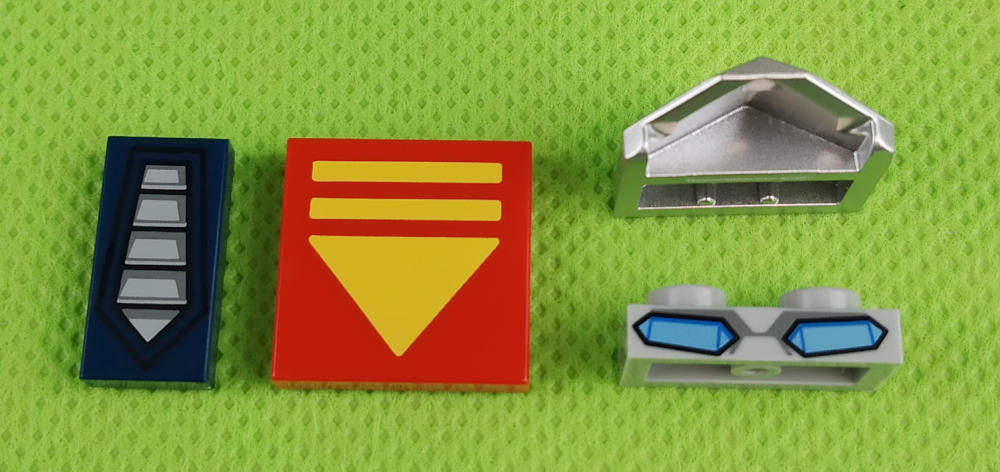
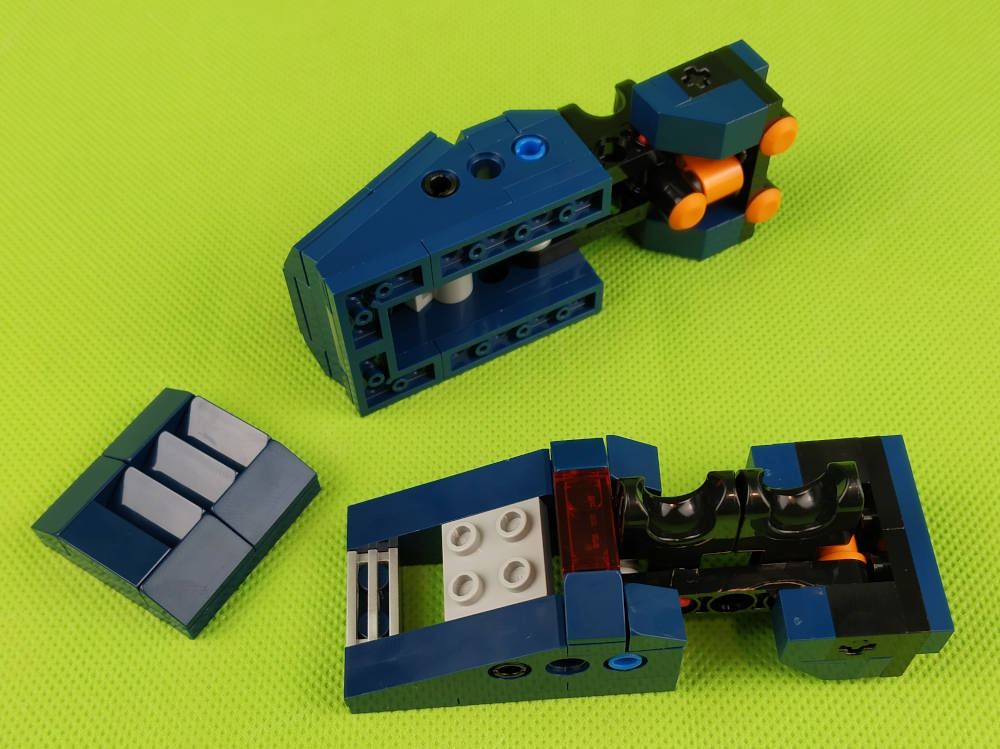
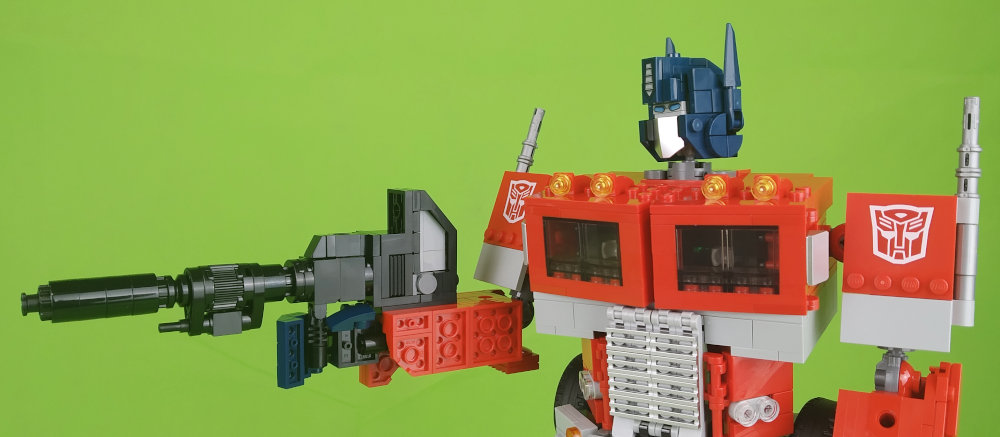
The head is well done, the printed parts are quite essential for it. Then we will do details like the Energon bucket -fuel and food for the autobots-, the famous Energon axe and of course the ion gun.
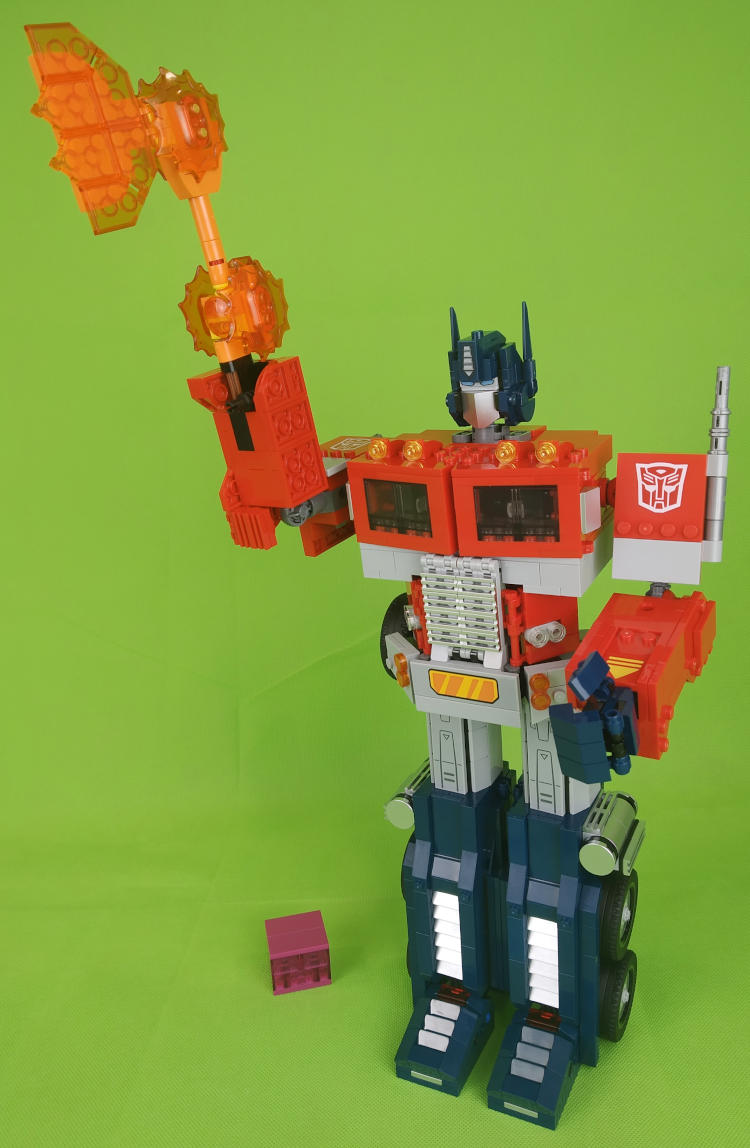
Finally we have to build the jetpack. This fits perfectly and leaves Optimus’ back ready to project into space!
Once the model is finished, it is time to check if the transformation is easy or if it falls apart. The instructions in this respect are quite brief and it is necessary to discover the sequence of how to do it properly, although it is almost trivial. We have disassembled one piece in the process, but more due to lack of skill than difficulty in the manoeuvre. Out of 10 transformations we have only suffered on the first occasion that small set of foot parts. The truth is that the model is very resistant.
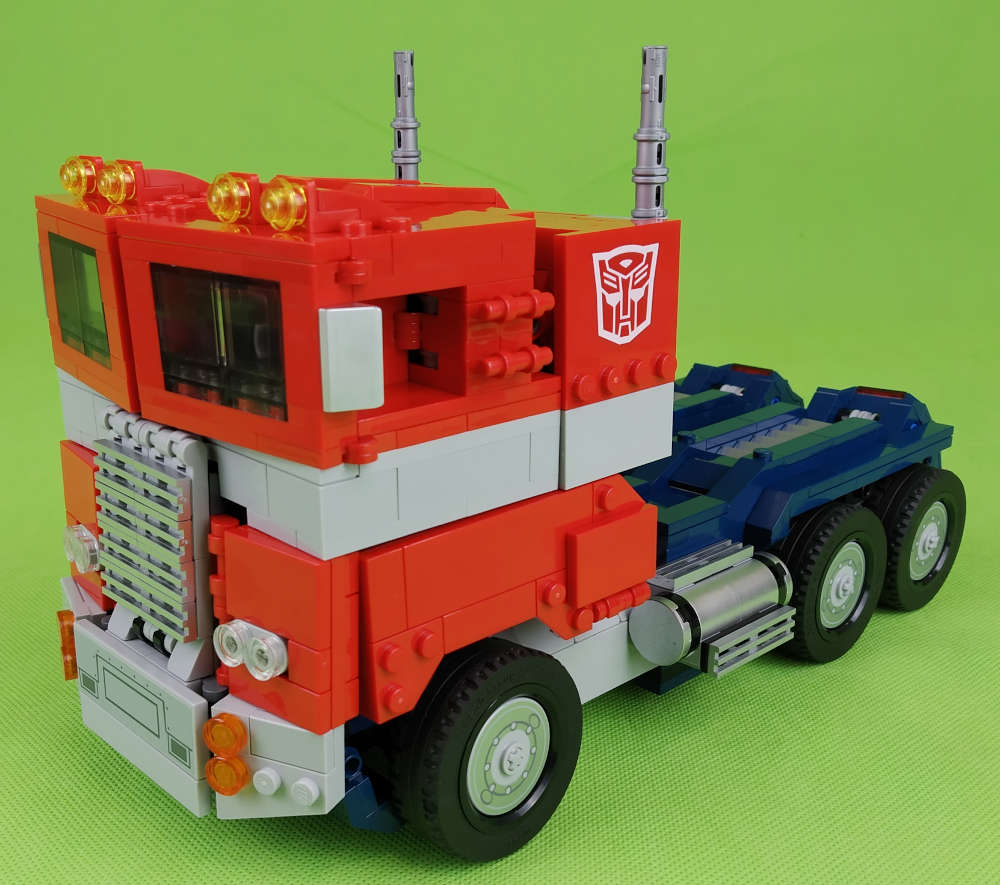
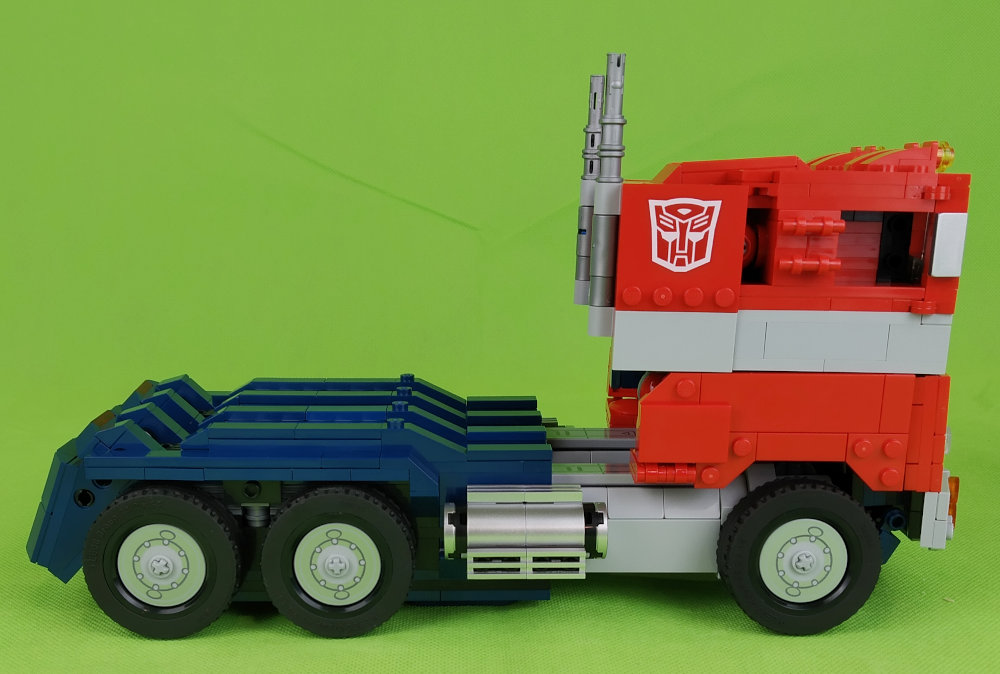
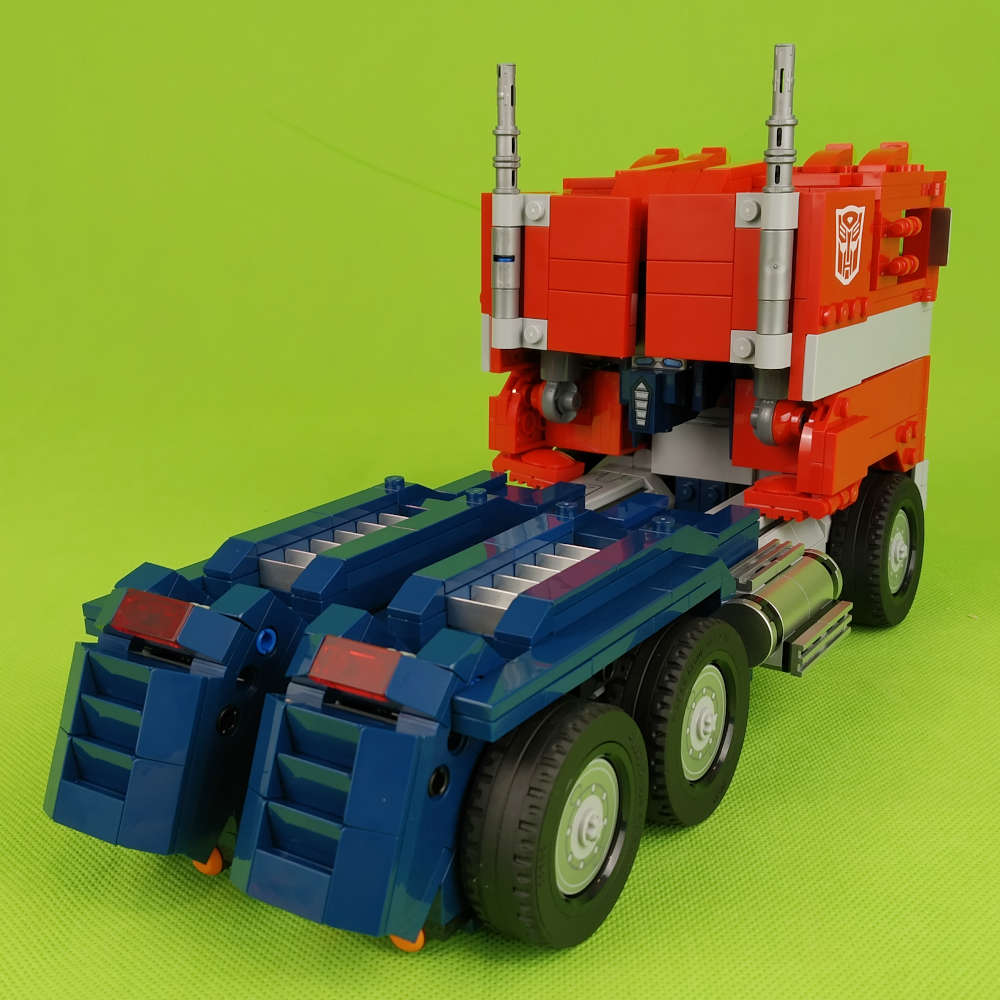
The conclusion of the model is that it is very well made compared to the original. The construction is enjoyable with easy steps, I think it is suitable for all the public regardless of the fact that it is a model designed for adults. It has an interesting quartering especially in Dark blue and silver. The printed parts are delightful for Transformers fans. The transformation to a vehicle is playable and sturdy. The wheels turn very well and do not rub against the structure of the model. The details of the classic Optimus weapons are also a good point in favour, and this time the large stickers do not make it difficult to put them on properly. It’s true that we never like to do this exercise, but I insist, this time it’s not difficult at all because of their size. It is obvious that Transformers and LEGO fans will absolutely love this set.
We would like to thank LEGO for sending the set for review. The opinions expressed in this article are our own and therefore LEGO does not endorse or support them in any way.
33526


