Set Review ➟ LEGO® 31119 Creator Ferris Wheel
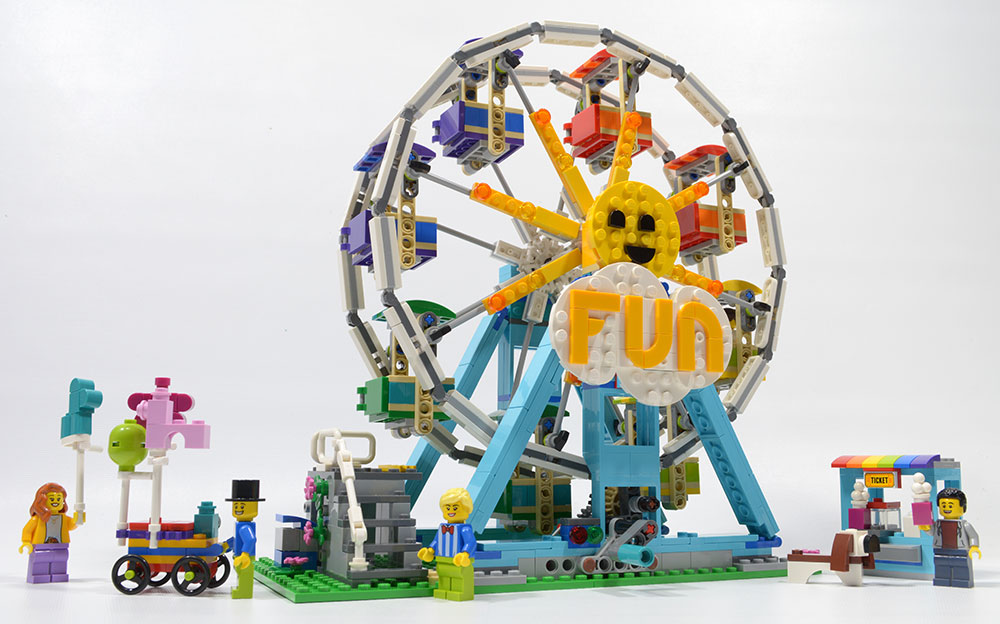
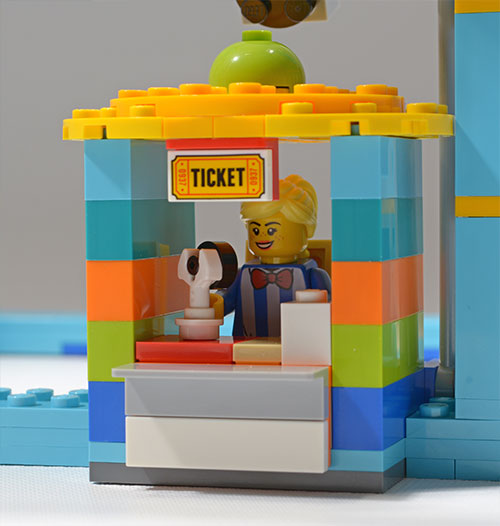
With a price of $80 US and 1002 pieces, 31119 Creator Ferris Wheel set is rated for ages 9+. This set provides instructions to create three different models: a ferris wheel, bumper cars, and swings. As with other recent LEGO® Creator models, this set has no stickers. There is one white 1x2 tile decorated with a yellow, red, and black ticket. Other set adornment, relatively minimal in this set, is by use of “DOTS” tiles and brick-built assemblies.
Minifigures
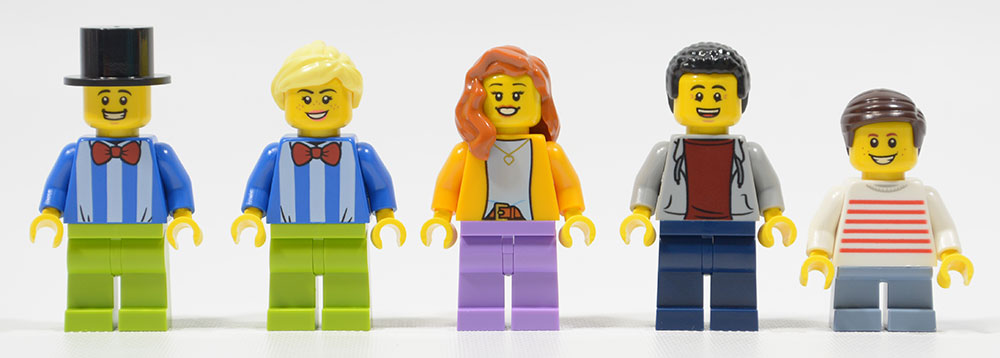
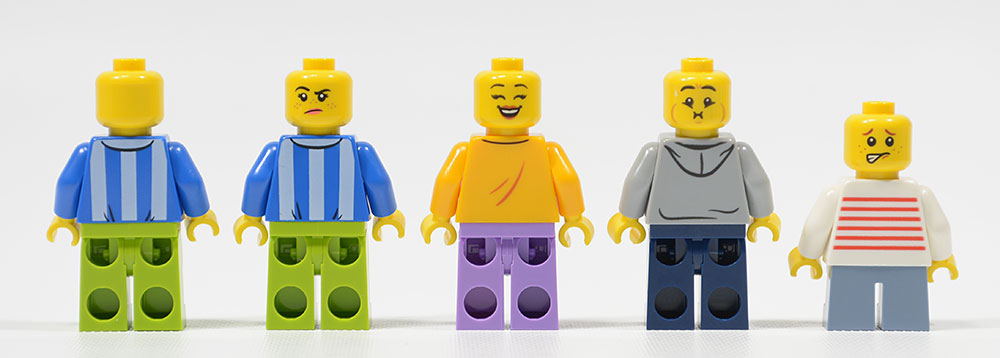
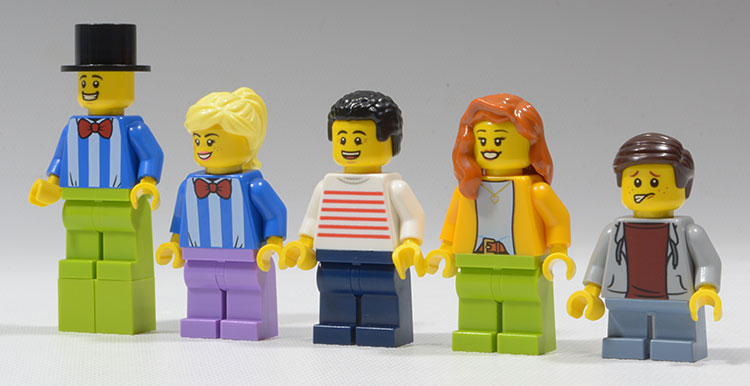
The set includes parts for five minifigures. The figure assembly varies with each of the three included builds except for Top Hat Guy who is the same in all three. Top Hat guy is the only figure with a one-sided head; the other four have dual-side printed heads. All torsos are dual-side printed. No minifigure part is exclusive to the set.
Dogs
Just as each build has it’s own individual way of assembling the minifigures, each build also has a unique brick-built dog.
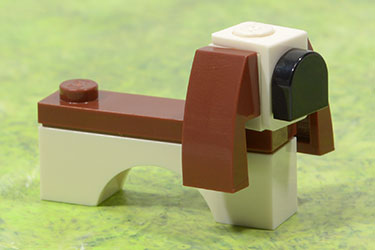
Ferris Wheel Dog.
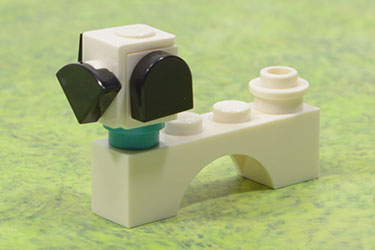
Swings Dog.
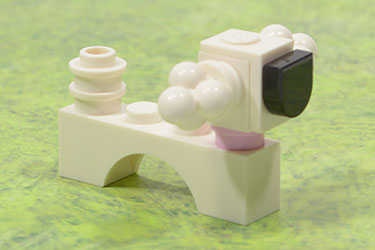
Bumper Cars Dog.
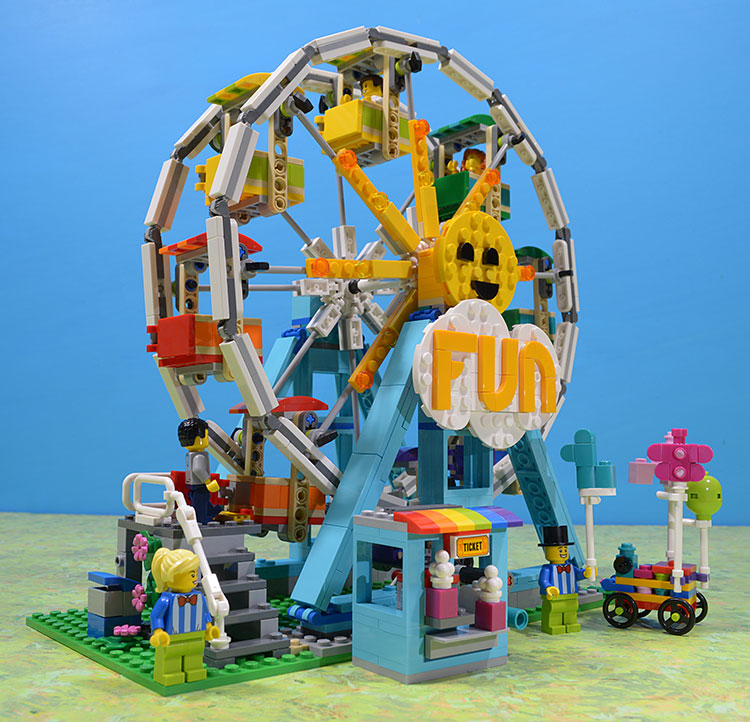
Build 1: Ferris Wheel
For a set with just over 1000 pieces, this is a fairly quick assembly due to the repetition in the build. For the most part, the outer portion of the wheel, the spokes, and the cars are all simple and repetitive assemblies, with color being the only differences on the spokes and cars. The bulk of the parts are used in the major wheel assembly, leaving the balance for the foundation, a ticket booth, a balloon cart, and the what-seems-to-be-usual-for-Creator-sets brick-built animal.
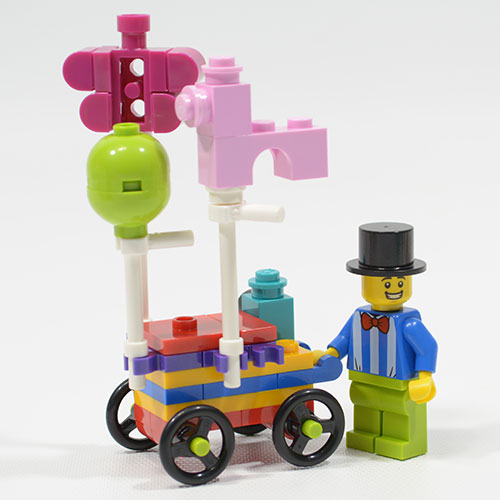
Balloon cart.
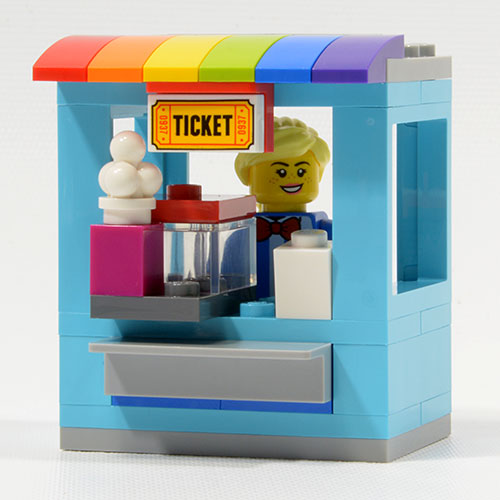
Ticket Booth. Boxes of popcorn also available.
A crank mechanism provides for the turning of the ferris wheel. A tire provides friction against the wheel’s outer rail and the movement is quite smooth and even.
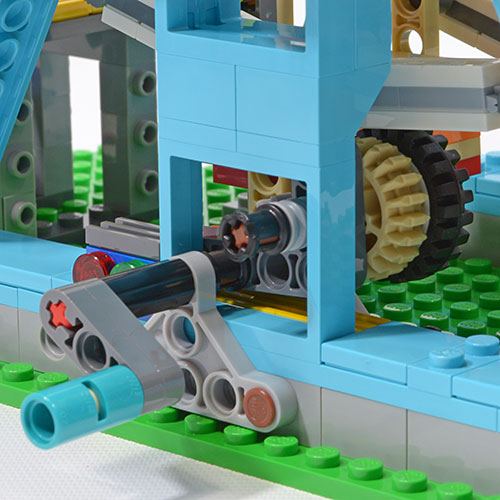
Turn the crank to spin the ferris wheel.
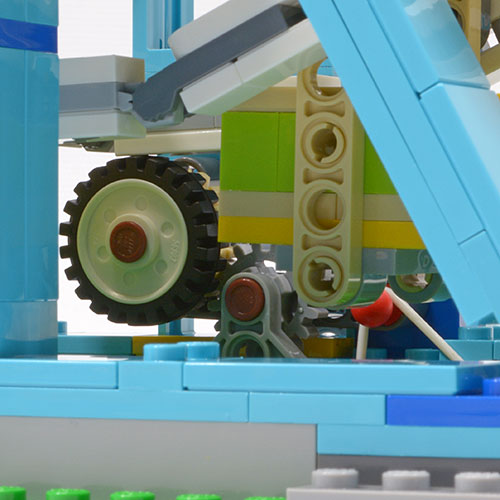
A tire provides friction to the outer rail.
The cars on the ferris wheel have an opening door and accommodate a single passenger. At each car’s pivot point minifig utensil hammers are used to attach the car assemblies to the wheel. Pushing the hammer handles through four plates’ worth of holes requires some degree of determination at both assembly and disassembly times.
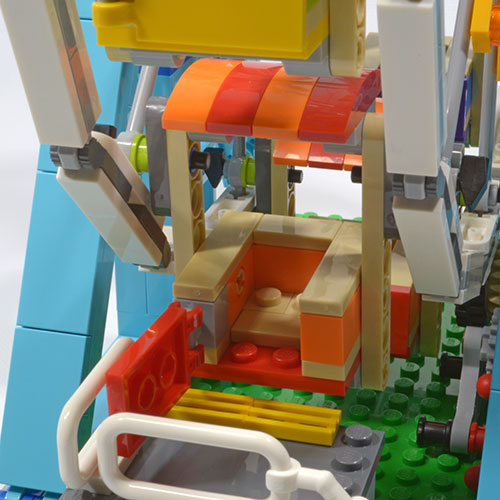
A car for one with opening door.
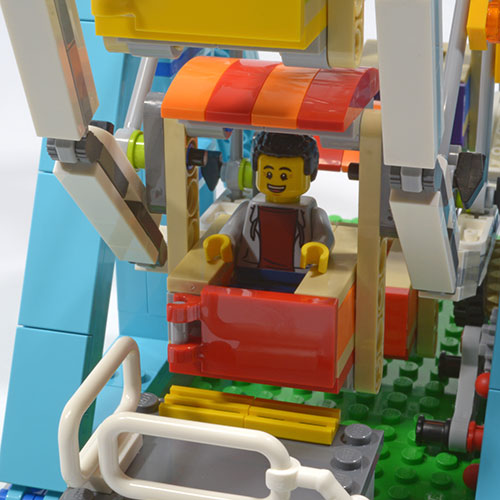
A rider on board and door closed.
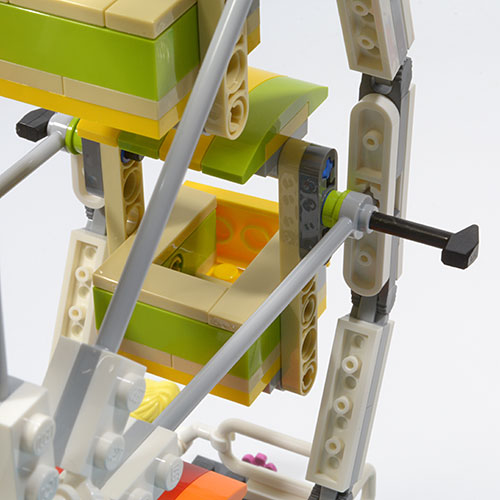
Hammer handles are used at the car’s pivot point as a connecting rod. These are pushed into the assembly.
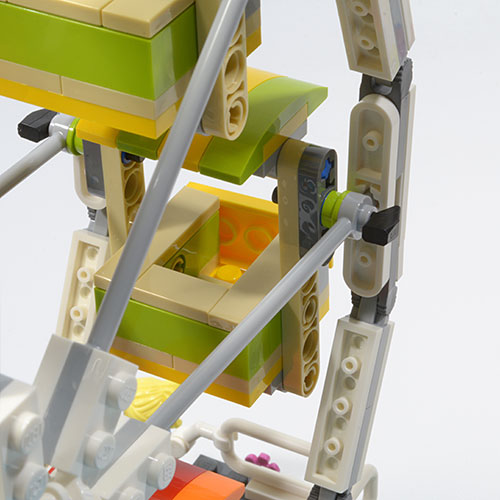
If rods were used instead of hammers, they would be very difficult to pull out. As is, removal can be challenging.
With eight cars and only five minifigures, you won’t have any trouble getting a ride on the ferris wheel. Play value is good with this model. Operating the ferris wheel is smooth and easy. The build is a little bit technical in places, fitting the spokes into the outer wheel requires patience and inserting the hammers to hold the cars requires force and some degree of alignment. The railing up the steps to the cars is a bit fussy. The gear assembly to turn the wheel isn’t particularly complicated or difficult and is a more engaging part of construction than the repetitive parts.
Build 2: Swings
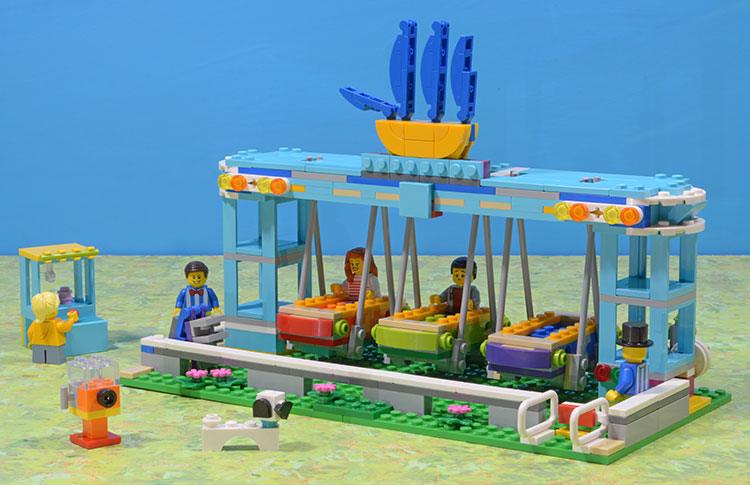
The swings model is a fairly solid construction, especially in contrast to the Ferris Wheel wheel section…that is delicate. This model uses about three-quarters of the pieces in the set. The top of the ride features a ship motif. Maybe this is supposed to be the seasick ride?
In addition to the main swing section, there are three side builds: a claw game, a gum dispenser (I guess that’s what it is), and a damned-if-I-know what it is.
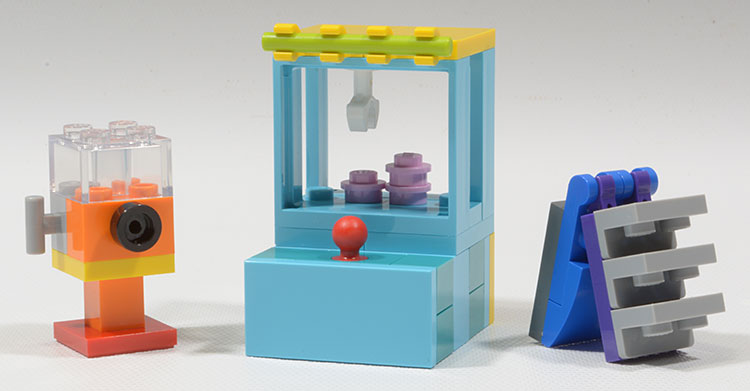
Left to right: gum dispenser, claw game, damned-if-I-know.
While the gum dispenser and the claw game are set off the base of the swing model, the damned-if-I-know gets placed loosely by the ride exit. Damned if I know why.
The minifigure parts get rearranged to create new characters.
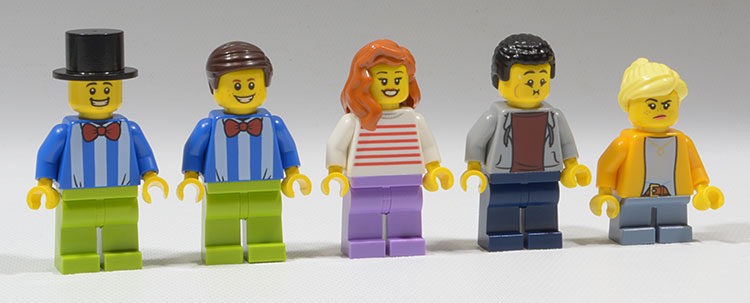
The swing seats use tiles, not plates in the bottom. While the full-size minifigures don’t have a problem staying in the ride, the short legged minifigures will fall out when the swing reaches maximum height. There are plenty of spare plates in this build, so if you intend your “kids” to ride the swings, you should probably opt for using the plates and not the tiles. The design decision on LEGO’s part is doubly curious here as they used a plate and a tile in the Ferris Wheel cars.
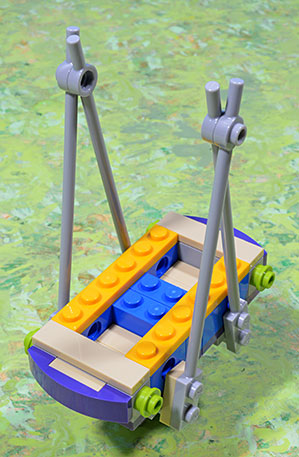
Sleek double seats…
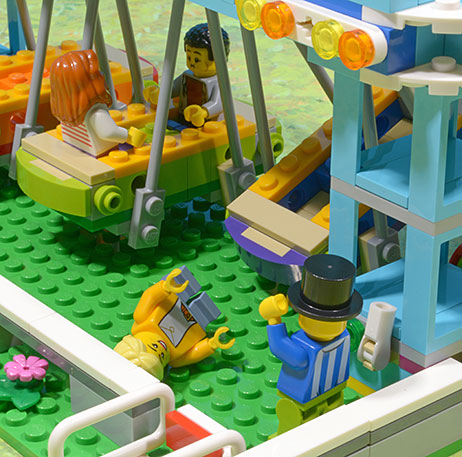
…which short legged kids fall out of!
This unfortunate situation of kids being dumped from the swings could have been avoided if only there were one of those "you need to be this tall to go on this ride" signs at the gate. And speaking of gates, this ride has working entry and exit gates.
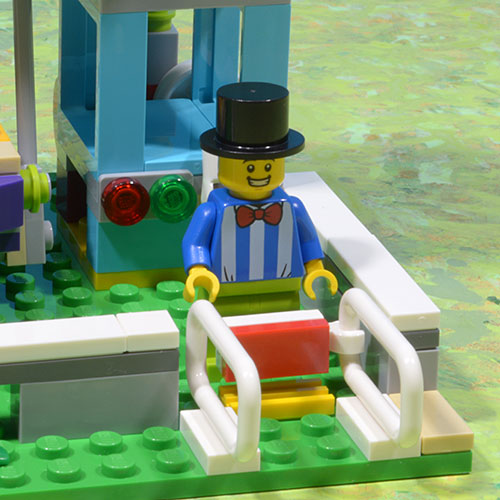
Top hat Guy has stopped selling balloons.
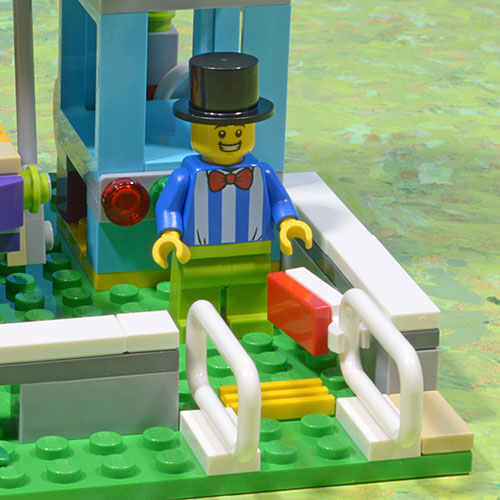
He is now ride operator at the swings.
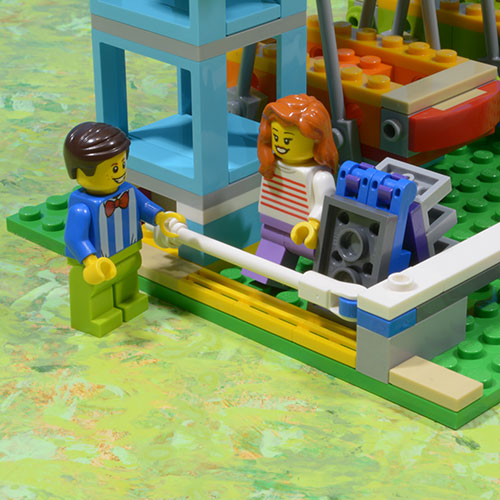
Notice the damned-if-I-know by the swings exit.
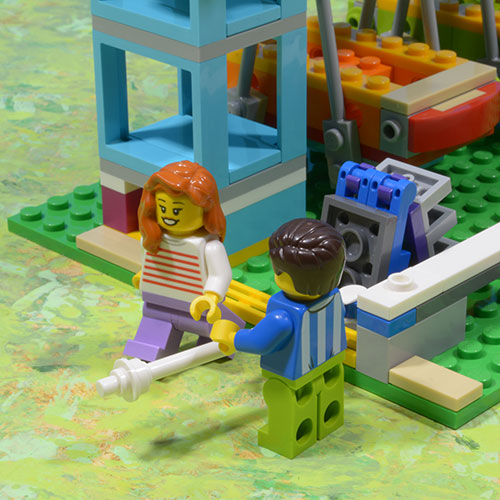
The damned-if-I-know can half-block the exit.
The swings are easily operated by pushing the bars which protrude from the ride top. One push will cause the swing to move for a few seconds. Then you have to do it again. Kind of like when you take your own little kids to the play park swings.
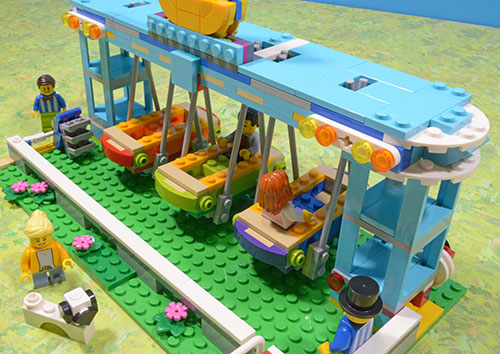
Bars poke out of the ride top.
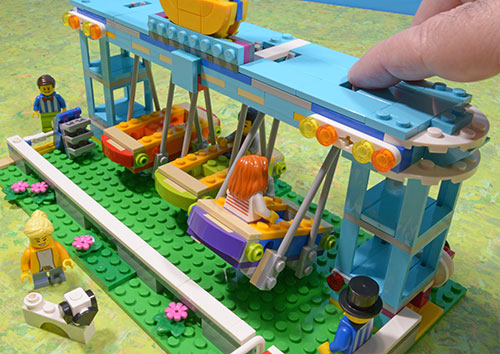
Push them to make the swings move.
Build 3: Bumper Cars
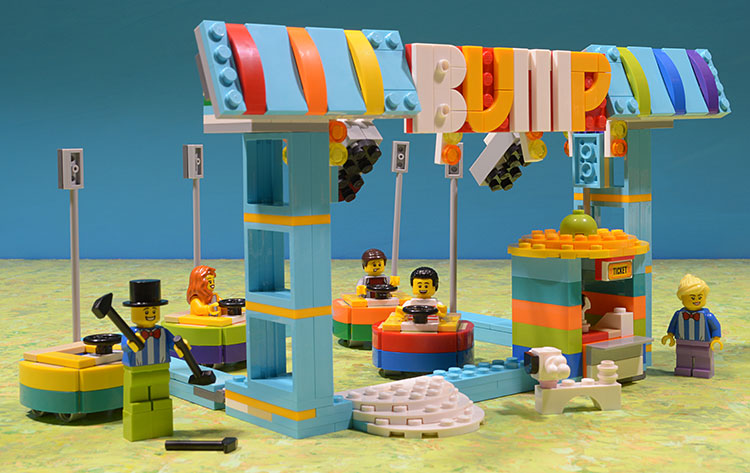
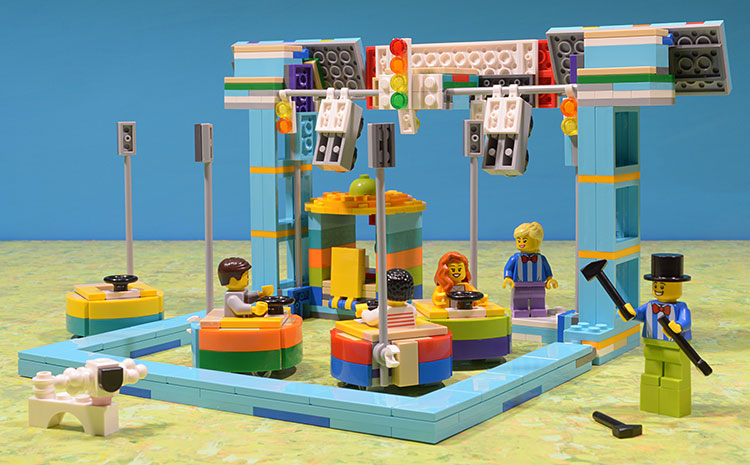
The Bumper Car arena has an elaborate facade and a minimal back side. It is a relatively simple and quick build, using about half the pieces included in the set.
The minifigure components are once again switched around to create (sort of) different characters.
Top Hat Guy has some 1x1 bricks added to his feet and is holding two hammers. It wasn’t immediately apparent to me what he was supposed to be doing with hammers. Then I noticed a third hammer composited in over the guy’s head on the book cover. I don’t know about you, but I don’t find a guy holding two hammers with one at his feet immediately communicative of juggling. LEGO will need to work on the technology to keep that third hammer suspended in the air to sell the concept. Otherwise he is a poor juggler who has dropped his hammer and is too tall to bend over to pick it up, and really looks more like a fellow who wants to maniacally beat the bejesus out of something with heavy mallets. Maybe LEGO could have splurged on a second face for this guy…one where he appears to be looking up at the hammer that is about to fall on his head.
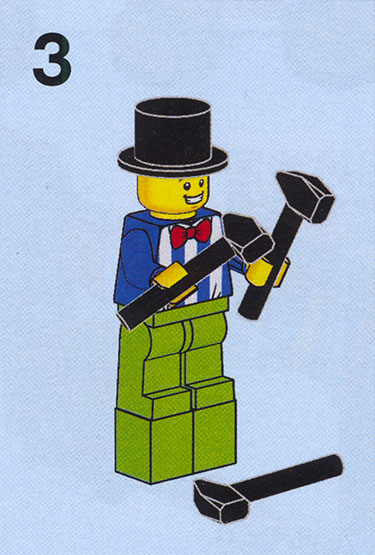
What’s up with the hammers?
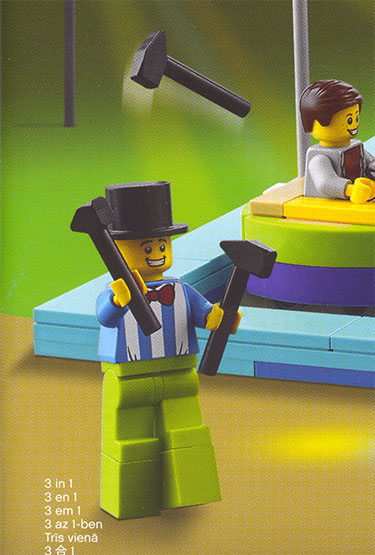
Oh, I see. He’s juggling.
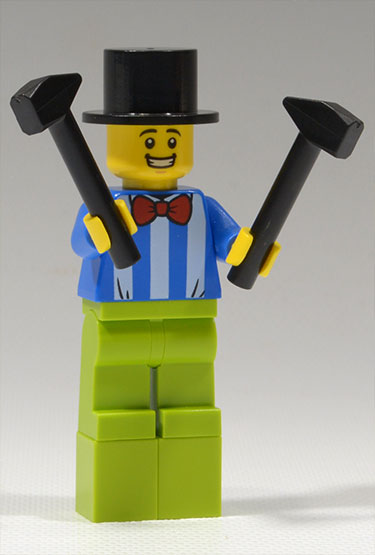
Bwouhahah! Me smash!
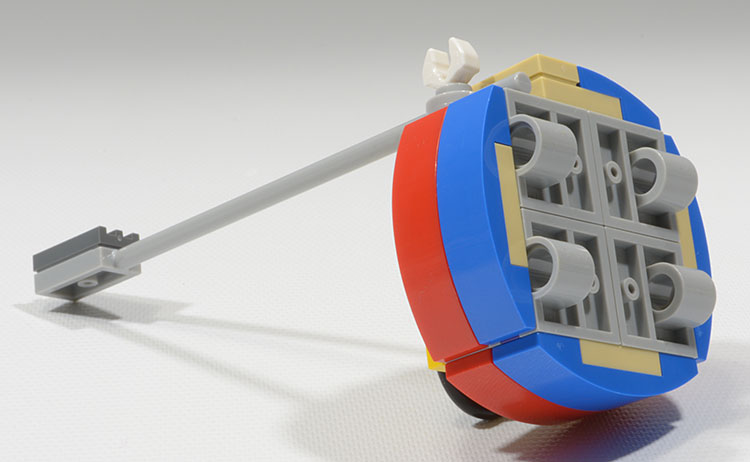
The bumper cars themselves are nicely representative of the real thing. Expect the steering wheel to come off every time you take a minifigure out of the car, though. The cars don’t have wheels, instead they use 10247 plates as “faux” wheels.
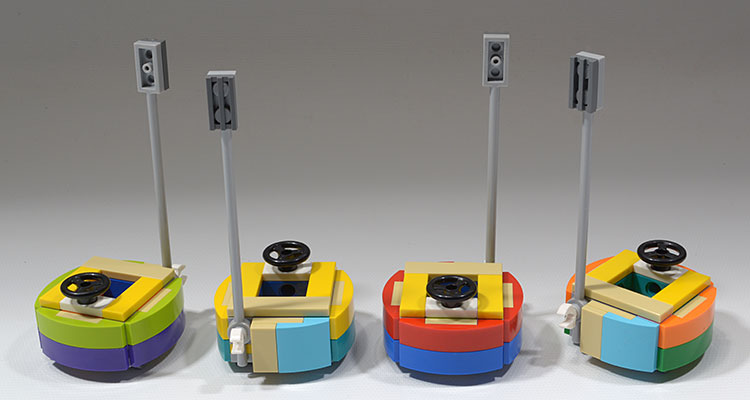
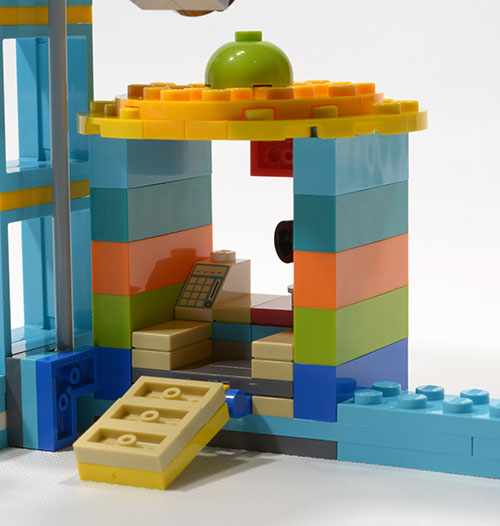
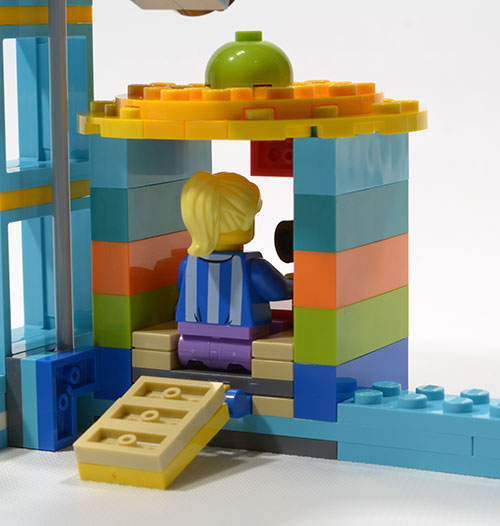
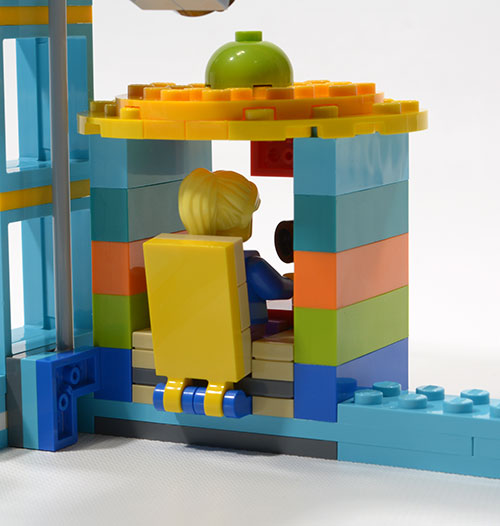
The ticket booth is built into the arena and not freestanding in this model. The rear has a nice gate feature that doubles as a seat back.
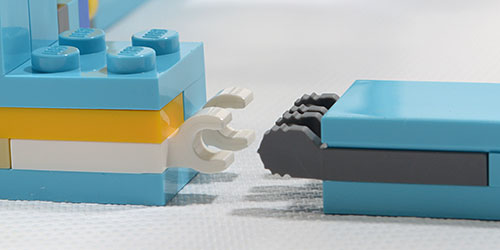
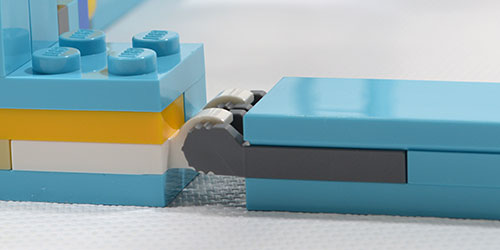
The arena itself has no base, so the cars have to run around on whatever surface you have. Tabletops and hard floors are fine for this, carpet not so much. There is one assembly choice that is curious. The back of the arena connects to the front by using 54657 tooth-end plates connecting to 42923 plates with clip. This allows the entire back of the arena to smoothly pivot up. No idea why this is a benefit or preferable to attaching with the more secure complementary 49715 plate with locking finger.
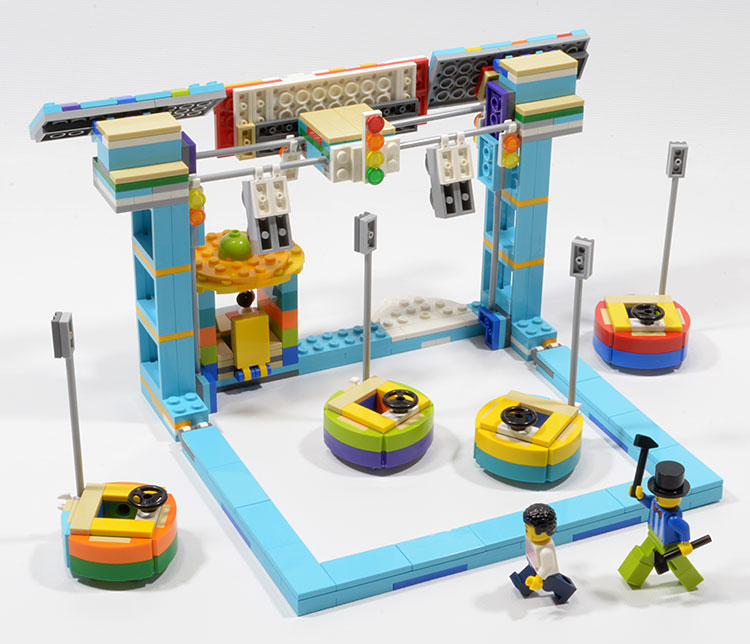
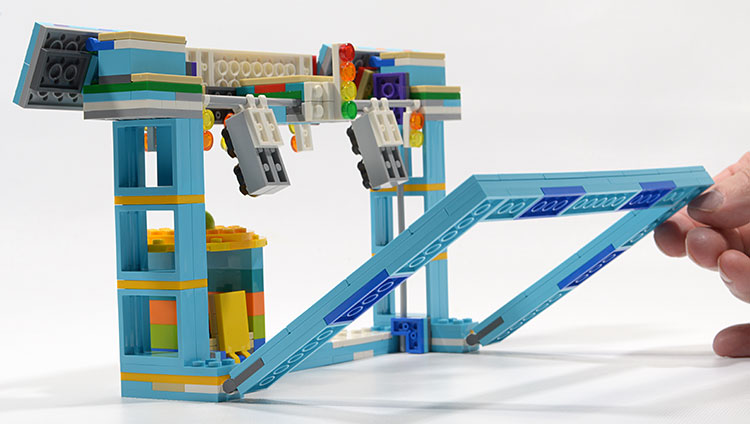
On the arena side, the upper portion between the towers is given a little attention with some lights as decoration.
The Randolph T. Fielding Absolutely Administrivia Section
The set contains six 15642 reddish-brown 5L stopped axles. The LEGO logo and part number are visible on the round stop end. All axle shafts exhibit a random scarred texture on one side, the same side/position on all axles, the side opposite the molding pip, while other sides are relatively smooth. Scarring pattern is not consistent from one axle to another. One presumes this scarring is not intentional but is an artifact of the molding process, and perhaps unique to this color or to a particular production run. Similar scarring is not evident on other dark bluish gray stopped axles in my collection. Similar scarring is evident on other reddish brown stopped axles in my collection.
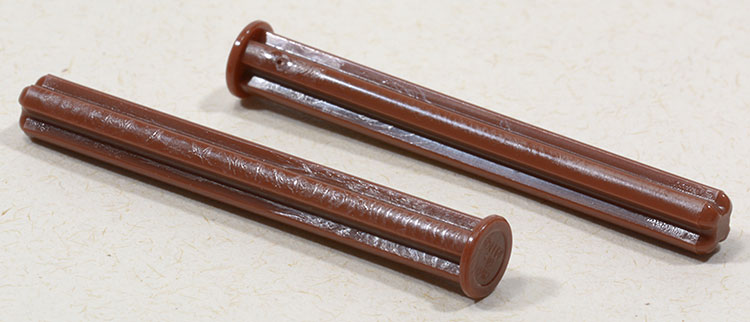
Left: scarred side; right: opposite smooth side. Scarring is more apparent and more regular towards the stop end of the axle.
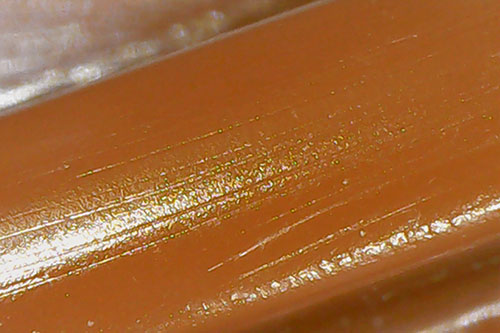
A smooth side under the microscope.
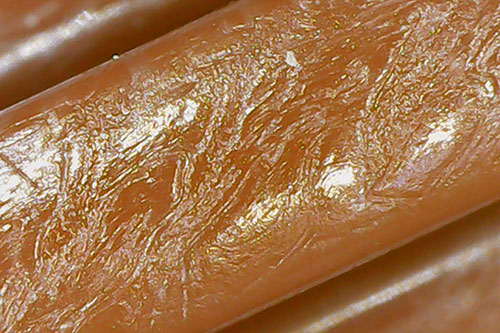
A scarred side under the microscope.
The set contains one 85543 white rubber band/belt packaged in a cardboard box labelled 6049732.
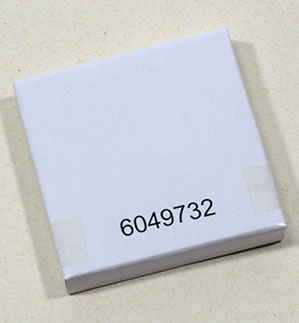
Oooh. A mystery box.
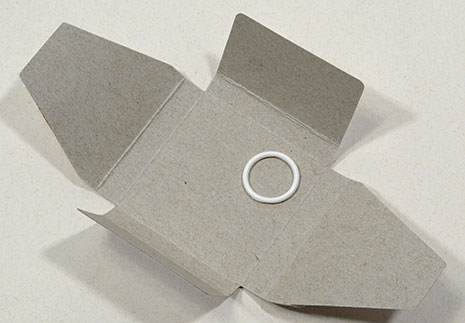
The mystery is why is this box so big?
The set uses the 44860 1x1 plate with clip with flattened ends.
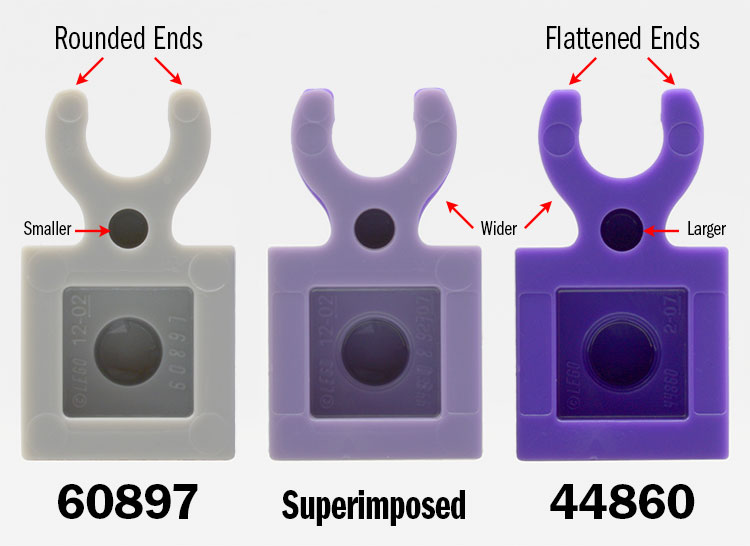
At the time of writing, BrickLink considers both 60897 and 44860 as 4085d, but there are subtle differences.
The set uses the 47915 1x2 male locking hinge plate.
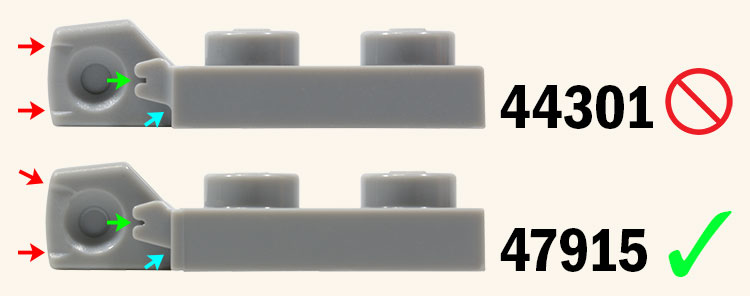
At the time of writing, BrickLink considers both 44301 and 47915 as 44301b, but there are subtle differences.
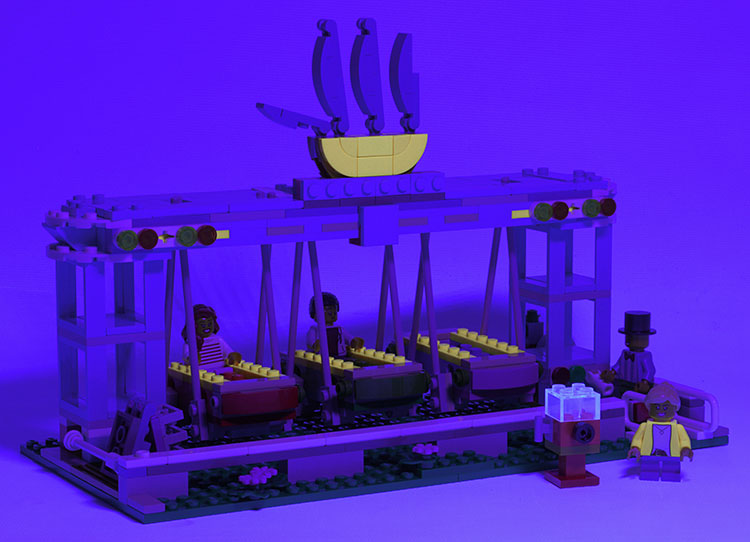
All the bright light orange/flame yellowish orange and trans clear parts are the only ones observed to fluoresce under uv light.
Summary
Play options abound with this set and you will want to bring some additional minifigures to take full advantage of them. 40373 Fairground Accessory Set is a good complement to add a couple workers and a couple fair goers.
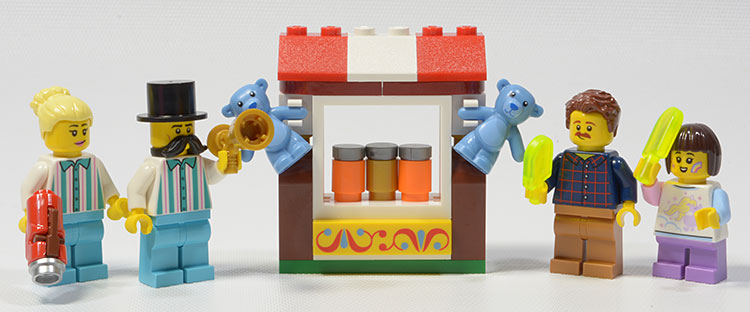
40373 Fairground Accessory Set.
All three models are relatively quick to assemble and display the typical charm of other similar contemporary Creator sets. The model builds are sufficiently engaging without being too complicated and the play possibilities make this set one of the better values for the money. Highly recommended.
Disclaimer
My thanks to LEGO for providing the review set. The opinions expressed here are mine. No brick-built dogs were harmed during the creation of this review.
33490